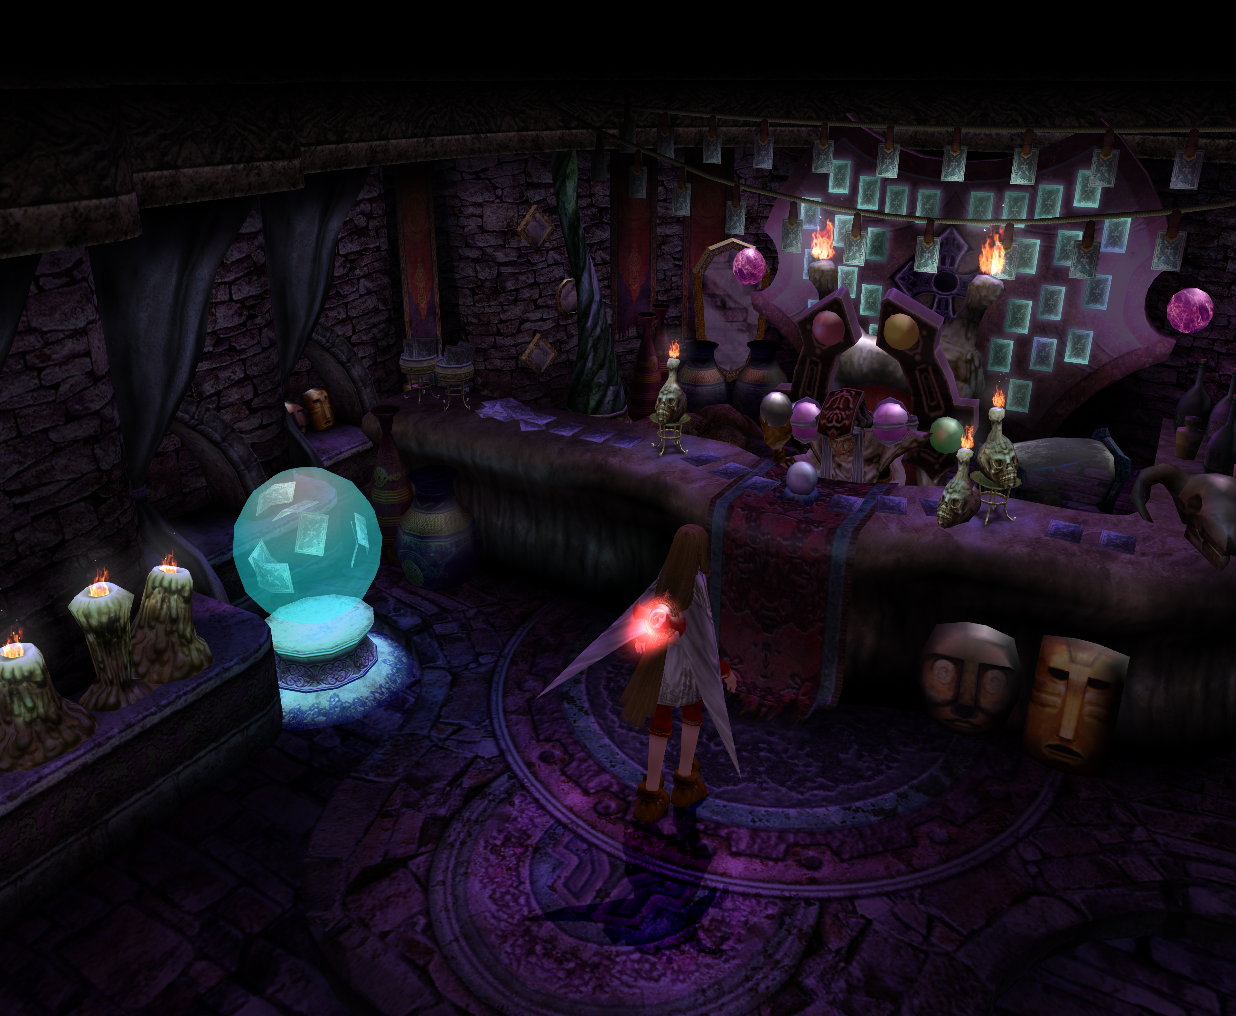
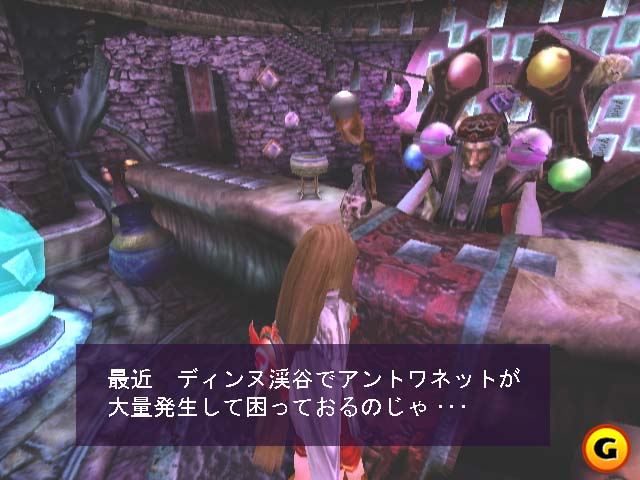
The Japanese name is unofficially translated, so it may contain errors.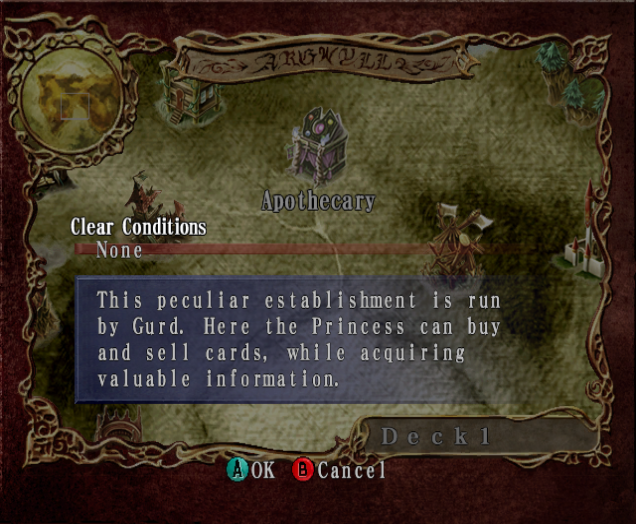 The Apothecary (Japanese: 骨董屋, こっとうや, Kottouya [lit. Antique Store]) is a non-story level that acts more of a hub. Katia can use the Apothecary as a base of operations, whilst gathering information.
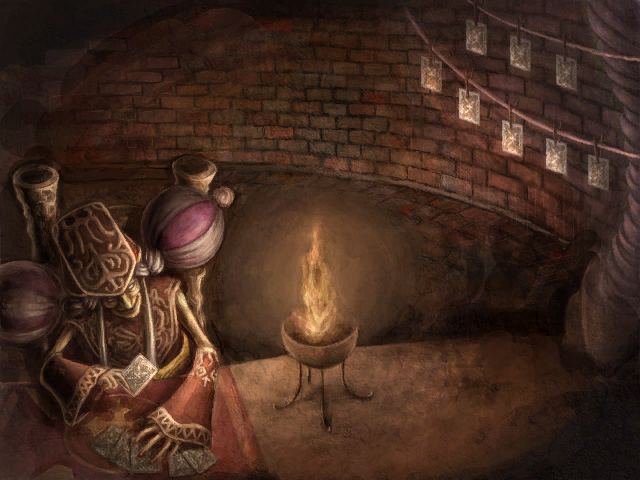
It is run by the mysterious woman, Gurd.
Usage
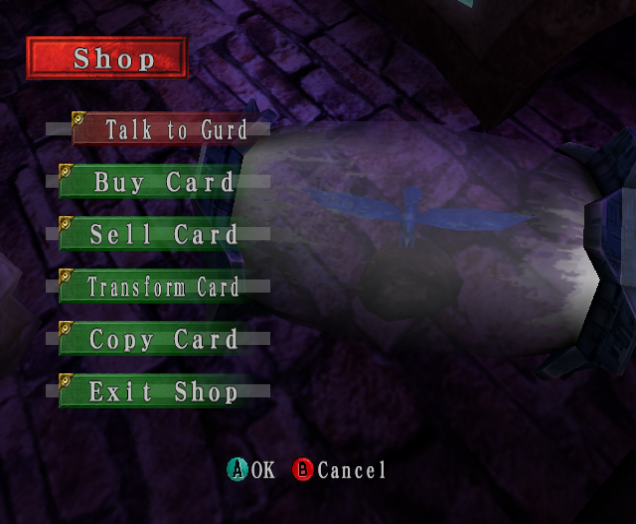
The shop has multiple functions that Katia can use.
Talk to Gurd
Talking to Gurd will open up various Side Missions. Once all of them are completed, she will simply cycle through some scripted advice.
Buy/Sell Card
The range of cards Katia can buy is limited, with the exact choice dependent on what levels have been completed thus far. Upon completion of Broch Black, Katia can buy any card that was previously seen in the shop.
Katia can also Sell cards though this is only advised if the player is desperate for money, as Gold has little use outside of the Apothecary. It is also possible to sell all of a single type of card making it impossible to get again.
Transform Card
Katia can use Experience Points to transform an individual card into another one. This will get rid of the original but give you one of the new transformed cards. Whilst many cards have multiple choices, some stronger monsters can only transform into one other monster.
Transforming a card is often harder then Copying as more EXP is generally needed. This service only costs EXP.
Copy Card
Copying a Card does exactly what it says; Katia can make a duplicate of a card. This can be handy for gaining additional copies of a preferred card the player likes. This service requires monsters to reach a certain EXP level but it is otherwise free.
Inventory
Gurd's inventory changes based on which stage or set of stages you've completed either throughout the story, including side stages made available through talking to Gurd. There are 11 different shops, all with unique card availabilities. Each new shop overwrites the previous shop. For example: Skeleton is available in the shop after you complete 5 stages (Shop 2) or complete Shayel Passage & Gromtull Desert (Shop 3). However, completing Castle Grayl moves onto Shop 4.
Shop 1: Complete Plains of Rowahl
| Card!!Buy Price!!Sell Price |
|---|
| Hobgoblin||8G||5G |
| Dark Raven||15G||10G |
| Man Trap||30G||20G |
| Flying Ray||30G||20G |
| Lizardman||30G||20G |
| Mandragora||45G||30G |
| Red Lizard||45G||30G |
| Birdman||60G||40G |
| Giant Crab||120G||80G |
| Fairy (Card)||240G||120G |
Shop 2: Complete 5 Stages
| Card!!Buy Price!!Sell Price |
|---|
| Dark Raven||15G||8G |
| Flying Ray||30G||20G |
| Skeleton||30G||20G |
| Mandragora||45G||30G |
| Red Lizard||45G||30G |
| Archer Tree||60G||40G |
| Wraith||120G||80G |
| Fairy (Card)||240G||160G |
| Wizard||240G||160G |
| Sand Golem||300G||200G |
Shop 3: Complete Shayel Passage & Gromtull Desert
| Card!!Buy Price!!Sell Price |
|---|
| Skeleton||30G||20G |
| Water Hopper||45G||30G |
| Orc||75G||50G |
| Flayer Spawn||90G||60G |
| Giant Crab||120G||80G |
| Scythe Beast||120G||80G |
| Fairy (Card)||240G||160G |
| Wizard||240G||160G |
| Treant||240G||160G |
| Sand Beetle||480G||320G |
Shop 4: Complete the Castle Grayl
| Card!!Buy Price!!Sell Price |
|---|
| Scythe Beast||120G||80G |
| Will o' wisp||150G||100G |
| Fairy (Card)||240G||160G |
| Treant||240G||160G |
| Running Bird||240G||160G |
| Land Shark||270G||180G |
| Dragonoid||300G||200G |
| Demon Hound||360G||240G |
| Sand Worm||600G||400G |
| Chimera||690G||460G |
Shop 5: Complete Kendarie Castle & Rohbach
| Card!!Buy Price!!Sell Price |
|---|
| Fairy (Card)||240G||160G |
| Running Bird||240G||160G |
| Caterpoker||240G||160G |
| Dragon Knight||270G||180G |
| Dragonoid||300G||200G |
| Fire Golem||570G||380G |
| Sasquatch||750G||500G |
| Cockatrice||750G||500G |
| Tiger Mage||1800G||1200G |
Shop 6: Complete the Yyprek Mines
| Card!!Buy Price!!Sell Price |
|---|
| Fairy (Card)||240G||160G |
| Caterpoker||240G||160G |
| Dragon Knight||270G||180G |
| Giant Bee||450G||300G |
| Cockatrice||750G||500G |
| Jack-O-Lantern||750G||500G |
| Juggernaut||750G||500G |
| Elephant||1140G||760G |
| Catoblepas||1200G||800G |
| Tiger Mage||1800G||1200G |
Shop 7: Complete the Castle of Whyt & Lumsted
| Card!!Buy Price!!Sell Price |
|---|
| Plague Rat||60G||40G |
| Fairy (Card)||240G||160G |
| Dragon Knight||270G||180G |
| Evil Eye||300G||200G |
| Berserker||540G||360G |
| Stone Head||630G||420G |
| Great Demon||720G||480G |
| Demon Skeleton||1200G||800G |
| Hydra||1500G||1000G |
| Tiger Mage||1800G||1200G |
Shop 8: Complete Grenfoel Church
| Card!!Buy Price!!Sell Price |
|---|
| Fairy (Card)||240G||160G |
| Kitty Trap||450G||300G |
| Hand of Pain||450G||300G |
| Siren||480G||320G |
| Great Demon||720G||480G |
| Ghost Armor||720G||420G |
| Juggernaut||750G||500G |
| Catoblepas||1200G||800G |
| Demon Skeleton||1200G||800G |
| Ice Golem||2100G||1400G |
Shop 9: Complete Coliseum & Lake Bestriel OR Complete Mt. Jarndunn
| Card!!Buy Price!!Sell Price |
|---|
| Fairy (Card)||240G||160G |
| Ghost Armor||720G||480G |
| Cockatrice||750G||500G |
| Mole Monster||999G||666G |
| Demon Skeleton||1200G||800G |
| Tiger Mage||1800G||1200G |
| Night Mare||1800G||1200G |
| Efreet||2100G||1400G |
| Elephant King||3000G||2000G |
| Mind Flayer||3600G||2400G |
Shop 10: Complete 22 Stages
| Card!!Buy Price!!Sell Price |
|---|
| Fairy (Card)||240G||160G |
| Beelzabub||1800G||1200G |
| Efreet||2100G||1400G |
| Demon Fox||2100G||1400G |
| Fenril||2100G||1400G |
| Ice Golem||2100G||1400G |
| Behemoth||2400G||1600G |
| Vampire||2700G||1800G |
| Elephant King||3000G||2000G |
| Mind Flayer||3600G||2400G |
Shop 11: Complete Broch Black
This Shop contains all cards previously listed.
See Also:
Glitches
- ?
Trivia
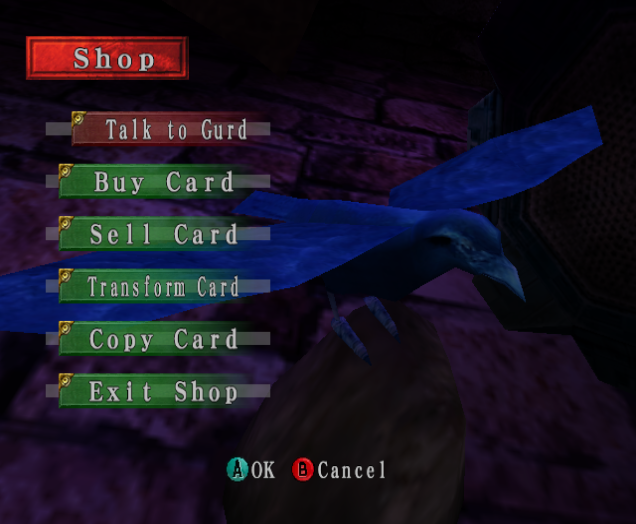
- Although hard to see in-game, there is a cylindrical glass container with metal sides behind the counter and to the right of Gurd. It contains a blue bird perched on a rock with its wings spread out.
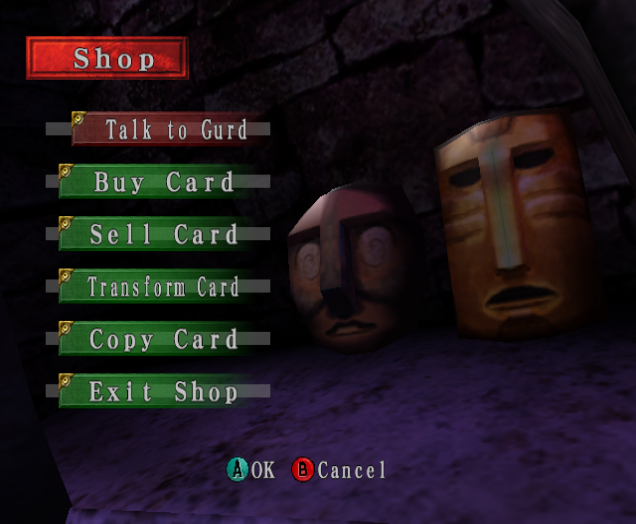
- An early screenshot of Lost Kingdoms shows that the Apothecary was originally much brighter than it was in the final version. It also was missing the wooden masks in front of the counter, the glass container behind the counter, the skull candle on the right side of the counter, and the two torches behind Gurd, and the cards displayed were larger in size and fewer in number.
Gallery