The translation of the Japanese name is unofficial, so it may contain errors.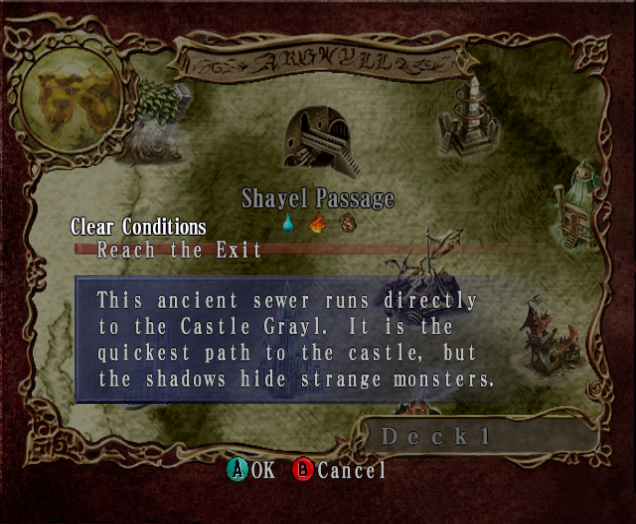 Shayel Passage (Japanese: シェール水路, She-ru Suiro [lit. "Cher Sewer Aquaduct"]) is a location in Lost Kingdoms found within the Kingdom of Grayl. It is accessible from the Rhos-Ami Burial Grounds, and the exit provides a direct route into the Castle Grayl.
Appearance
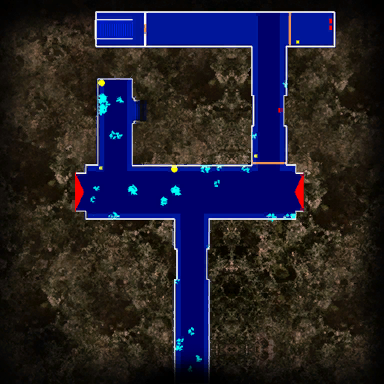
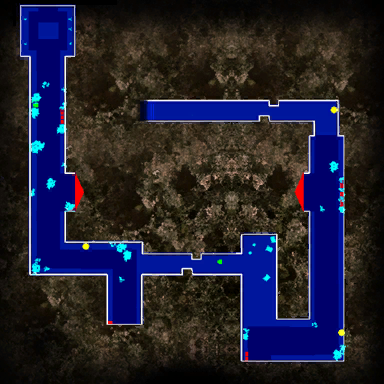
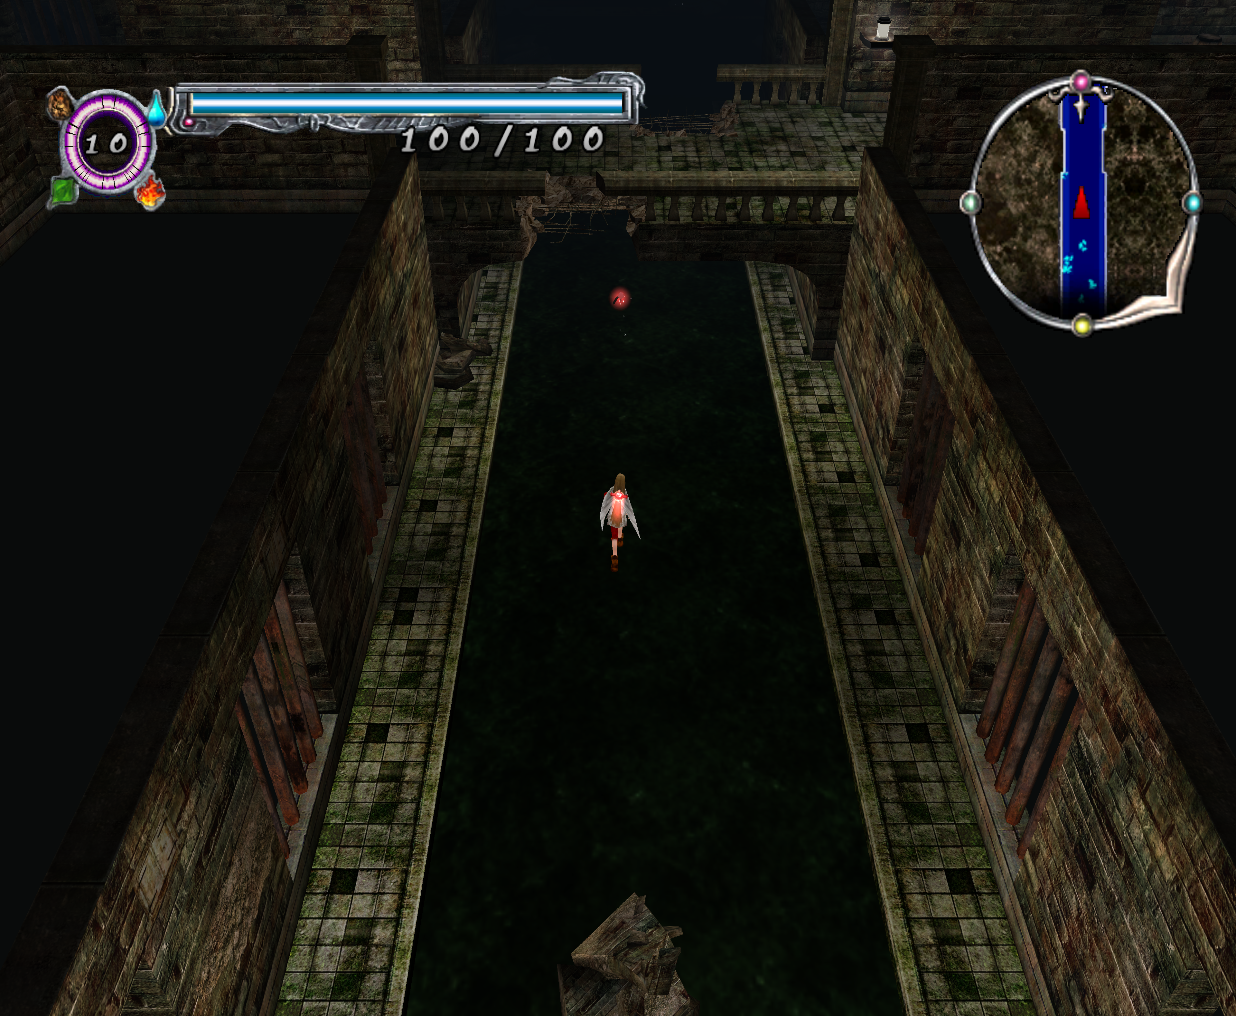
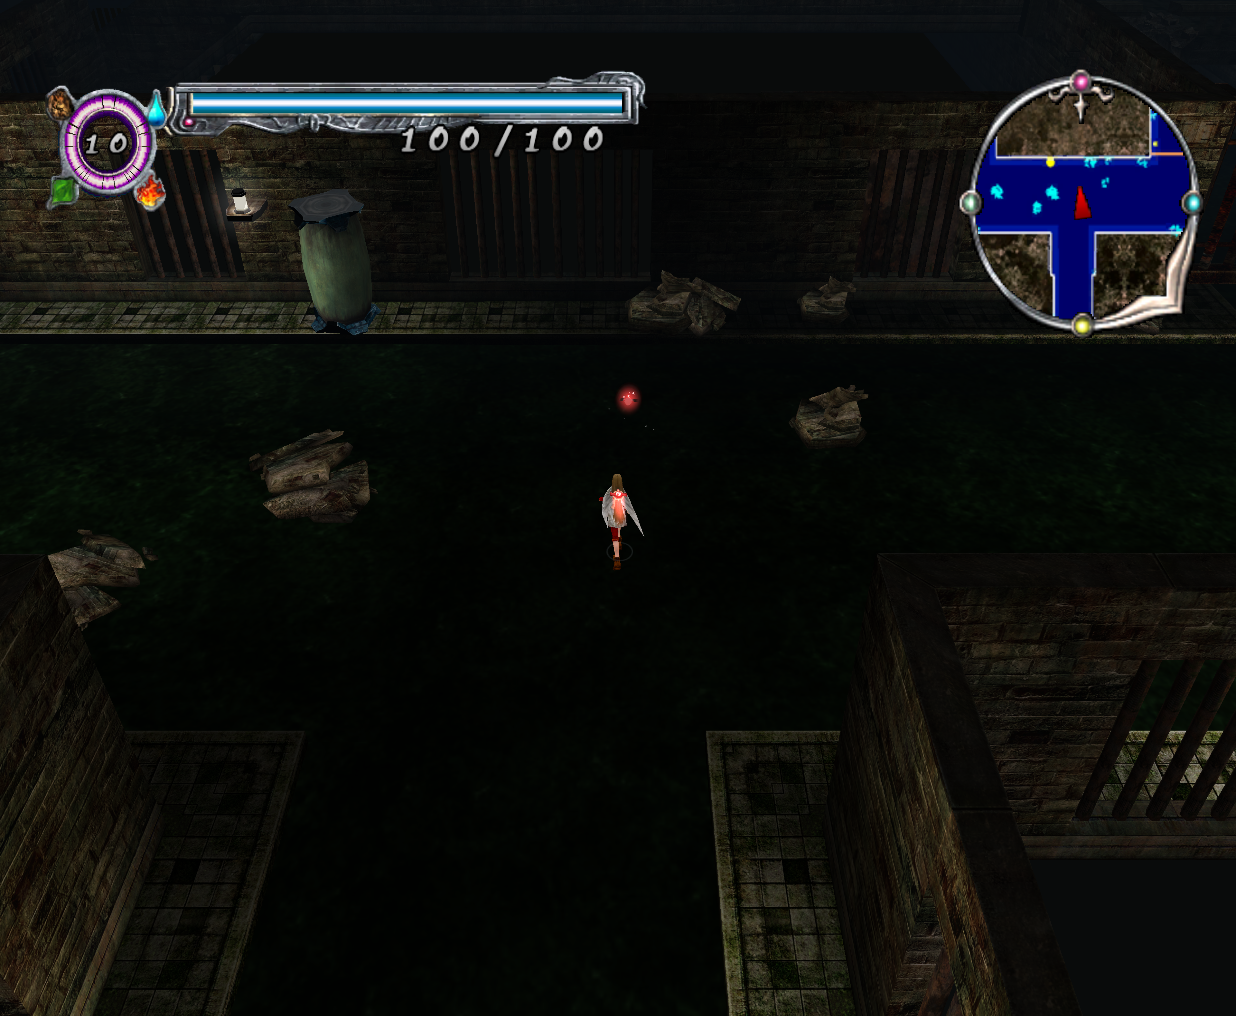
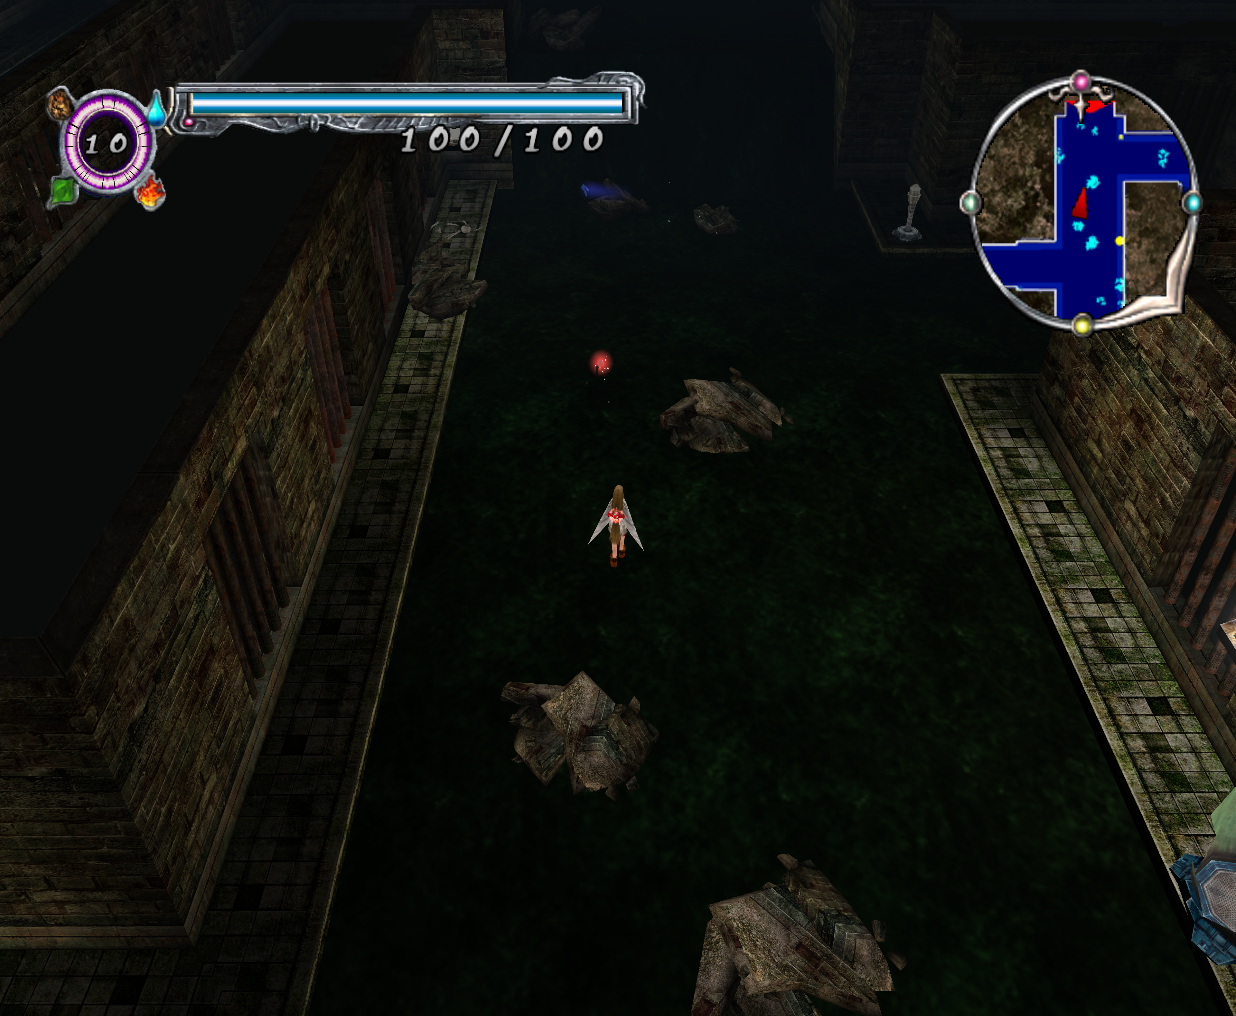
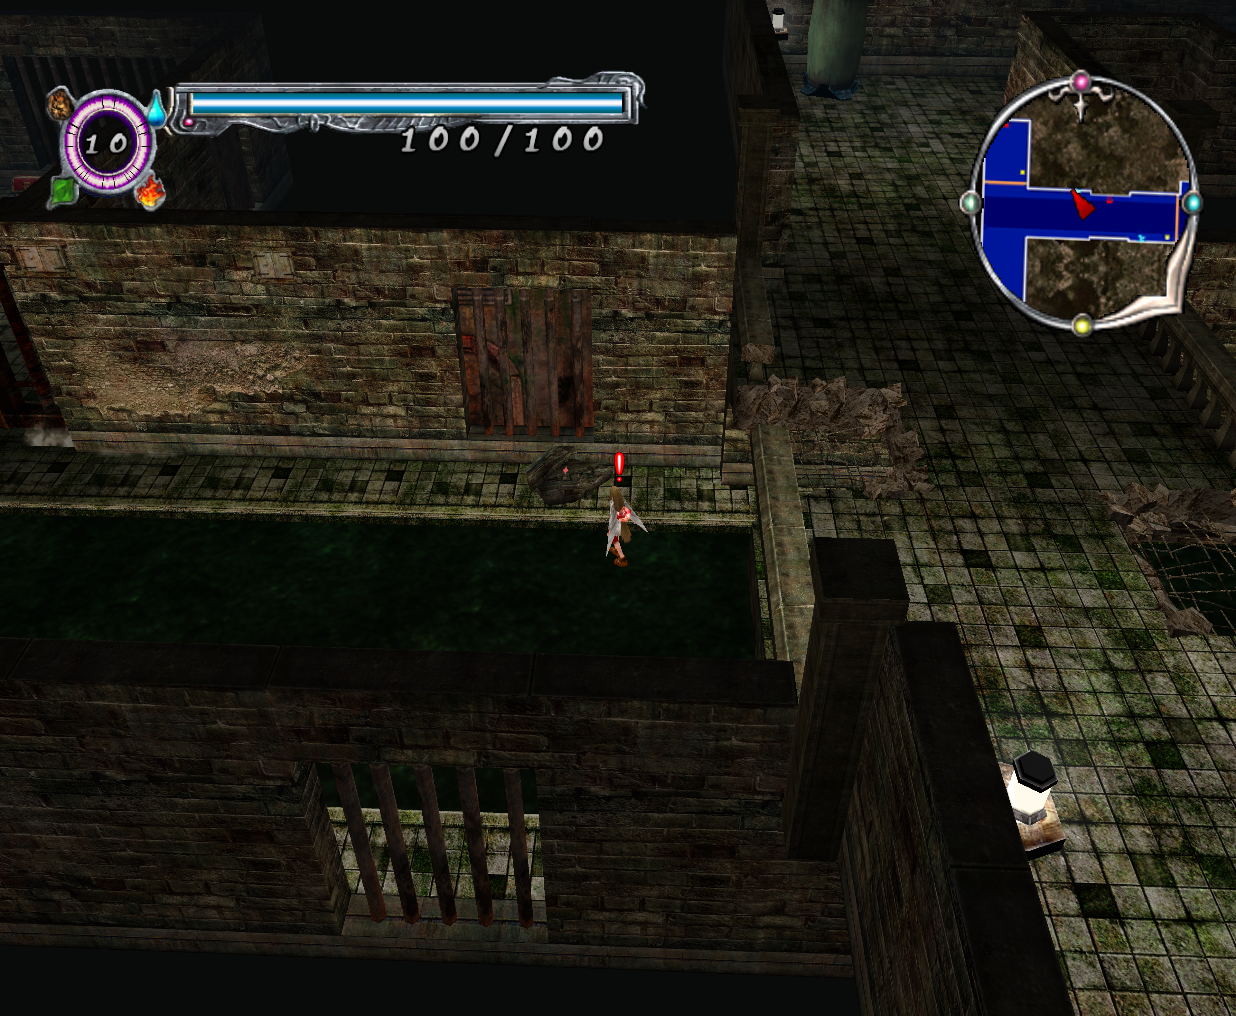
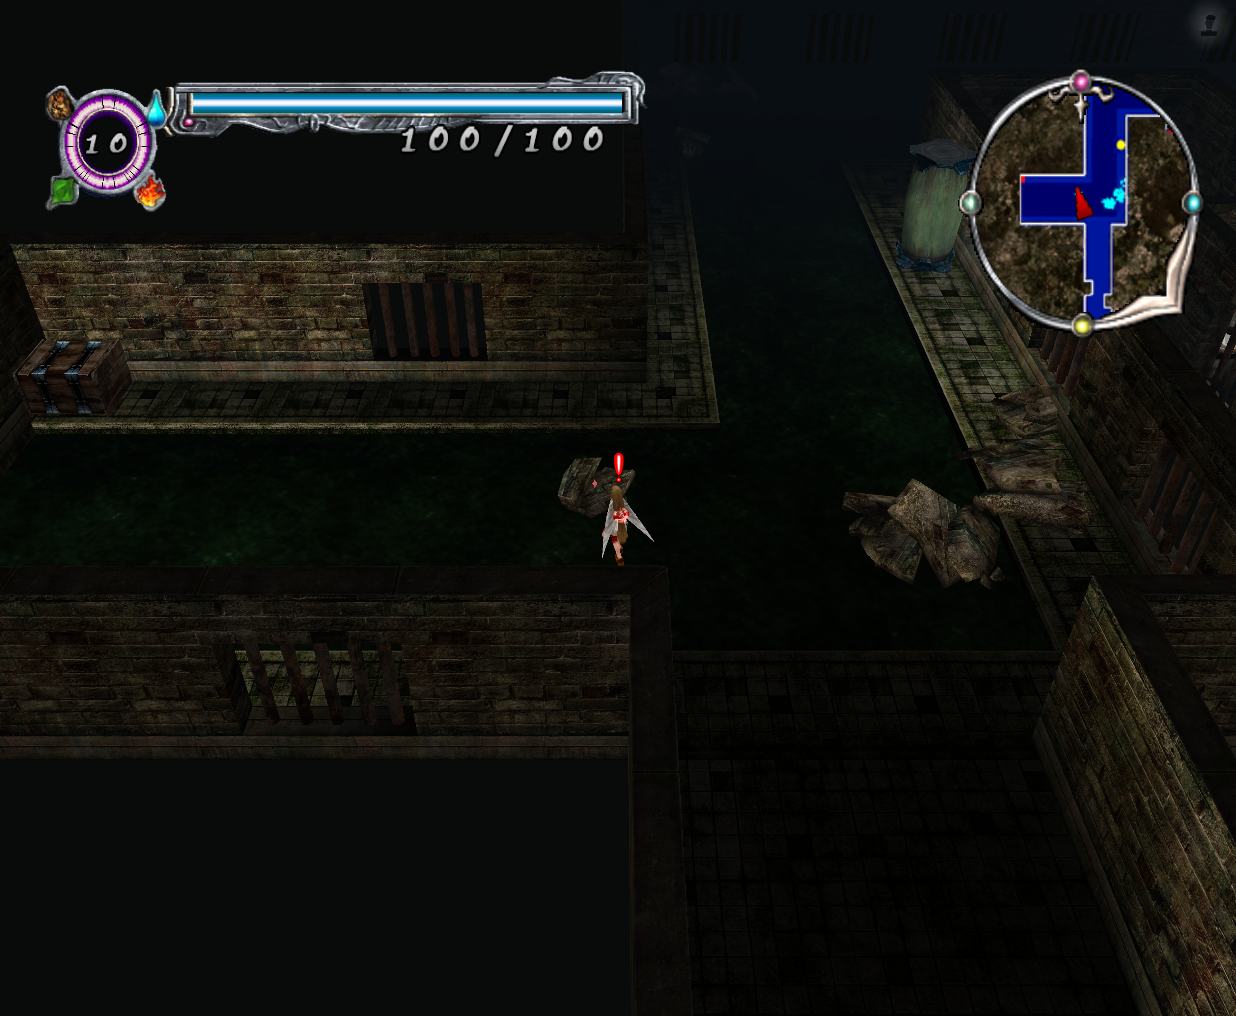
Shayel Passage is a dark, dank sewer, full of stagnant water and rubble from its crumbling infrastructure. There are windows throughout the passage, all of them barred.
Summary
Upon learning of her father’s destination from Lord Unther in Rhos-Ami, Princess Katia decided to use Shayel Passage, a sewer leading directly to the Castle Grayl, as a shortcut, in hopes of beating him there. A Mind Flayer in Shayel Passage stole the key to the back gates of the Castle Grayl, and was defeated by Katia, along with all of its spawn.
Layout
As Shayel Passage is a sewer, it is full of dirty water. Katia will have to wade through it, so it will decrease her movement speed. Additionally, most enemies in this level can inflict the Paralysis status, so this stage can be frustratingly slow to go through and can make it harder to attack and dodge enemies.
To progress faster through this stage, Katia should move to solid ground as much as she can. However, a lot of the pathways on the sides of the water will have piles of rubble on them, so she won't always be able to avoid the sewage.
Area Progression
To complete the level and reach the Castle Grayl, Katia needs to find the key to open the doors at the exit. To do this, she has to break all five water tanks so that the boss will appear. After defeating the boss, she will get the key to the access doors that lead to the Castle Grayl.
Water Tanks
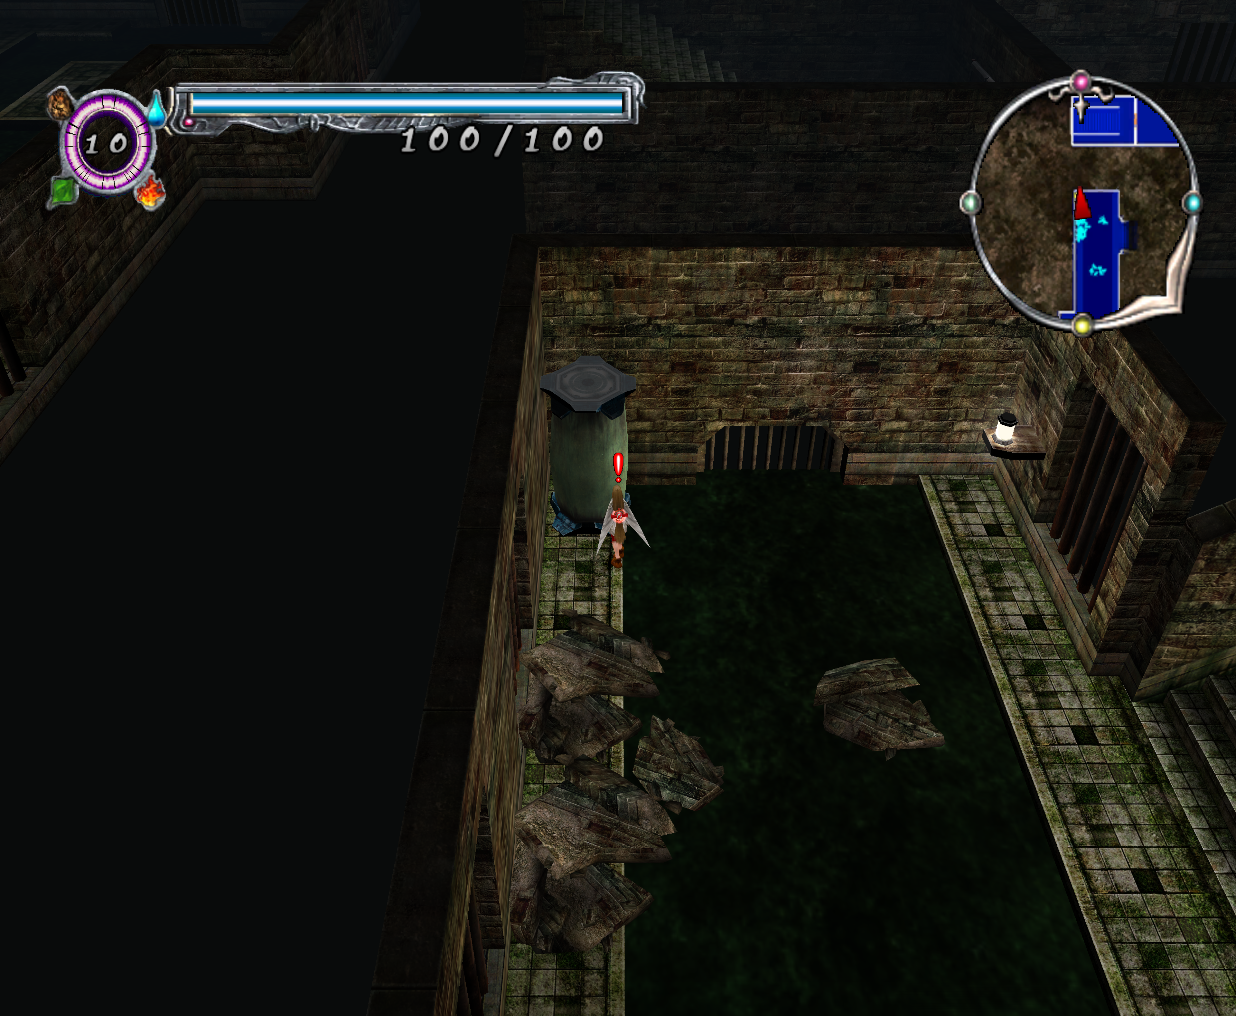
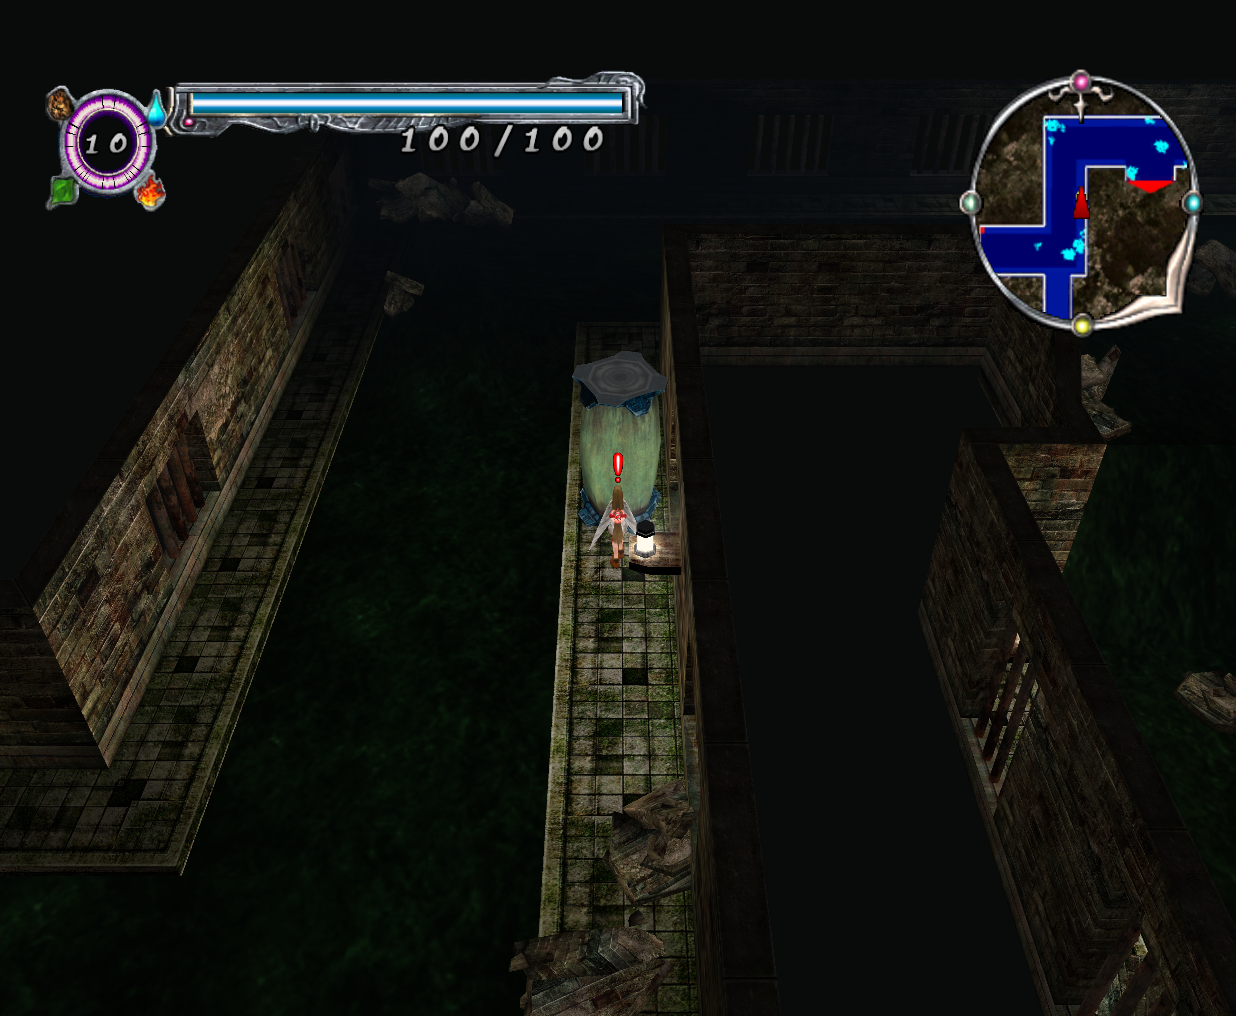
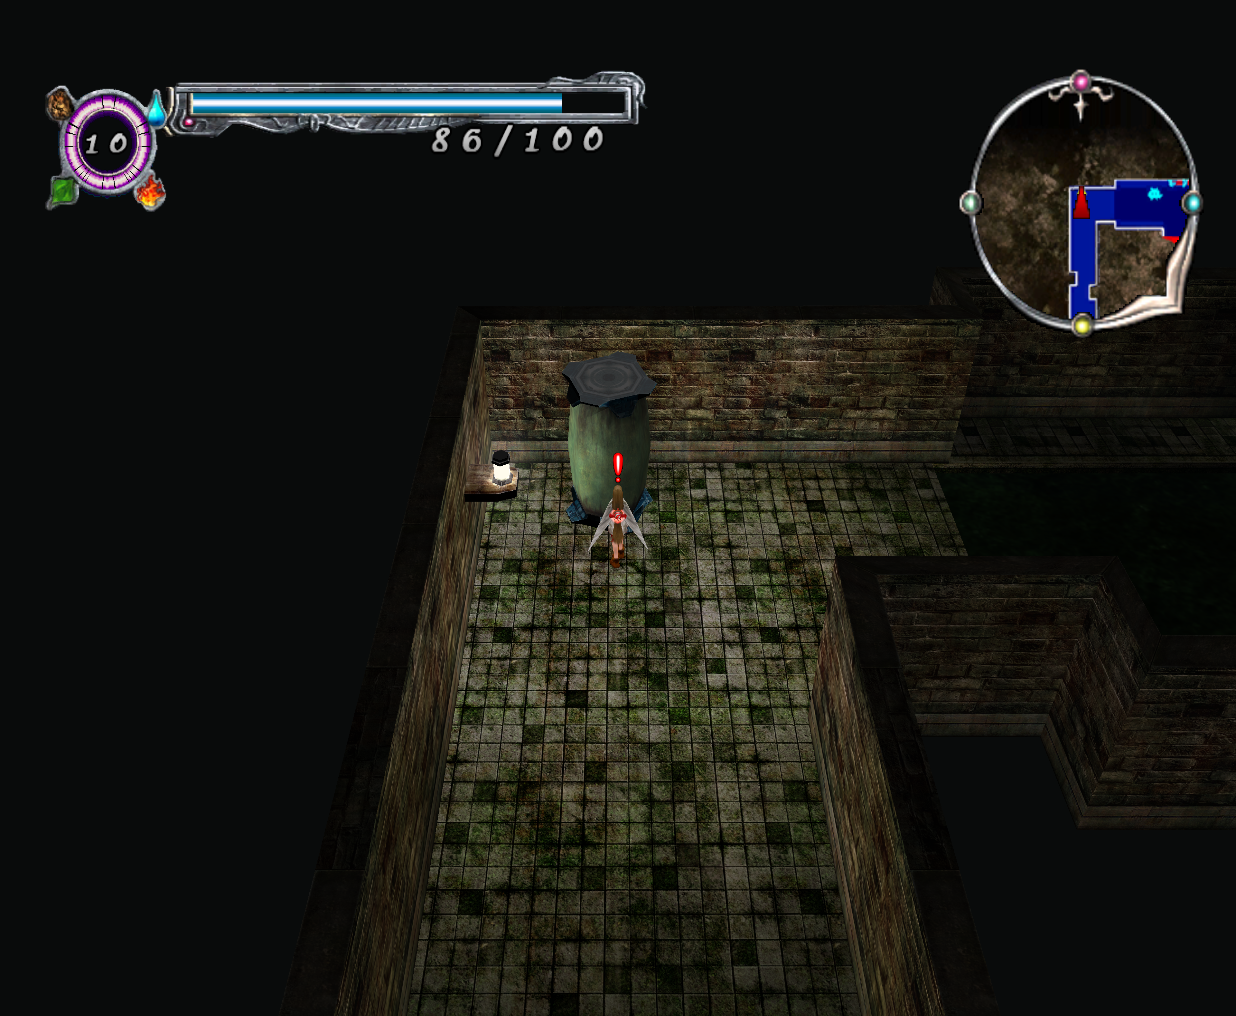
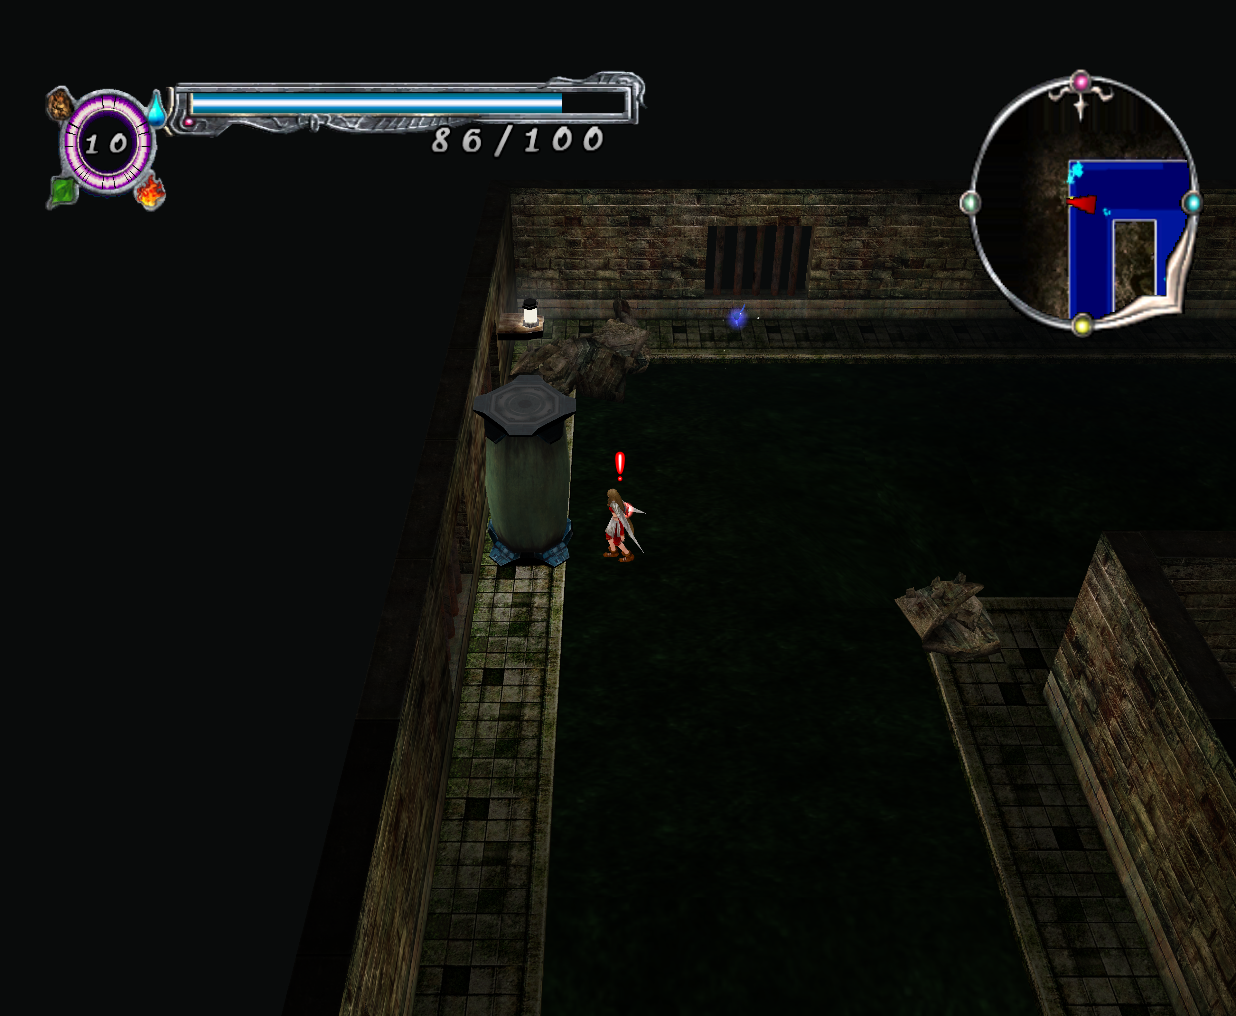
Five water tanks are in Shayel Passage. If Katia interacts one, it will break and enemy monsters will break out and attack. After every water tank battle, a torch will light where the boss is fought. Once all five are lit, the boss will appear.
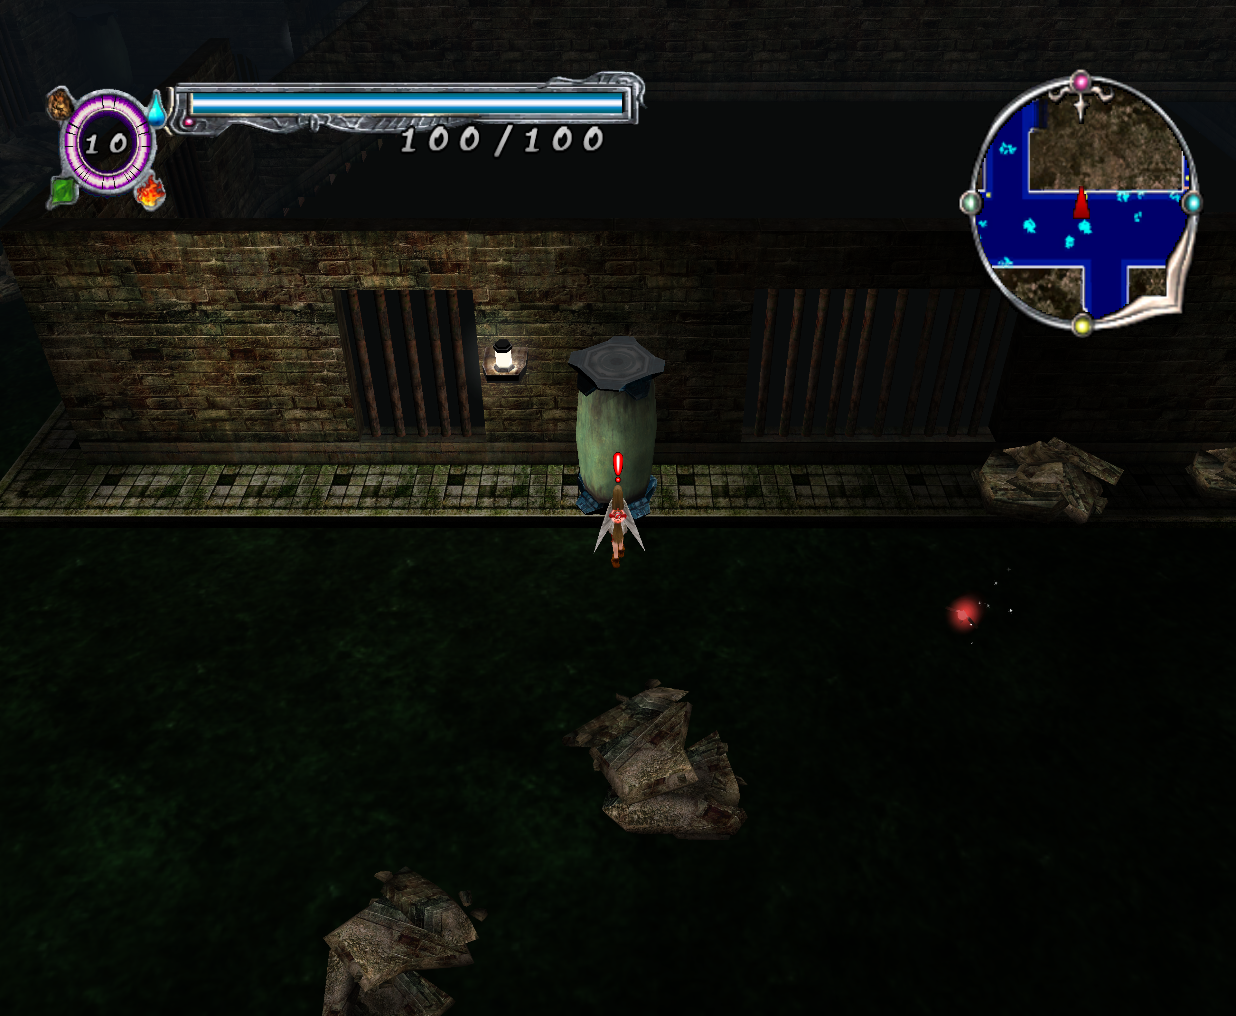
Water Tank 1
On the way to the first water tank, Katia will find the first and second Red Fairies.
The first water tank contains one Flayer Spawn.
Water Tank 2
The way to the second water tank is by going left past the first. The way there is where Katia can find the third Red Fairy and a switch to the gates in the level.
The second water tank contains a Dragonoid and a Flayer Spawn.
Water Tank 3
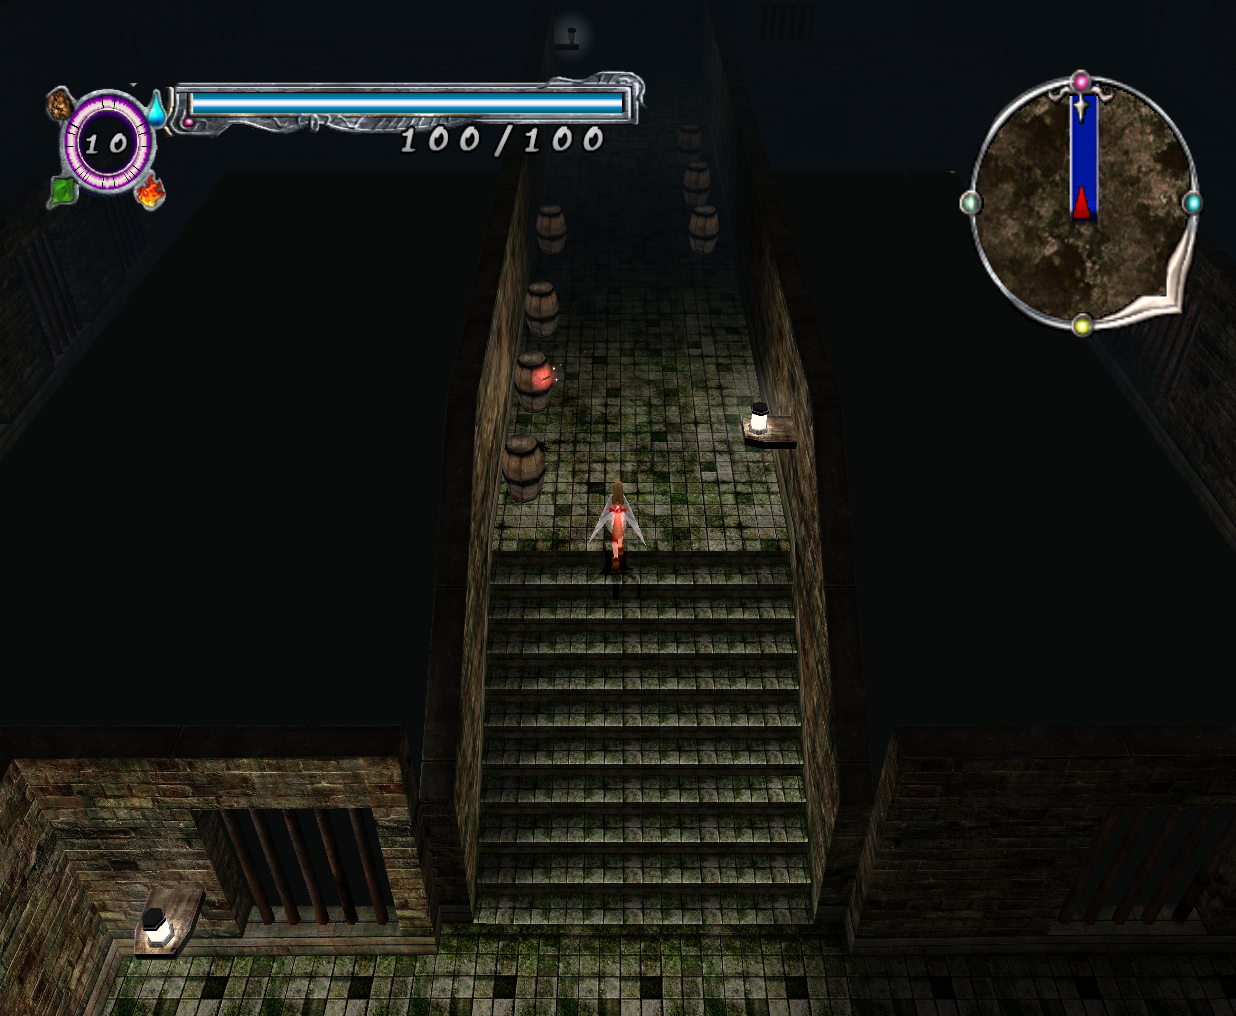
Next to the second water tank is a set of stairs and dry land. Past the stairs is a hallway full of barrels, with a hidden Giant Crab card underneath the fourth barrel on the left, and the fourth Red Fairy floating out in the open. After the hallway is the first overpass, and going past it will take Katia to the third water tank.
The third water tank contains a Flayer Spawn and a Water Hopper.
Water Tank 4
To the right side of the third water tank is a path full of more sewage.The beginning of the left side of this path has three chests separated by rubble, while the right side has a slope that leads to the first floor and a sign that warns about the slope. The first chest contains a Skeleton card, the second holds a Sea Monk card, and the third has another Skeleton card. By walking along the sidewalk on the left of the path after the chests, Katia can find the fourth water tank.
The fourth water tank contains Flayer Spawn and a Giant Crab.
Water Tank 5
After the fourth water tank is a path to the right. The wall at the end before turning the corner has two chests in a row. the one on the left has a Ghoul card, while the one on the right has a Mummy card. To the right of these chests is more solid ground and a room with rates and barrels that can't be broken, and past this room is the second overpass and the level's first Deck Point. Once Katia goes past the overpass, she can find the fifth Red Fairy hiding in a pile of rubble in the water. To the left is a dead end with a crate that has a chest with a Running Bird card inside, and on the other path is the way through the rest of the level and the fifth water tank.
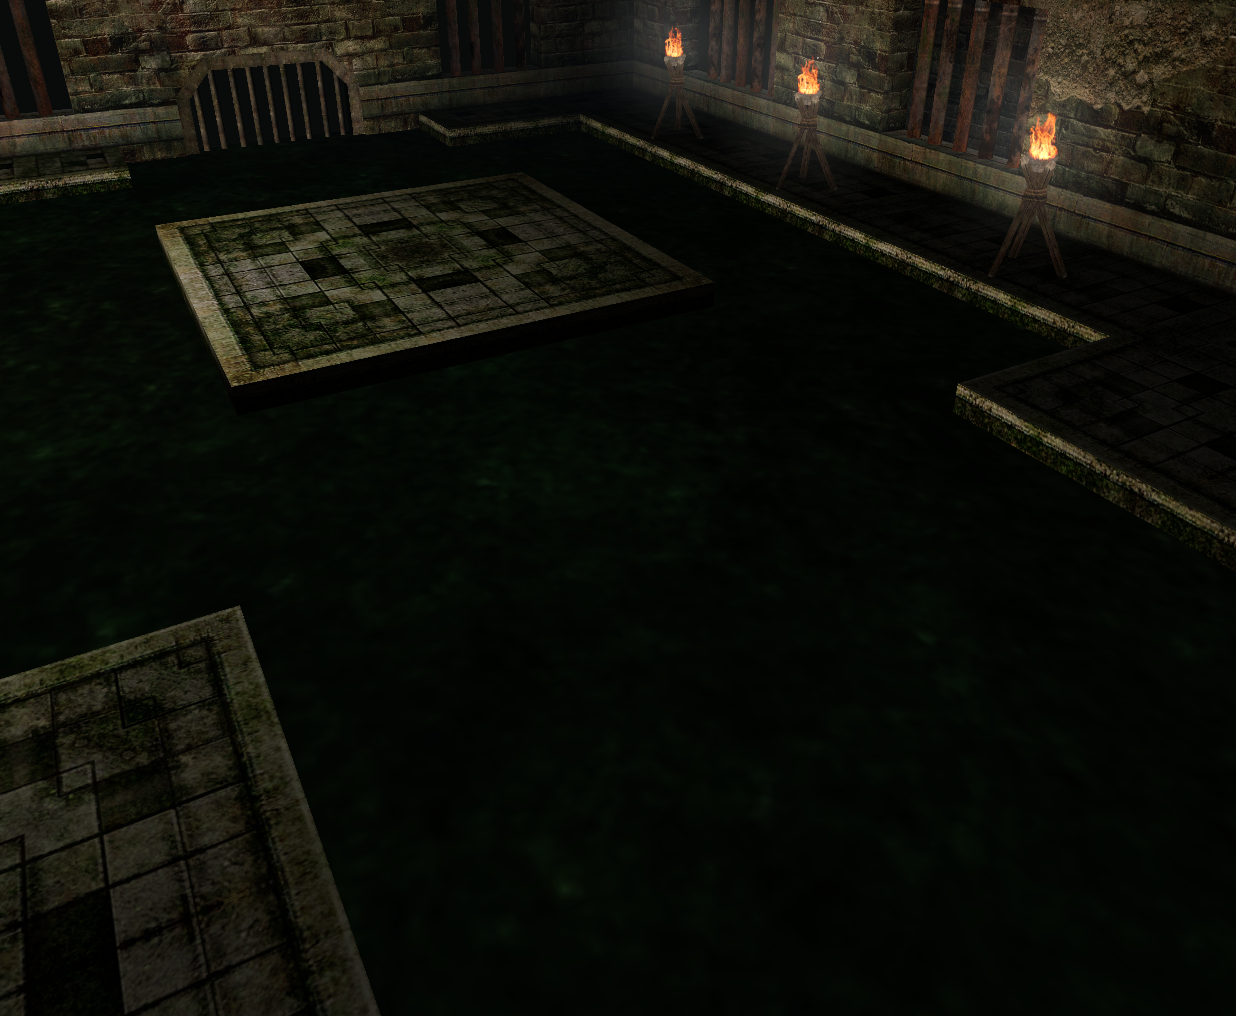 The fifth water tank contains a Dragonoid, a Flayer Spawn, and a Water Hopper. If this is the last of the water tanks to be broken, a cutscene will play that will show the last torch in the boss room being lit.
Past the last water tank is a dark corner that goes left. On this part of the path is another slope with a warning sign and three chests in a row on the right side, and the level's last Deck Point on the left. The first chest in the row of chests has a Venus Spider card, the second another Skeleton card, and the third has a Lizardman card.
Boss Battle
The boss battle of Shayel Passage is against a Mind Flayer and three Flayer Spawn.
The Mind Flayer is a slow moving, but powerful enemy monster. It has 100 Hit Points and 18 Defense. It's only attack, Mind Stun Blast, will make it form four balls of magical energy around itself. This attack has the Range rating of B, causes 5 base Damage, can hit multiple times, and may induce Paralysis.
Although defeating the Flayer Spawns can make the boss battle easier, only the Mind Flayer's defeat is necessary to end the battle.
Once the boss battle is over, Katia will automatically obtain the key to the access doors, so she will be able to complete the level.
To the Exit
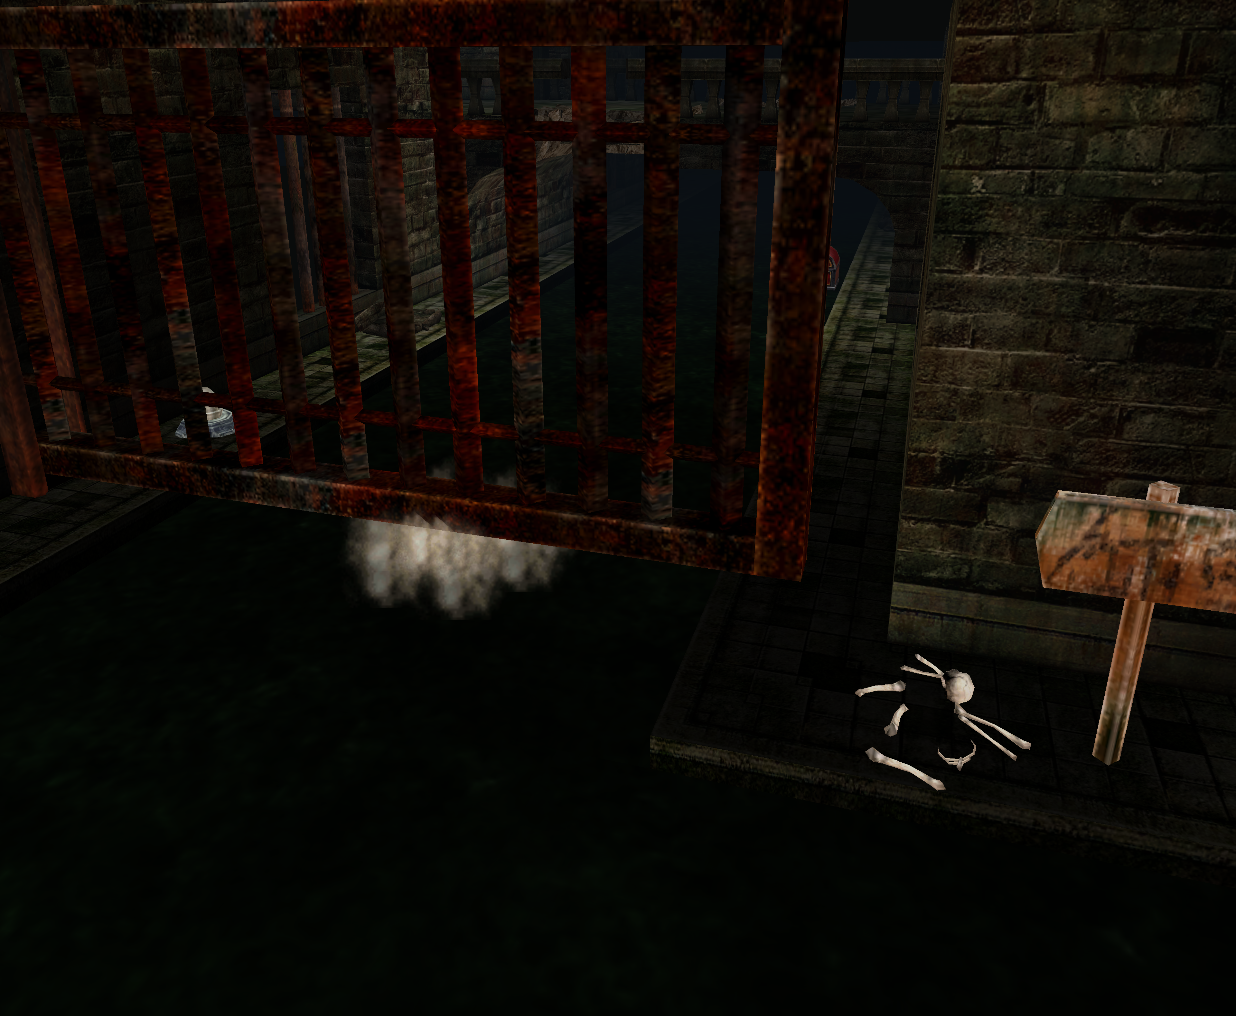 By going past the slope by the boss room, Katia can take a shortcut to the first floor and a switch. When she interacts with the switch, a cutscene will start that shows two gates sliding open. After the cutscene ends, Katia can go past the first gate to reach the end of the level. The gate will not stay open forever, but it takes a while to close. Katia can always go back to this switch to open it again if she takes too long to get there.
By going straight ahead, Katia can reach the first gate, a switch right behind it, and sign before the it that says where the path behind the gate goes. On the right side of the path past this gate is a chest under an overpass that contains a Dragonoid card, the level's last Red Fairy hidden in rubble, and gated jail cell. In the opposite direction is a hallway with more dry land that has a set of doors at the end.
Jail Cell (optional)
If the switch Katia pushed down earlier is still active, the gate facing the exit will still be open. Past this gate is a jail cell with two chests in a row at the back and another gate switch at the entrance. The chest on the left has a Maelstrom card, while the one on the right has a Carbuncle card. If she stays in the cell too long, the gate will close behind her, but she can still get out by using the switch in the cell.
If Katia managed to get past the first gate, but the one in front of the cell closed before she could get there, pressing the switch by the first gate will open it again.
Rare Encounter (optional)
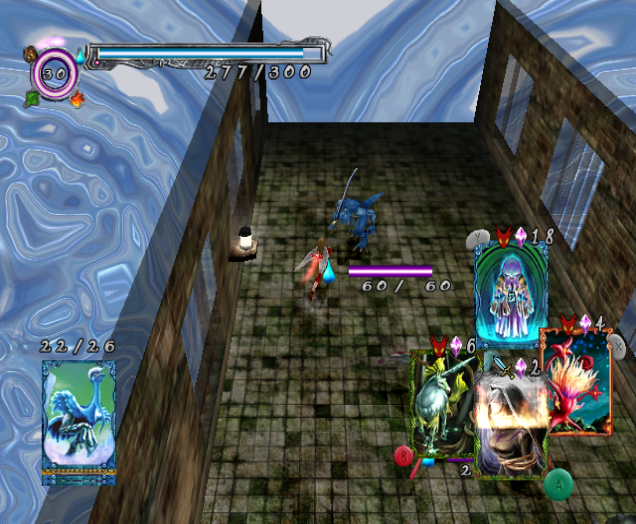 The rare enemy of Shayel Passage is a Basilisk, a Water attribute monster whose card form is a two-use Weapon type with an attack that can cause Petrifaction. One place enemy Basilisks can be found at is just before the exit. While they can be found in two other areas in this level, this spot has solid ground, so looking for them here can make finding and battling them easier and faster.
The Basilisk is a fast moving enemy monster. It has 60 Hit Points and 10 Defense. It has two attacks, both of which can cause Petrifaction. Its Slash of Stone attack has the Range rating of D and causes 18 base Damage, while its Blades of Stone attack has the Range rating of C and causes 24 base Damage.
To Castle Grayl
Once Katia interacts with the access doors when she has the key, the doors will open, the mission will end, and the next level, The Castle Grayl, will appear on the World Map.
Enemies Encountered
Monsters
- Basilisk - Rare. Can be found in three places: in a room close to the entrance of the Castle Grayl, in the corner past the last water tank, and by the sign next to the second slope.
- Dragonoid
- Flayer Spawn
- Giant Crab
- Water Hopper
Bosses
Collectibles
Cards
Cards in Chests
- Dragonoid - On the first Floor, under the first bridge.
- Carbuncle - On the first floor, in a row of two chests in the room close to the level's exit that is blocked by a gate. This card is in the chest farthest from the wall lamp.
- Maelstrom - On the first floor, in a row of two chests in the room close to the level's exit that is blocked by a gate. This card is in the chest closest to the wall lamp.
- Skeleton - On the second floor, in a row of three chests separated after the third. This card is in the first chest.
- Sea Monk - On the second floor, in a row of three chests after the third water tank. This card is in the second chest.
- Skeleton - On the second floor, in a row of three chests after the third water tank. This card is in the third chest.
- Ghoul - On the second floor, in a row of two chests past the fourth water tank and before the long room with three crates and two barrels. This card is in the very corner.
- Mummy - On the second floor, in a row of two chests past the fourth water tank and before the long room with three crates and two barrels. This card is closer to the two piles of rubble nearby.
- Running Bird - On the second floor, in a breakable crate at the dead end by the last water tank.
- Venus Spider - On the second floor, in a row of three chests by the last Deck Point. This card is in the first chest.
- Skeleton - On the second floor, in a row of three chests by the last Deck Point. This card is in the second chest.
- Lizardman - On the second floor, in a row of three chests by the last Deck Point. This card is in the third chest.
Hidden Cards
- Giant Crab - On the second floor. Under the fourth breakable barrel on the left side of the hallway past the stairs by the second water tank.
Rewarded Cards
- There are no cards rewarded in this level.
Items
- The key to the access door - Automatically obtained after winning the boss fight.
Red Fairies
Shayel Passage has 6 Red Fairies. The first is by the entrance of the level, the second is before the first water tank, the third is before the first switch, the fourth is hidden in a small pile of rubble by the second overpass, the fifth is in the hallway lined with barrels, and the sixth is hidden inside a small pile of rubble in the water before the last water tank.
Level Bonus
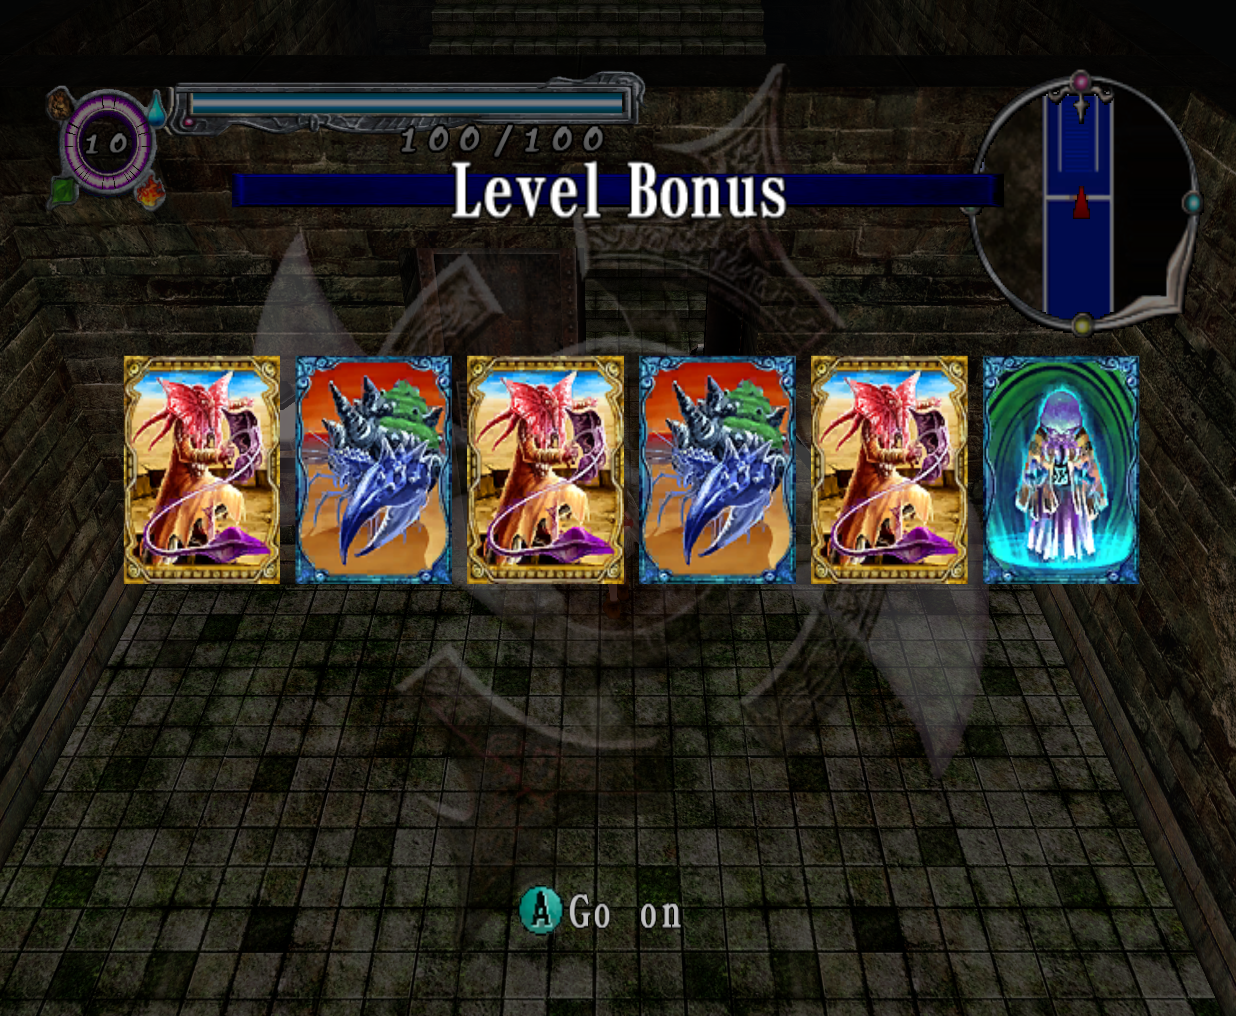
- x3 Dragonoid
- x2 Giant Crab
- Mind Flayer
Cutscenes
?
Glitches
- ?
Trivia
- ?
Gallery