This page refers to Sarvan, a level in Lost Kingdoms II. For info on the Lost Kingdoms version of this stage, see Bridge of Sarvan.
The translation of the Japanese name is unofficial, so it may contain errors.
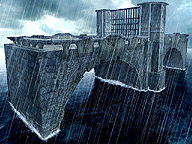
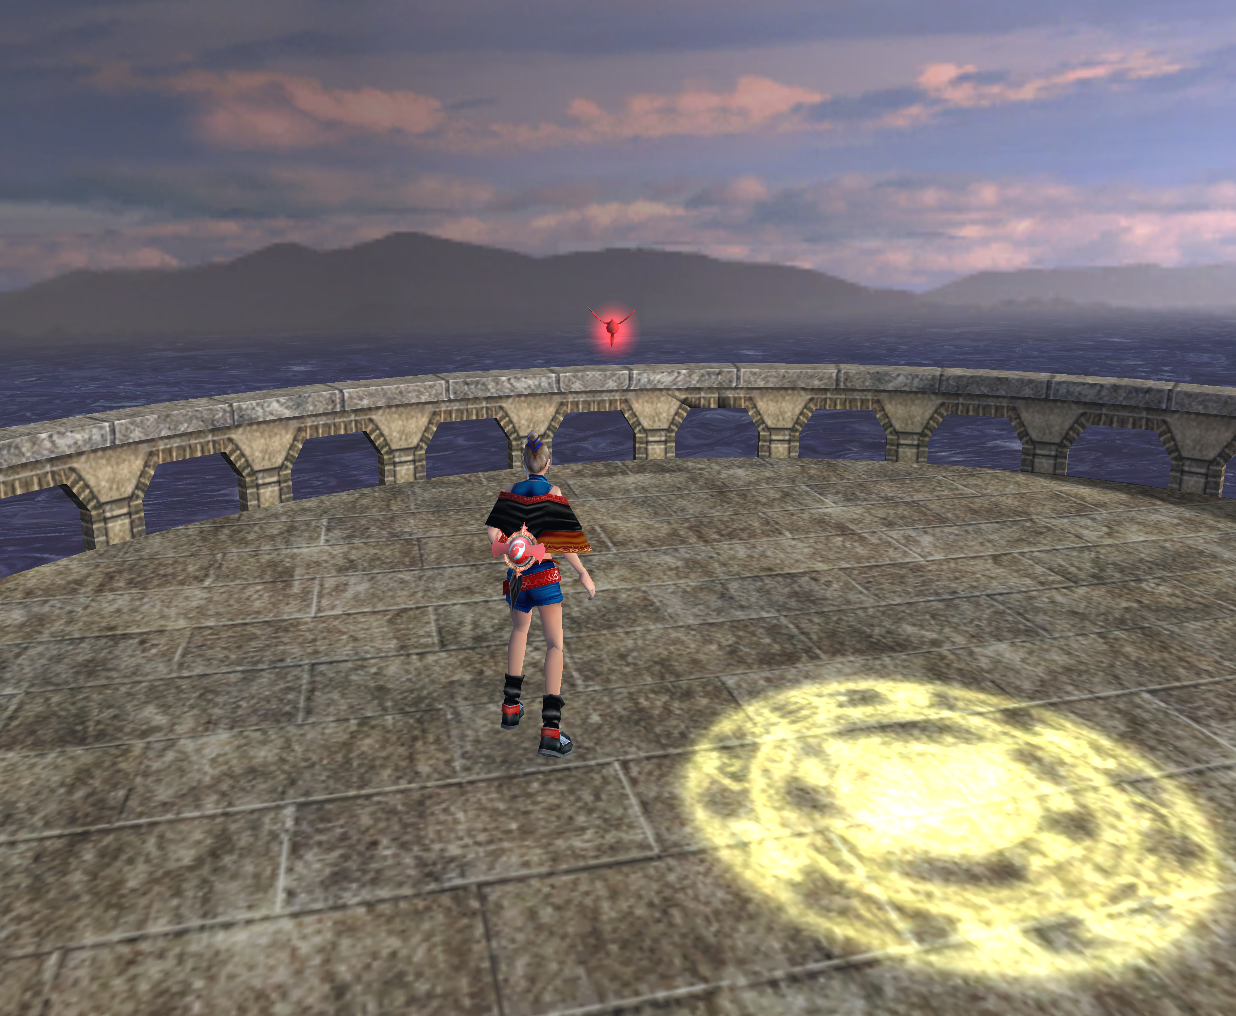
 Sarvan (Japanese: ソアージュ, Soaaju [lit: "Soage"]) is a location in Lost Kingdoms II. It is a bridge that leads to and from the Kendaria and Alanjeh regions.
Appearance
?
Summary
After going through the Fossil Boneyard, Tara Grimface travels across the bridge of Sarvan to reach Alanjeh and meet the queen.
Layout
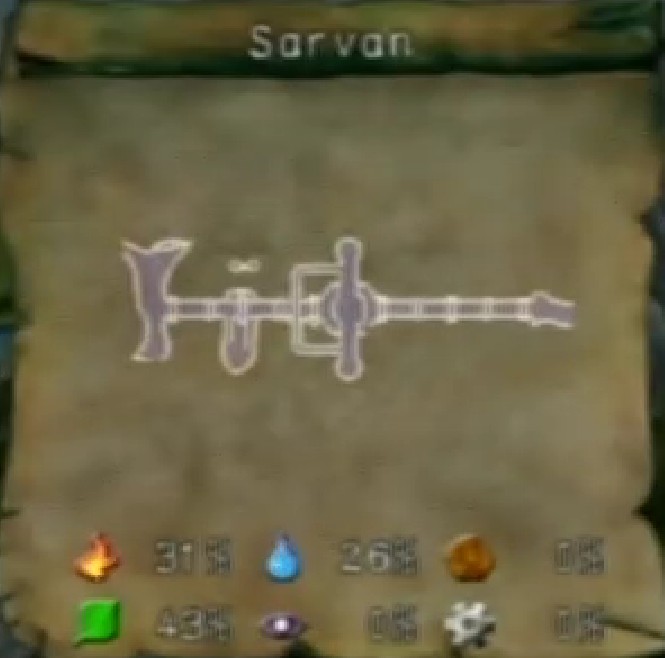
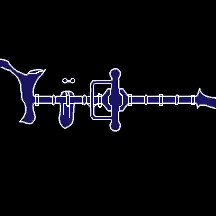
Sarvan is a linear level that has several iron gates blocking the way to the other side. These gates are lowered by interacting with Unicorn switches, however, they will not stay lowered forever. If Tara takes to long to open them, she will have to use the switches again.
Near the end of the level, there is a drawbridge puzzle that can only be solved by using stationary Helper type cards on magic circles, such as a Mandragora or a Treant.
Area Progression
Sarvan only has one mission. The goal of the mission is to reach the exit on the other side of the bridge.
Entrance
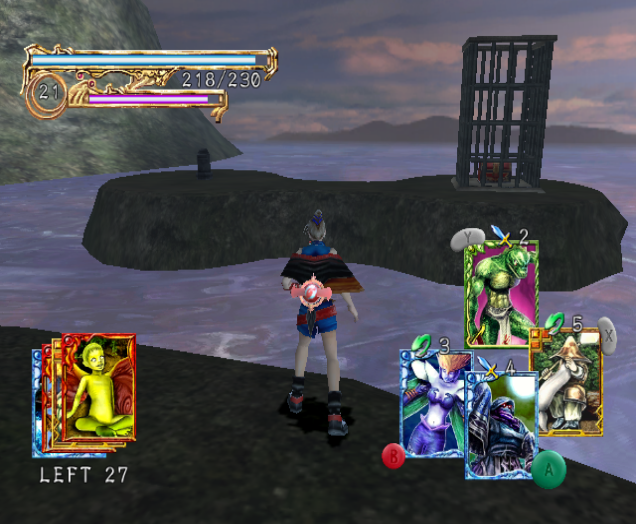
In front of the starting point of the level is a ledge with a chest on it that contains a Marid card. If Tara uses a Hell Hound card, she can reach the chest.
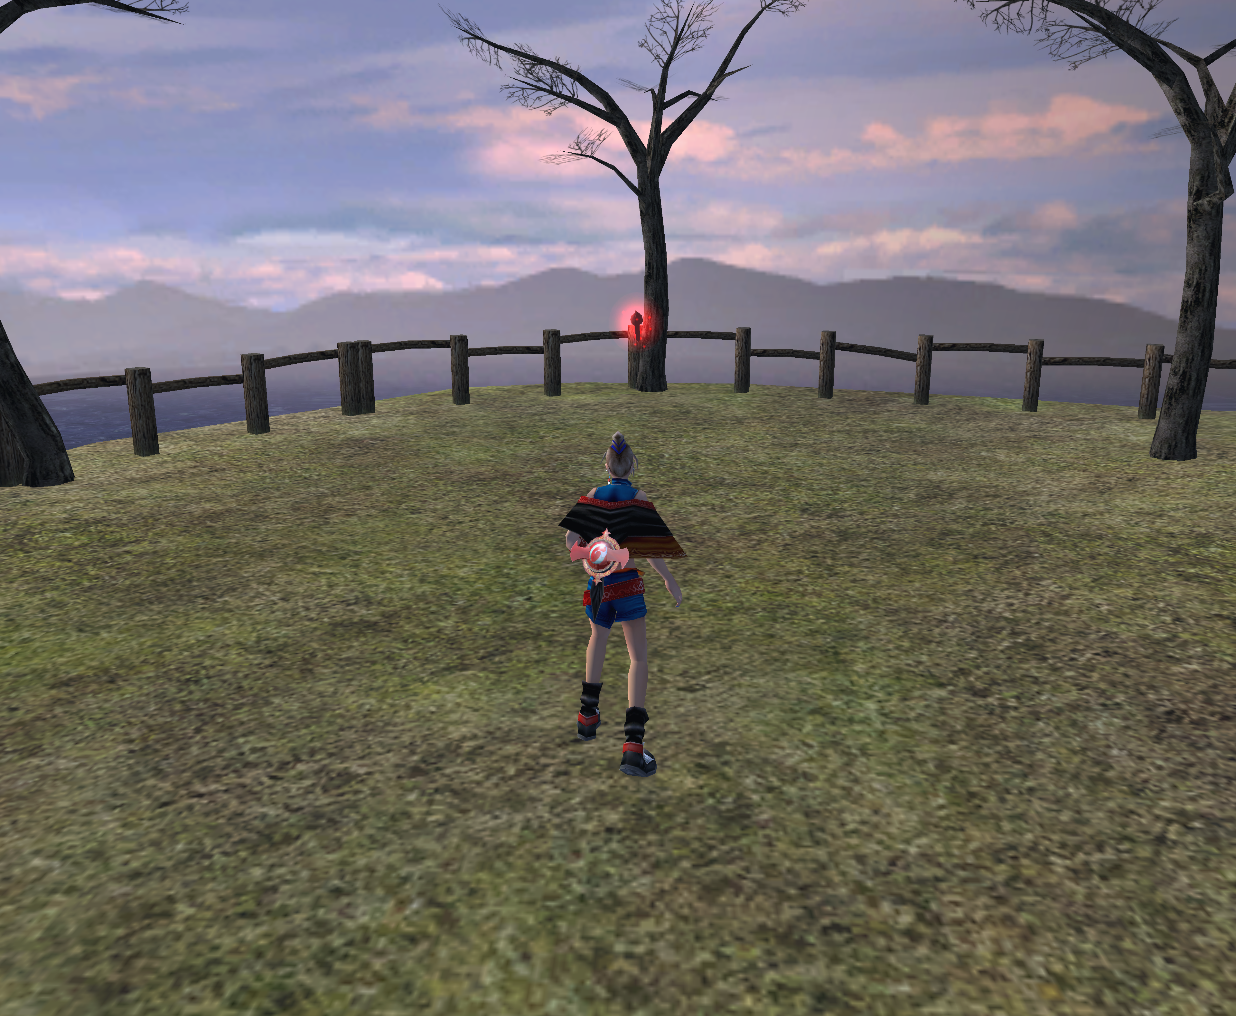
To the right is the start of the bridge, the first gate and the two unicorn switches that operate it, Even farther right is the level's first Red Fairy.
Gate 1
The first gate Tara will find is the one at the beginning of the bridge. It can be opened by operating the two unicorn switches nearby.
When Tara approaches the gate, two Jade Giants will appear. If aimed carefully, a single use of a Z-Effected Dragon Knight card can one-shot both of them at once. Once both Jade Giants are defeated, Tara can safely activate the unicorn switches to open the gate.
Bridge Section 1
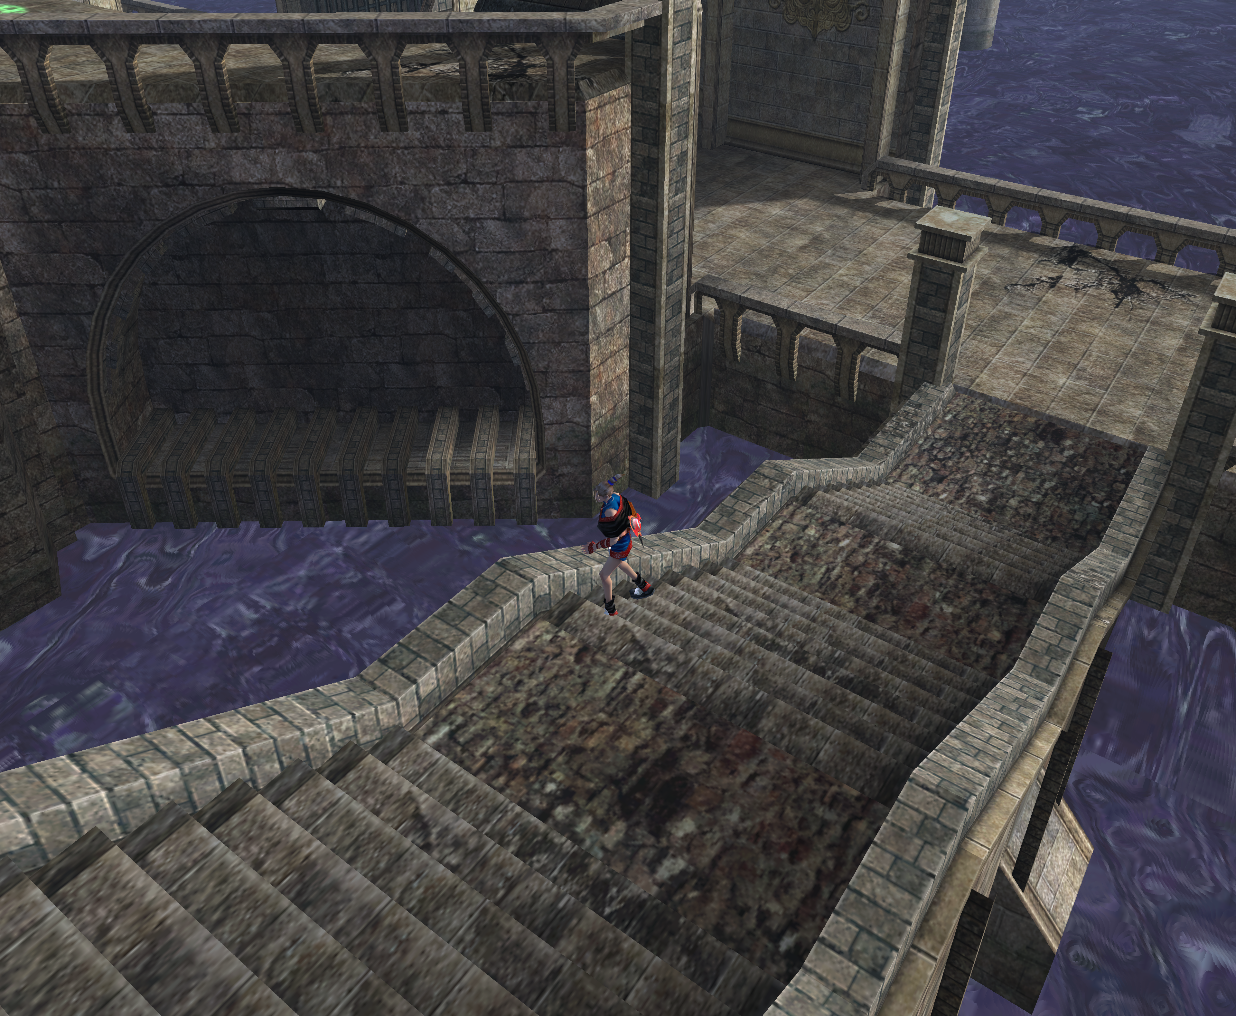
Past the first gate is the path leading to the second one. A lone Jade Giant patrols the path, and there are steps on the right side of this section of the bridge that lead down to an island next to another island.
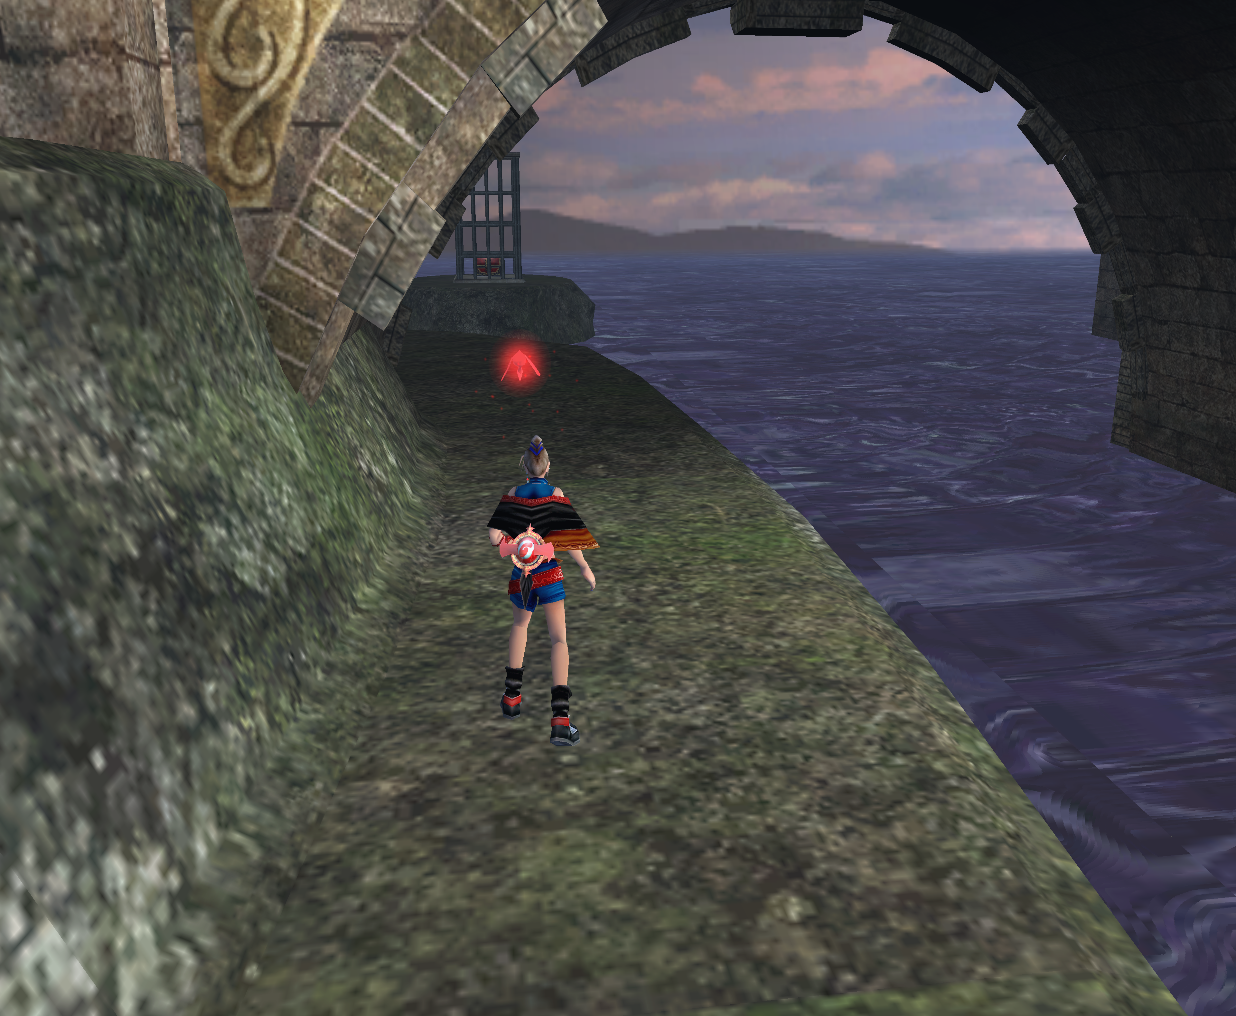
On the island underneath the bridge are a row three chests on the right side, a path under the bridge that leads to the next island. The contents of the chests from right to left are a Decoy Pillar card, a Jade Giant card, and 150 Magic Stones. When Tara approaches the chests, an Evil Eye and Siren will spawn. The path under the bridge has the level's second Red Fairy who will reveal information about the Lethal Orbit combo when talked to. The island the path leads to can't be reached unless Tara has a flying Transform type card.
Gate 2
To lower the second gate, Tara needs to interact with the four unicorn switches found in each corner of the section of the bridge. Once it lowers, she can go to the next section of the bridge, but a Siren will spawn right afterwards. Since Sirens are immobile, Tara can move forward by hugging either side of the bridge to go to the next area to avoid wasting cards and/or getting hurt.
Bridge Section 2
At the beginning of the second section of the bridge is a chest and a path to stairs on each side. The left chest contains a Mandragora card, while the right holds a Gold Butterfly card. The stairs on both sides of the main bridge lead to the lower floor of the bridge. Straight ahead is a magic circle and two drawbridges, and past these drawbridges. On the lower floor is a Deck Point on the left, the level's last Red Fairy on the right, and a chest and a plaque in the center.
Several more enemies will appear when Tara arrives at this section. An Evil Eye will spawn on the path leading to the drawbridges, a Jade Giant will spawn on the path to the right, and Gold Butterfly, another Jade Giant, and a Siren will spawn on the lower floor.
As the Jade Giant and Evil Eye will try to attack Tara's stationary cards, the Gold Butterfly can slow her down, and all of these enemies who move around may wander into the Trap cards she uses and set them off, clearing both floors of enemies is recommended before attempting the puzzle. Additionally, keeping at least one Z-Effected Dragon Knight card in Tara's hand before she crosses over to the other side of the main bridge is also advised, as a Jade Giant will appear afterwards and attack her or any additional stationary cards she may use.
The Chest by the Plaque or the Island Chest (optional)
There are two special chests at Sarvan that are linked to each other. If one is opened, the other will become impossible to open through normal gameplay. These chests are the one found in the center of the drawbridge puzzle and the one found on an island by the entrance.
The one at the puzzle contains a Hobgoblin card and can be opened without having to do anything, but a plaque nearby has a message on it that vaguely warns to not open it. The chest on the island has the rare Lucky Lion card, a card only obtainable in this level, and is fenced off by a gate with a switch next to it. In order to reach the island chest, Tara has to use a flying Transform type card, then press the switch next to it to lower the fence.
If the Hobgoblin card is collected, the switch to the fence around the island chest will sink into the ground and become inoperable. If the Lucky Lion card is collected instead, a fence will be raised around the drawbridge puzzle chest.
However, although it wasn't intended by the developers, there is a way to get the Lucky Lion card if the Hobgoblin card's chest was opened first. See the Glitches section for more info.
Drawbridge Puzzle
The drawbridge puzzle has two drawbridges and five magic circles in various colors. Each color of magic circle controls one half of a drawbridge; the green circle found on the side of the main bridge section that faces the previous parts of the level controls the first half of the left drawbridge, the blue one on the right side of the lower floor controls the second half of the left drawbridge, the yellow one on the left side of the lower floor controls the second half of the right drawbridge, and the two reds on the other side of the main bridge both control the first half of the right drawbridge. Each of the drawbridge halves are up by default, but placing stationary cards on the magic circles that control them will keep them down temporarily.
The way to the third section of the main bridge is past left drawbridge. The other one leads to a dead end with a chest whose color and contents differ between versions. In the US and PAL versions, the chest is red and contains a Devata card. In RUNE II, the Japanese version, the chest is blue and holds the Corten Mechanical Soldiers Music Card.
To get to the third section of the main bridge, stationary cards should be placed on the blue and green magic circles.
To lower the other drawbridge and reach the chest it leads to, the one on the left needs to be crossed while keeping the cards on the blue and green magic circles active. Once Tara is on the other side, a Jade Giant will spawn a short time afterwards by the first red magic circle. She needs to defeat it so she can place more stationary cards down safely. After the Jade Giant is dispatched, she needs to place a stationary card on each of the red magic circles, go back past the drawbridge she went down previously, discard the card on the green magic circle, then place another on the yellow circle. Afterwards, both halves of the drawbridge on the right side will lower and she can reach the chest. When she has collected the card inside this chest, she can discard the cards on the red circles, then place another on the green one to go back to the rest of the level.
Bridge Section 3 and Gate 3
Past the bridge puzzle is the third section of the bridge and at the end of this section this section is another gate. This gate will lower after interacting with the two unicorn switches behind the arch past the bridge puzzle. Two Evil Eyes will spawn in this section, while a Gold Butterfly will spawn behind the gate. Once the switches are interacted with, Tara can reach the next area.
Boss Battle
When the boss battle is about to start, a gate will raise, blocking the end of the bridge. The battle is against a Chimera and two Jade Giants. Defeating the Jade Giants is not required to lower the gate, although it may be easier to beat the Chimera with them out of the way.
The Chimera has the Fire attribute, 160 HP, and 5 Defense. It's only attack, Bull Charge, is a long range attack that does 36 Base Damage. It is a slow monster that won't attack its targets if they aren't in front of it.
Once the Chimera has been slain, the gate at the end of the bridge will lower, allowing Tara to reach the exit. After she reaches the exit, the mission will end.
Enemies Encountered
Monsters
Other Opponents
- This level only has normal monsters as enemies.
Bosses
This boss battle can be repeated, but the Level Bonus can only be accessed by winning it the first time.
Collectibles
Cards
Cards in Chests
- Marid - Found on the ledge by the entrance. Requires a high jumping Transform type card.
- Decoy Pillar - Found in the right chest in a row of 3 past the 1st set of stairs.
- Jade Giant - Found in the middle chest in a row of 3 past the 1st set of stairs.
- Mandragora - Found on the left side of the bridge just before the bridge puzzle.
- Gold Butterfly - Found on the right side of the bridge just before the bridge puzzle.
- Hobgoblin - Found in the middle of the bridge puzzle. Cannot be obtained if the Lucky Lion card is not collected.
- Devata LK2 / Corten Mechanical Soldiers RUNE II - Past the right set of drawbridges in the bridge puzzle. Requires the use of stationary cards.
- Lucky Lion - Found on the small island close to the larger island underneath the bridge. Requires a flying Transform type card. Cannot be obtained through normal gameplay if the Hobgoblin card has been collected.
Hidden Cards
- There are no cards hidden in this level.
Rewarded Cards
- There are no cards rewarded in this level.
Magic Stones
- 150 Magic Stones - Found in the left chest in a row of 3 past the 1st set of stairs.
Red Fairies
Sarvan has three Red Fairies. The first is on the right side of the starting area before the bridge, the second is on the path leading to the small island the underneath the bridge, and the third is by the yellow magic circle on the left side of the bridge puzzle.
Level Bonus
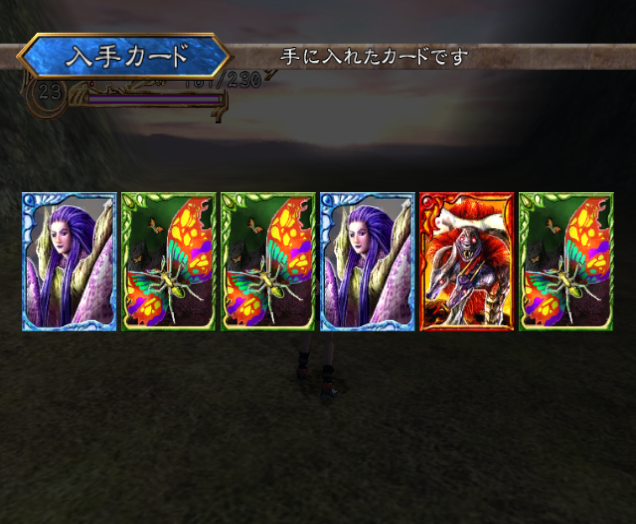
In Lost Kingdoms II
- x3 Gold Butterfly
- x2 Siren
- Chimera
In RUNE II
- This Level Bonus is the same in all versions of Lost Kingdoms II.
Glitches
- If the Hobgoblin card was obtained, there is an exploit that can allow the player to get the Lucky Lion card afterwards that uses both a Treant card and a Chariobot card. A video of this exploit can be found here.
- While the Gold Butterflies found here are supposed to have the Wood attribute, they have the Earth attribute in the US version.
- Regular enemies appear at the end of the bridge. However, approaching them triggers the boss fight, so they will despawn as soon as the battle starts.
- The boss fight at the end of this level is repeatable, but defeating these monsters does nothing, since Sarvan can only be cleared once. This also happens in RUNE II.
Trivia
- The water found in the RUNE II version this level is a lighter color than in the US version of Lost Kingdoms II.
Cutscenes
This location has no cutscenes.
Gallery