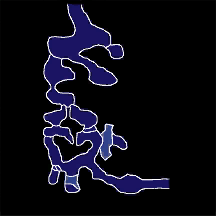
The translation of the Japanese name is unofficial, so it may contain errors. Fossil Boneyard (Japanese: 化石の墓場, かせきのはかば, Kaseki no Hakaba [lit. "Fossil Graveyard"]) is a location in Lost Kingdoms II found within the region of Kendaria. It is the eighth location visited in the main story.
Fossil Boneyard is where Tara can obtain the first jumping, Transform type card: the Hell Hound card. She can also encounter another of the Strangers here on a ledge by the entrance.
Appearance
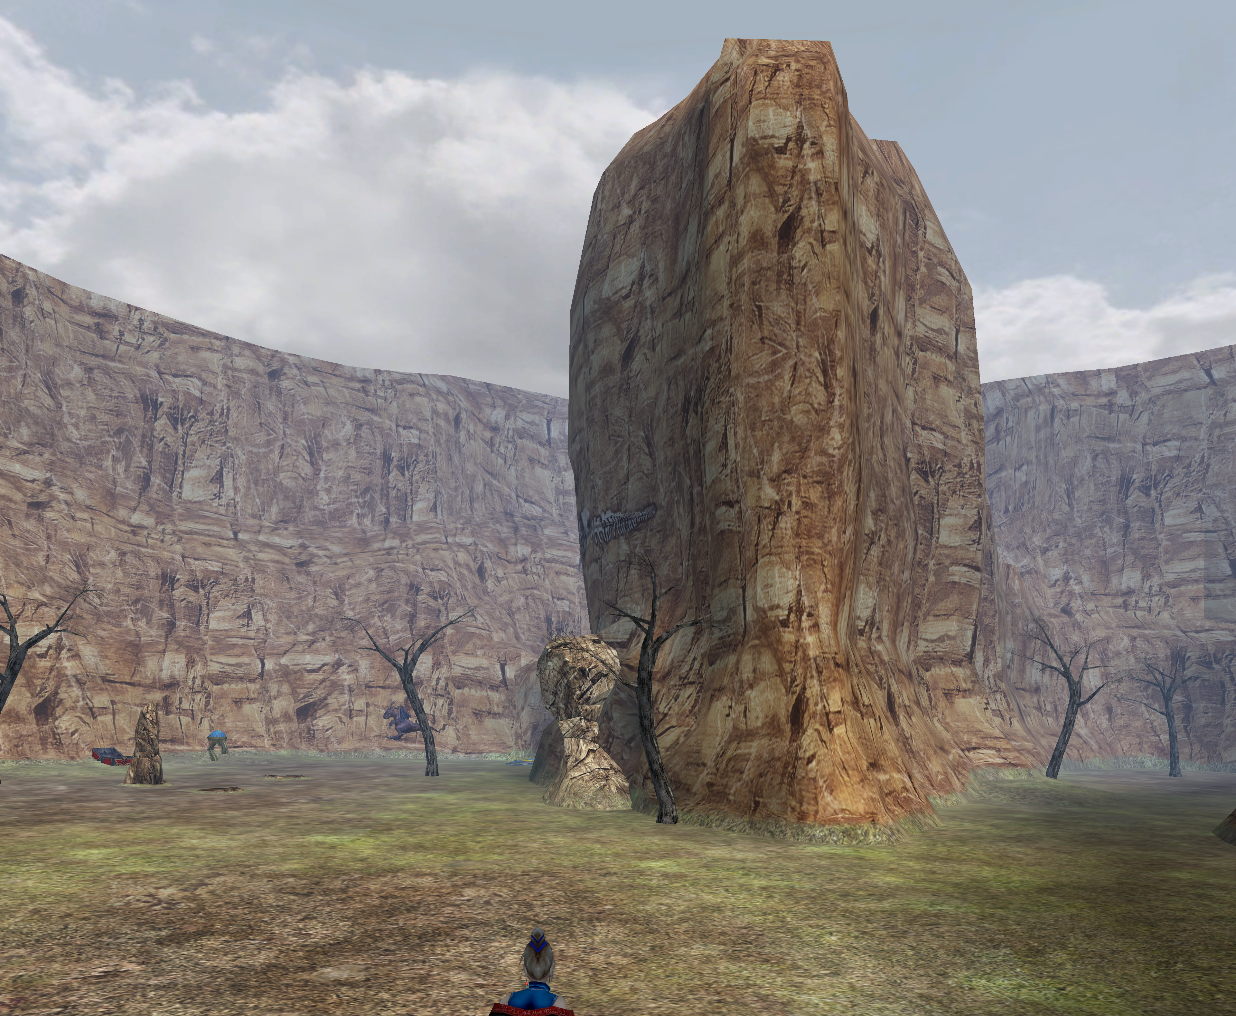
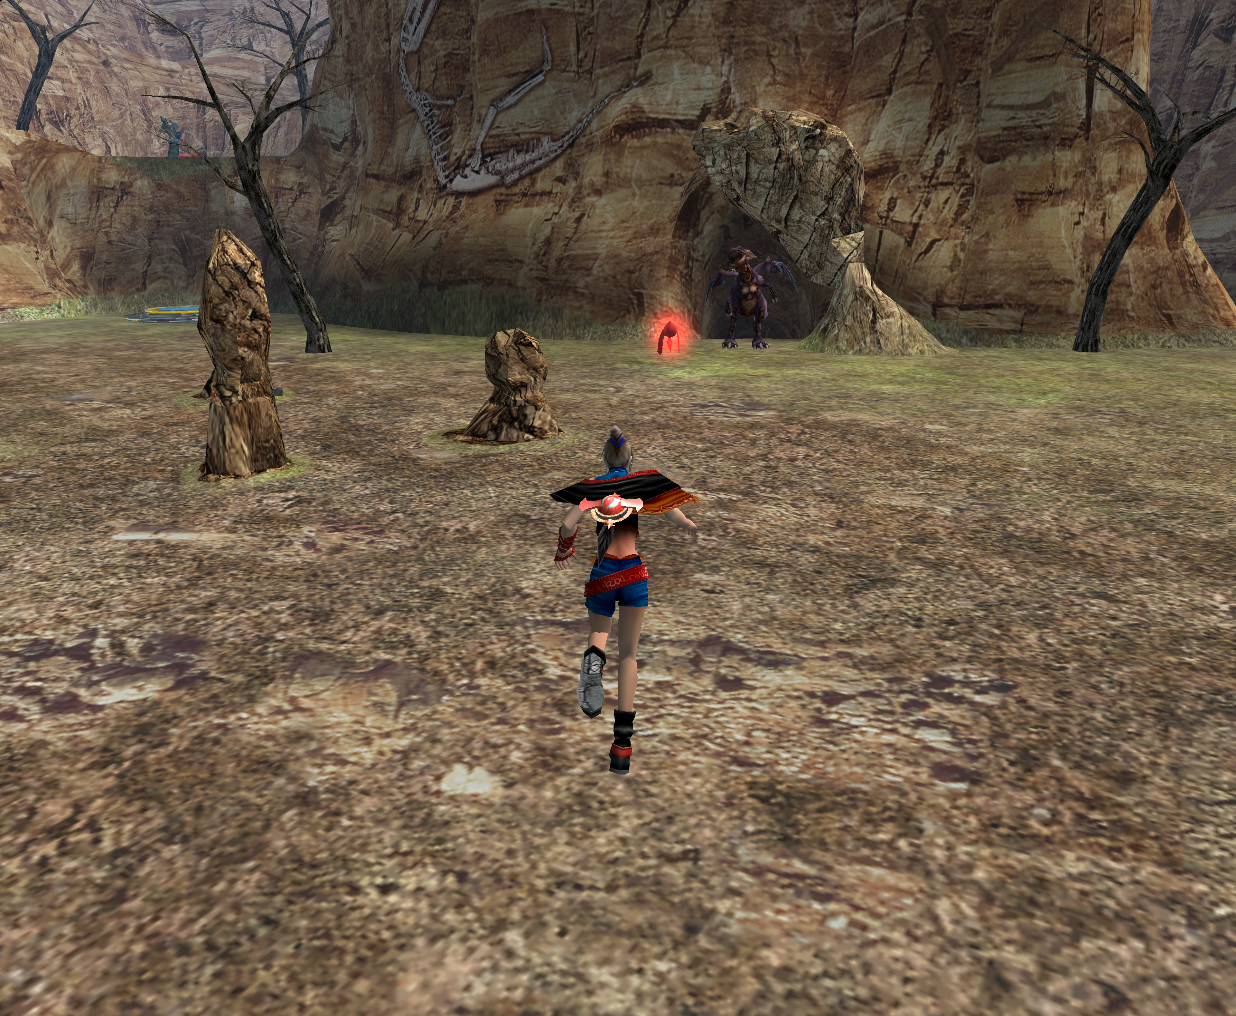
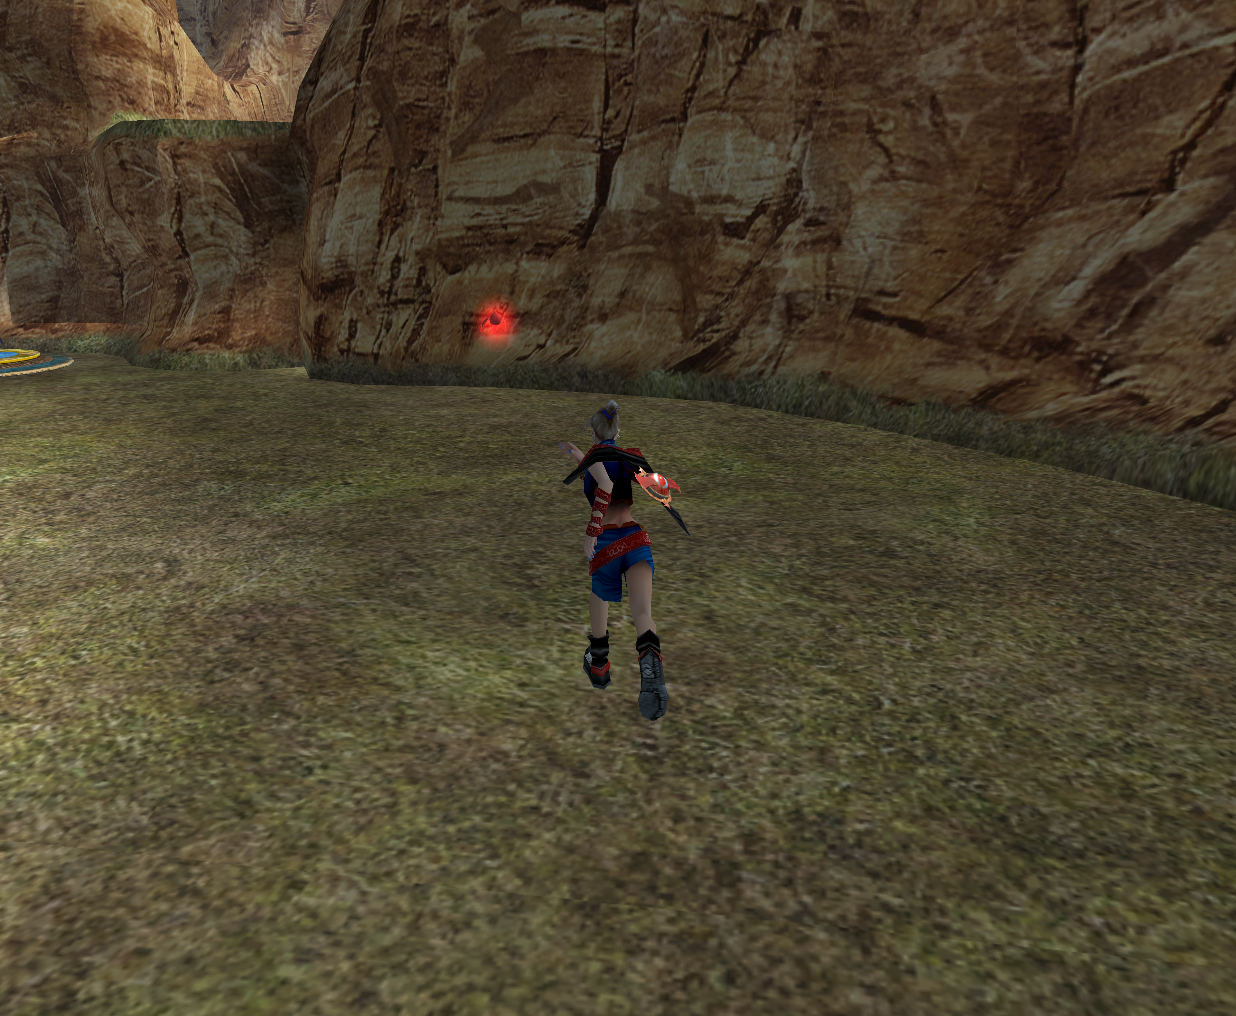
Fossil Boneyard is a location at the bottom of a massive canyon. It is littered with the nests of dragons. The level itself takes place during the day.
Fossil Boneyard appears to be an arid place. The grass growing there is a faded green, all the trees found there lack any leaves, and the only sources of water are two small streams before the exit.
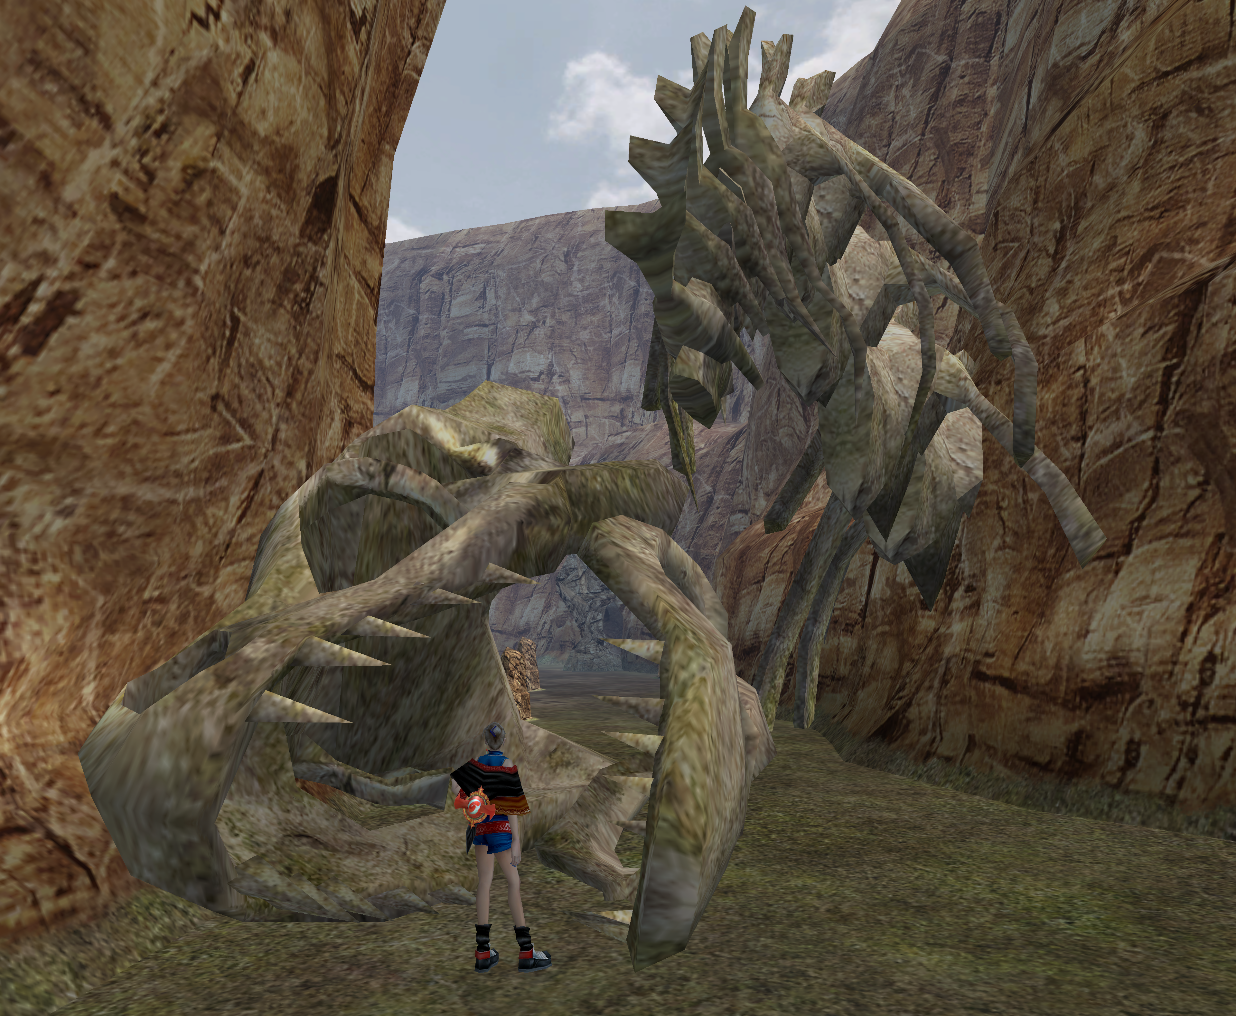
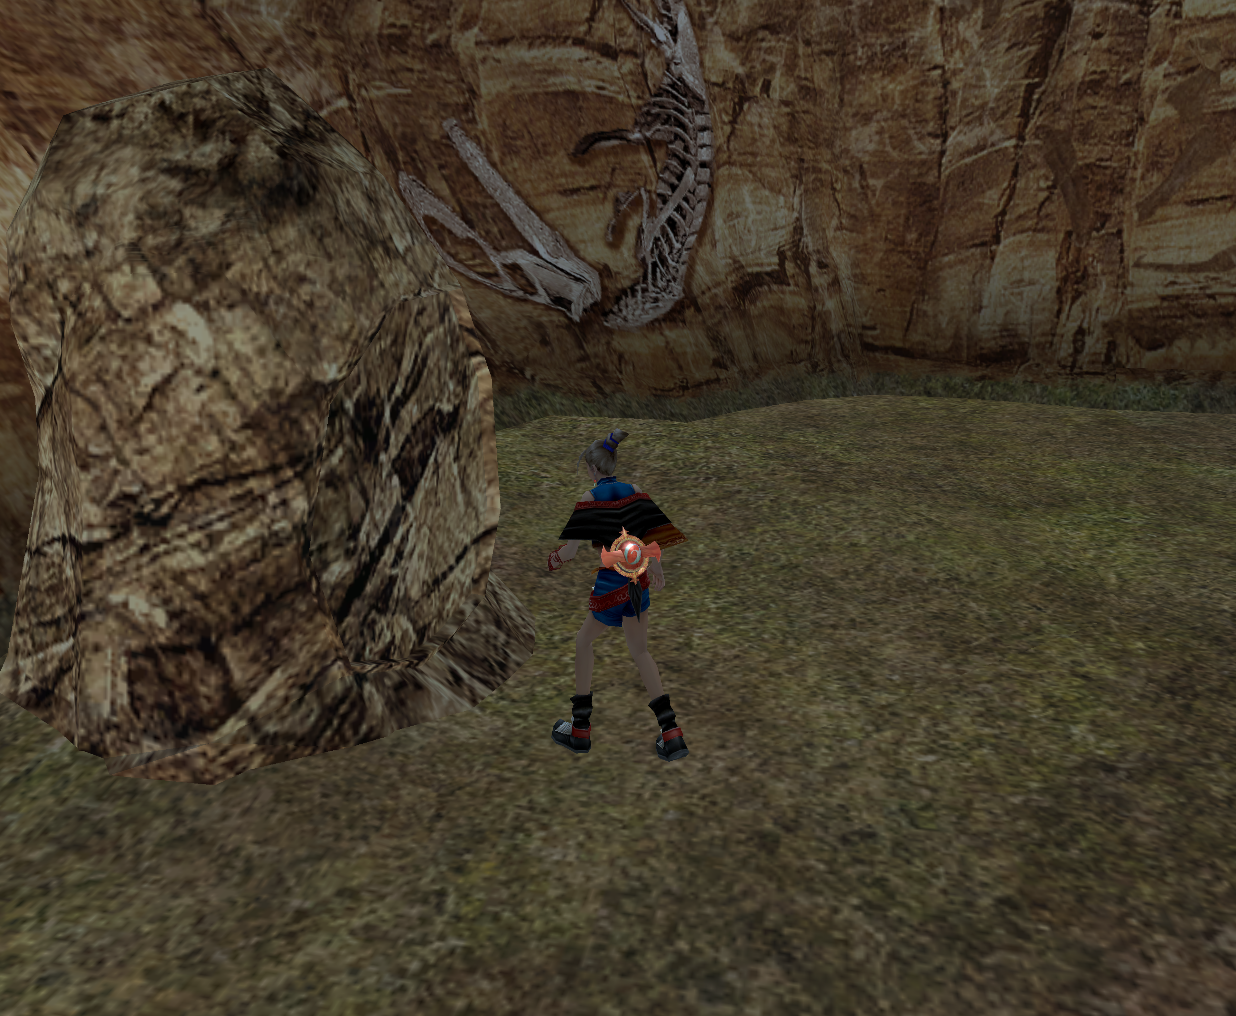
Bones of large, ancient lizards are found embedded in the canyon's walls. A partially unearthed skeleton of a lizard much larger than the other fossils is found near the exit.
Summary
After meeting the mysterious old woman called Gurd in Ruldo Forest, Tara traveled to Fossil Boneyard on her way to Alanjeh.
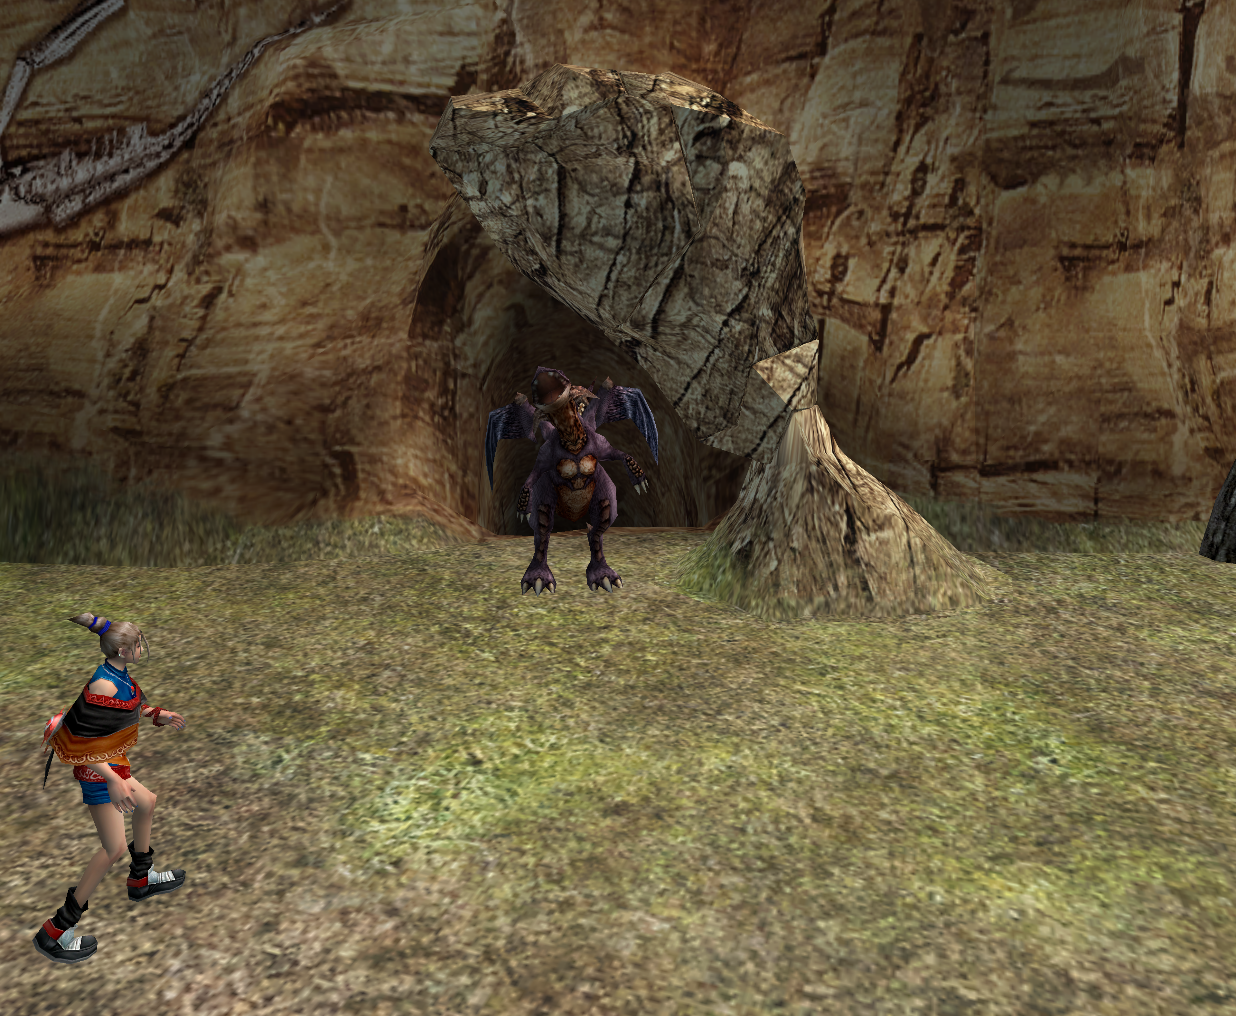
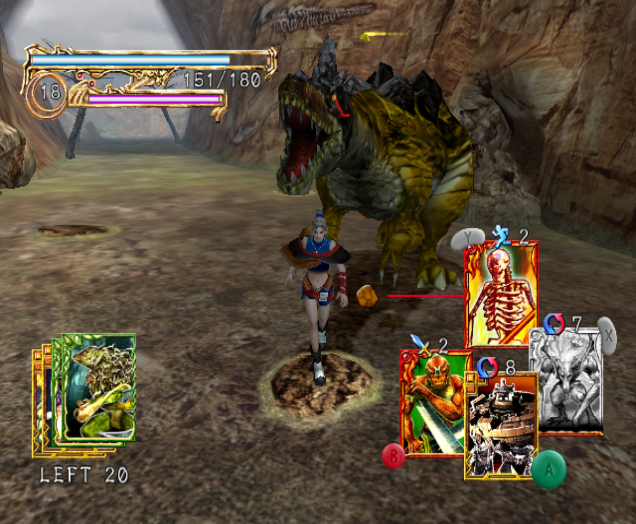
Fossil Boneyard was a place filled with nest full of Baby Dragons, and littered with the bones of ancient lizards. When approaching a dragon nest, a Baby Dragon would reveal itself with a cry, and hop towards Tara, trying to attack her. Defeating it only caused another to pop out of its den, so Tara had to seal the nests with the rocks hanging over them to prevent more from attacking. Occasionally, her fights with these Baby Dragons would break stones on the ground nearby, revealing the fossil pieces of a larger dragon, which she could collect upon inspecting them.
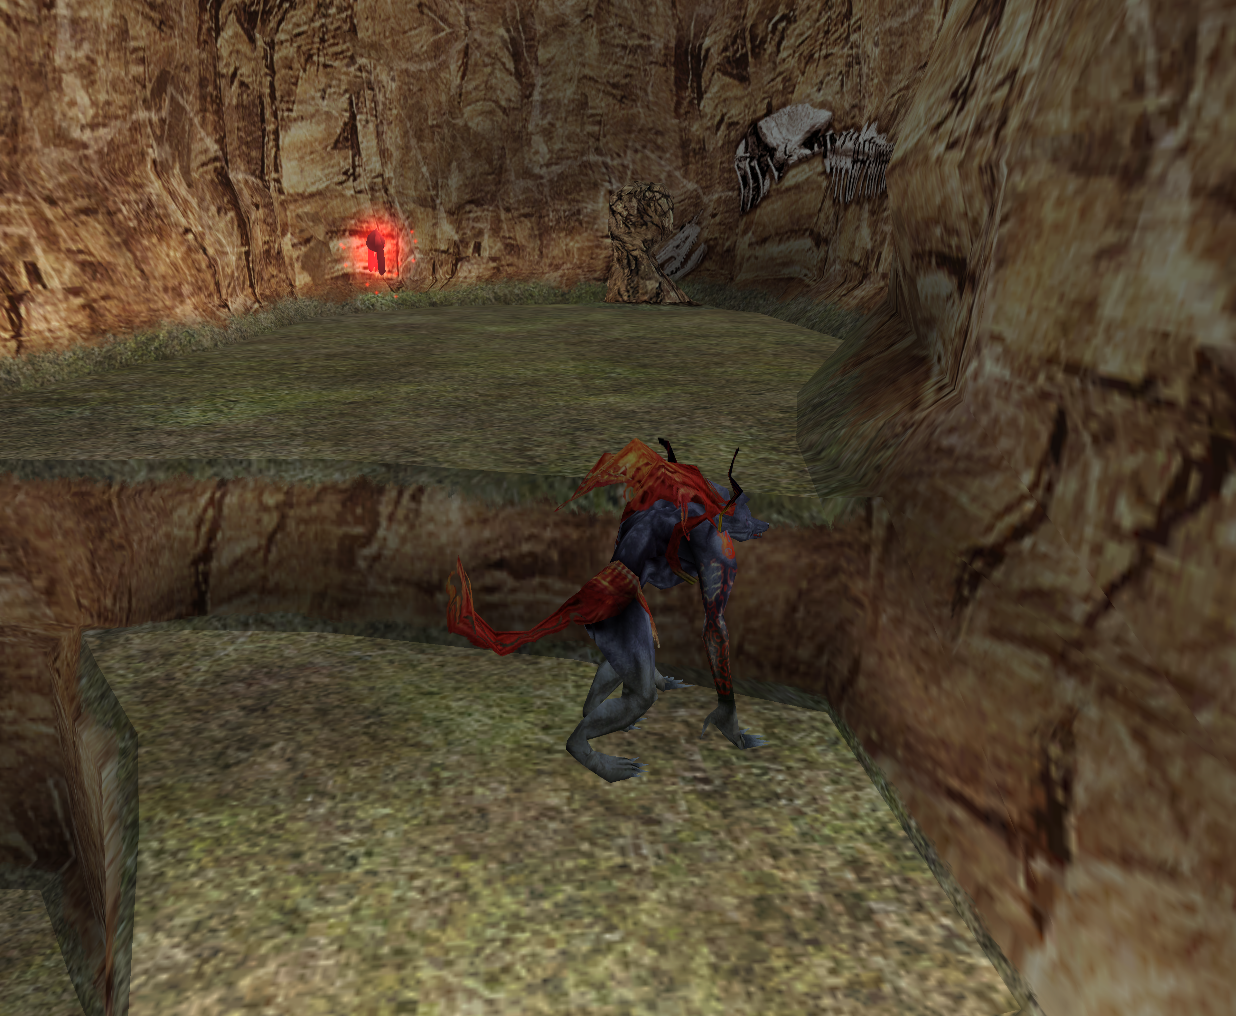
Tara's goal was to meet the Queen before the Kendarie started to lay siege to Alanjeh Castle, but the high ledges of the canyon prevented her from going any farther. Luckily, a chest containing a Hell Hound card, a Transform type card that would allow her to traverse the canyon, was near the entrance. She opened the chest and added the card to her deck, and took the shape of the creature the card depicted.
The first ledge she jumped to led her to another Stranger, who attacked her as soon as she landed. She eventually defeated him, and he was absorbed into his Runestone, the Oht Runestone, which she then collected.
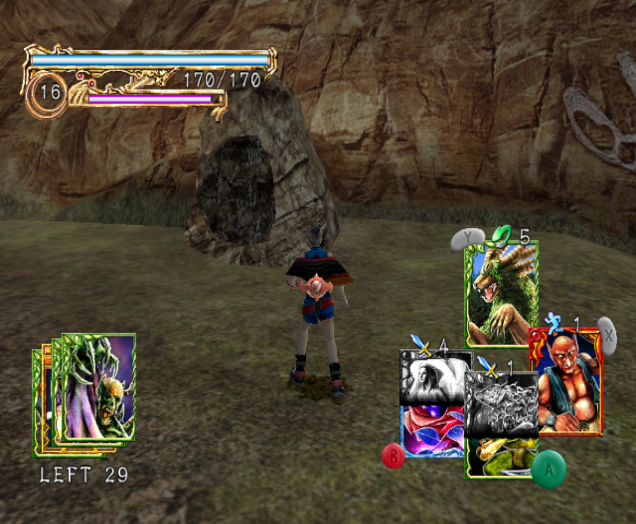
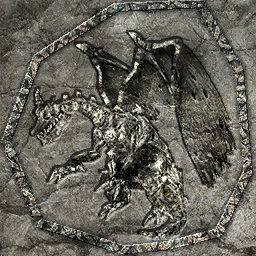
Since the ledge with the Stranger led to nowhere, Tara jumped back down using the Hell Hound card again. She went to the other side and found another dead end, this one containing a stone altar with indent in it meant to hold something, and an odd inscription. If Tara collected any of the Fossil Pieces, she could place them here.
Tara left the altar and went to another ledge close by. She jumped over it using the Hell hound card yet again, and found the ledge led farther though Fossil Boneyard. She explored more of the canyon, and would eventually find two other chests, each with a Hell Hound card inside, which would help her traverse the rest of the canyon. Eventually, she came across the ancient bones of a gigantic creature, partially unearthed from the canyon's walls.
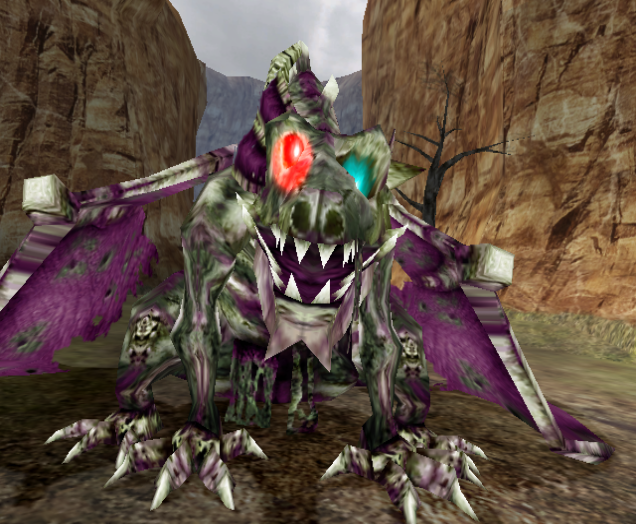
After going past the massive skull of this gigantic, ancient creature, Tara found more dragon nests and an Amber Dragon in the way of the exit. Once the Amber Dragon spotted Tara, it became hostile, charging at her with its skull and spitting rocks in her direction. The Baby Dragons who left their nests started attacking her, as well.
The dragons were eventually slain by Tara, which allowed her to leave Fossil Boneyard. She went through the canyon's exit and began to make her way to Sarvan, the bridge between the Kingdoms of Kendaria and Alanjeh.
Later on, Tara could return to Fossil Boneyard to collect all of the dragon fossil pieces. If she were to use a Transform type card with the ability to fly to cross the waters of the canyon, she could find the last fossil piece. Afterwards, Tara could go back to the alter and place each fossil piece on it. Doing this would resurrect the Zombie Dragon, a powerful, deadly foe. If she were to defeat this dragon, the altar would fade away, revealing a chest holding the card of the Zombie Dragon.
Layout
?
Area Progression
?
Dragon Dens (optional)
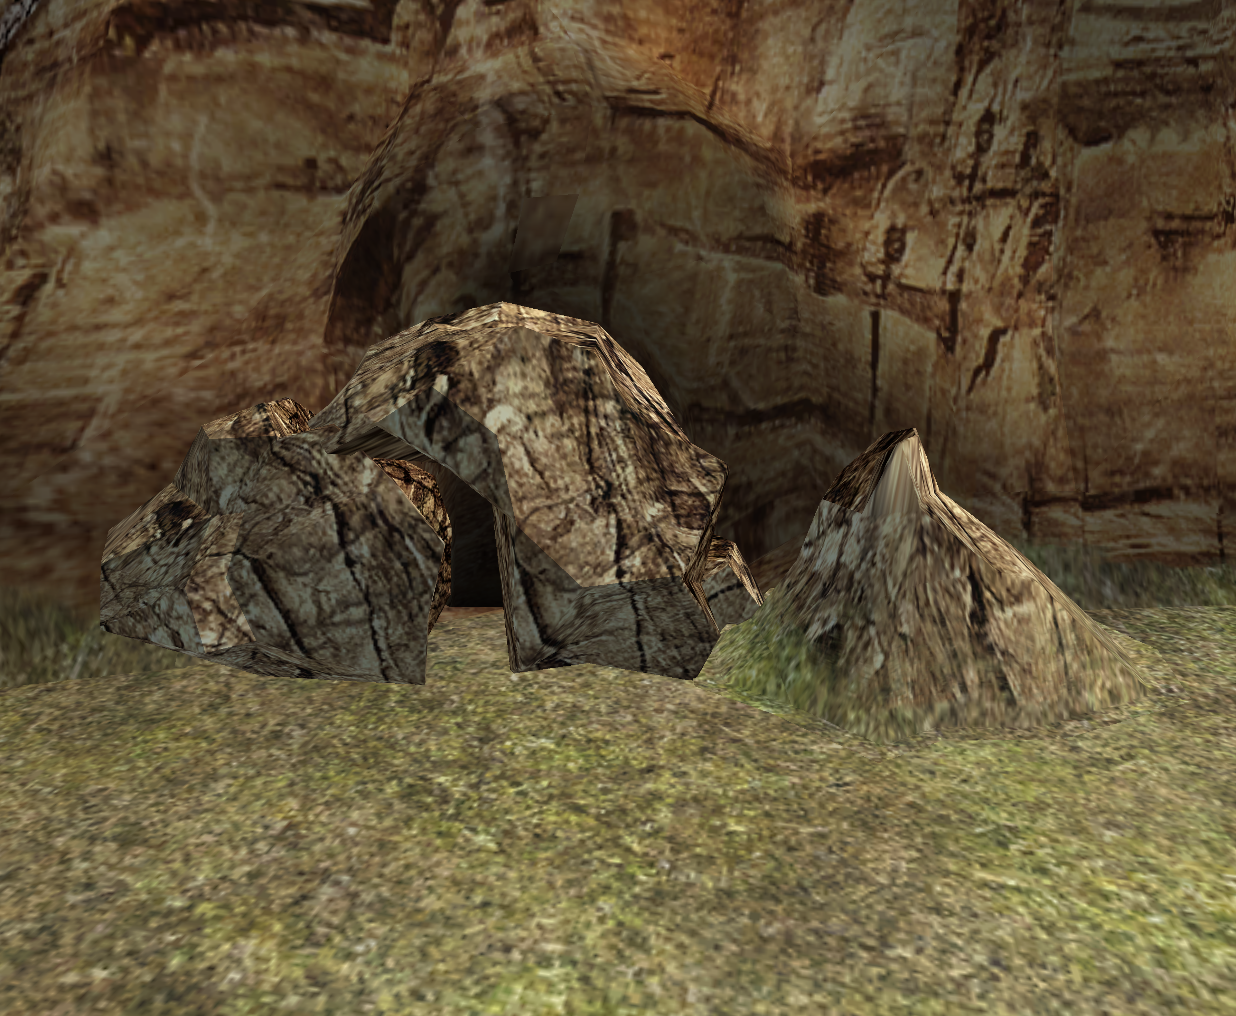
All around the canyon are dens filled with Baby Dragons. If a Baby Dragon is defeated, another from the same den it was from will take its place. Every den has an unstable rock hanging over it that will break when interacted with, and breaking these rocks will prevent more Baby Dragons from jumping out. These dens will return to normal once the player exits and reenters the stage.
Since the Baby Dragons can spawn endlessly from the unsealed dens, they can be useful for leveling up Tara and the cards in her deck.
Defeating the Stranger (optional)
The Stranger in Fossil Boneyard can be found on the ledge closest to the first Deck Point. He uses Earth attribute cards, such as Bum Hagans, Dragonoids, and Tumble Chicks. Only the Tumble Chicks he summons can be captured.
Defeating this Stranger will give the player the Oht Runestone.
Resurrecting the Zombie Dragon (optional)
– Altar, Fossil Boneyard
Several fossil pieces are hidden around Fossil Boneyard in breakable rocks. Gathering them all and placing them on the stone altar found in the entrance area close to the left of the second ledge will resurrect a Zombie Dragon. Defeating it will cause the rock to vanish, revealing a chest with a Zombie Dragon card inside.
Enemies Encountered
Monsters
- Baby Dragon
- Caterpoker
- Catoblepas
- Gnome
- Zombie Dragon - Optional fight found after placing all the fossil pieces on the large rock. It will not appear again once defeated.
Other Opponents
Bosses
Collectibles
Cards
Cards in Chests
- Hell Hound - Found by the Deck Point to the left of the entrance
- Gnome - Found by the Stranger
- Hell Hound - Found by a Magic Booster near 2 ledges
- Caterpoker LK2 - Found in a row of 2 chests on the right path, next to a wall with a hole in it. This card is in the chest to the left.
- Hell Hound - Found by the Deck Point on the left path
- Dark Raven - Found by the water on the left path
- Catoblepas - Found across the water on the left path. Requires a flying Transform type card.
- Amber Dragon - Found across the water on the right path. Requires a flying Transform type card.
- Zombie Dragon - Found in the place of the altar after defeating the Zombie Dragon
Hidden Cards
Note: RUNE II exclusive.
- Caterpoker - Found in a breakable rock by the Deck Point on the left path
- Baby Dragon - Found in a breakable rock on the left path, next to a wall with a hole in it
Rewarded Cards
- There are no cards rewarded in this level.
Magic Stones
- 100 Magic Stones RUNE II - Found in a row of 2 chests on the right path, next to a wall with a hole in it. These Magic Stones are in the chest to the left.
- 300 Magic Stones - Found in a row of 2 chests on the right path, next to a wall with a hole in it. These Magic Stones are in the chest to the right.
Items
- Oht Runestone - Automatically obtained by defeating the Stranger
- Fossil Head - Found in a rock on the right path, near a pair of dead trees
- Fossil Torso - Found in a rock on the right path, on the ledge before a body of water
- Fossil Tail - Found in a rock by the Deck Point on the left path
- Fossil Rt Wing - Found in a rock where the Amber Dragon is fought
- Fossil Lt Wing - Found in a rock on the right side of the right path before the ledge near a body of water
- Fossil Rt Arm - Found in a rock where the path narrows past the 1st enemy Catoblepas
- Fossil Lt Arm - Found in a rock across the water on the right path
- Fossil Rt Leg - Found in a rock near the entrance, next to the tree between a Magic Booster and a dragon nest
- Fossil Lt Leg - Found in a pit on the right path, by a tree and 2 chests
Red Fairies
Fossil Boneyard has 3 Red Fairies. The first is near the entrance, the second is by a Magic Booster near two ledges, and the third is on a ledge on the right path before a body of water.
Level Bonus
IN Lost Kingdoms II
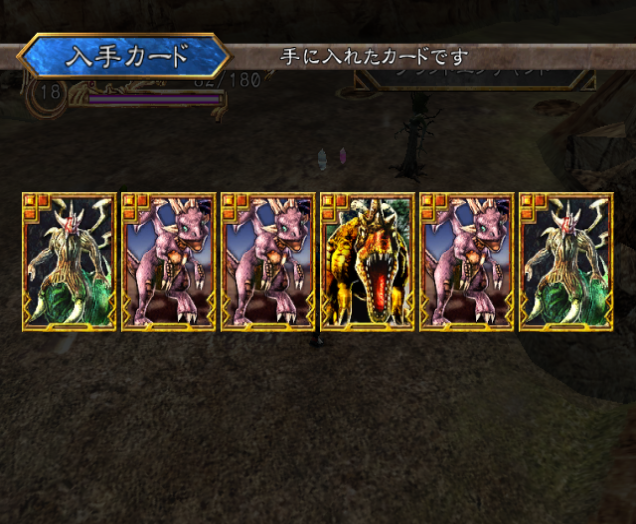
- x3 Baby Dragon
- x2 Caterpoker
- x1 Amber Dragon
In RUNE II
- This Level Bonus is the same in all versions of Lost Kingdoms II.
Glitches
- ?
Trivia
- The altar that holds the dragon fossil pieces has an indent in Lost Kingdoms II, but it is hard to see. In the Japanese release known as RUNE II, the indent is a different color than the rest of the altar, making it more visible.
- The top of the canyon walls in Fossil Boneyard can't be seen through normal gameplay, but they are fully modeled. The tops of the canyon are flat and have the same texture as the ground Tara can walk on.
- Because of the Caterpoker's change of attribute in RUNE II, this level has only Earth attribute monsters in that version. This makes it match with the Wood creatures of Ruldo Forest (only in RUNE II), the Fire creatures of Temple of Sharacia, and the Water creatures of Obenoix Gorge (if not counting the Neutral attribute boss Thanatos, who only appears before the mission is cleared).
Cutscenes
?
Gallery