| Spoiler warning! This article contains spoilers for the plot of the Lost Kingdoms series, although it's {{CURRENTYEAR}} and you should go play it by now. |
The translation of the Japanese name is unofficial, so it may contain errors. Royal Tower, Middle (Japanese: 女王の塔中層部, じょおうのとうちゅうそうぶ, Joou no Tou Chuu Soubu [lit. "Middle Part of the Queen's Tower"]) is a location in Lost Kingdoms II that is found within the region of Alanjeh. It is the third level of Alanjeh Castle, the second level taking place at the castle's West Tower, and the second-to-last location visited in the main story.
Appearance
?
Summary
?
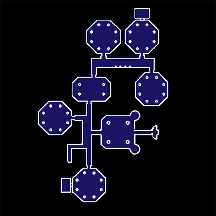
Layout
?
Area Progression
Electrical Barriers
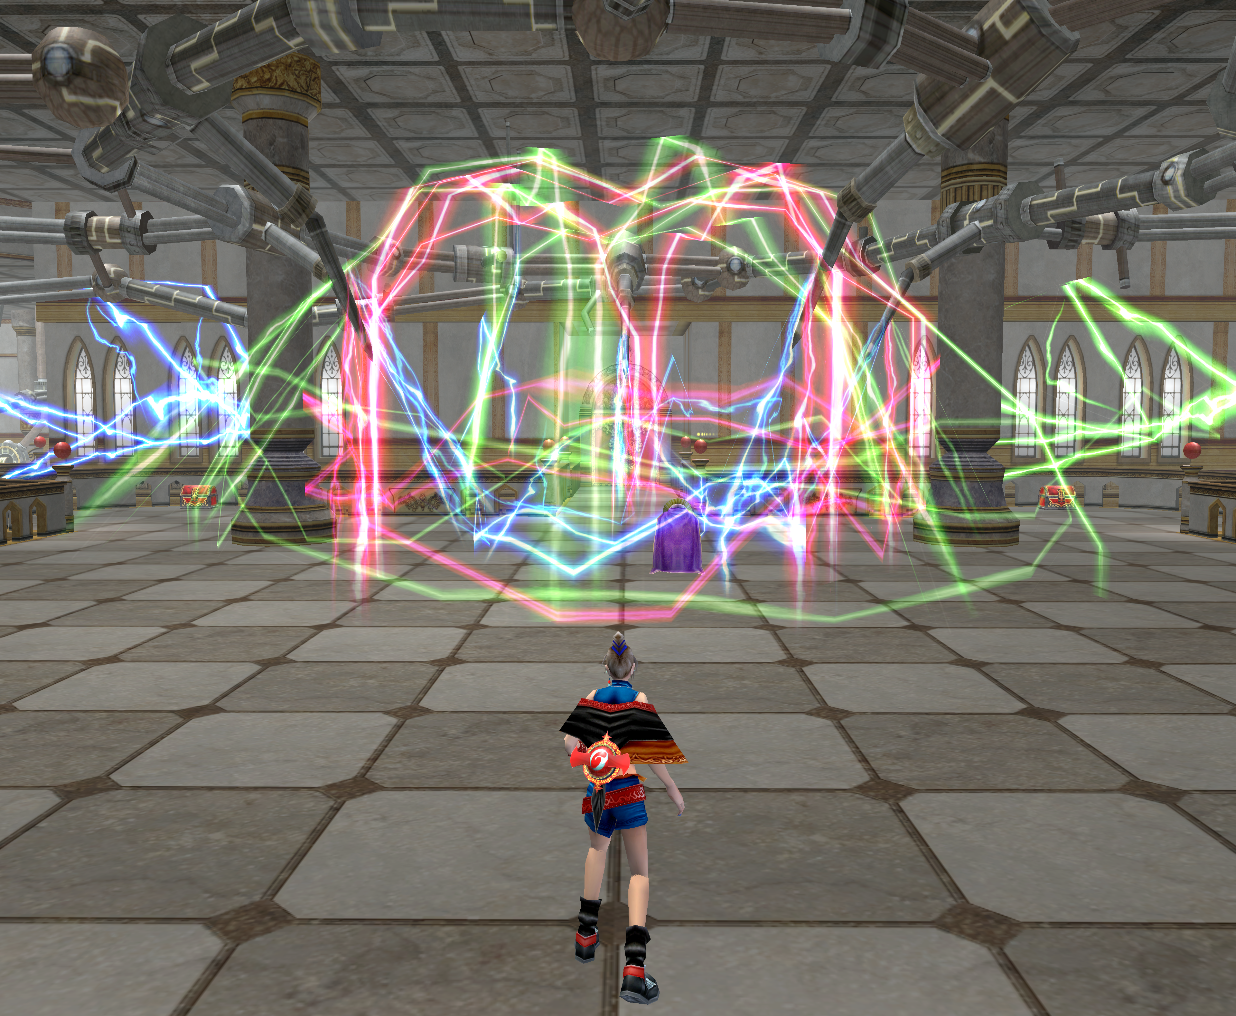 By taking a few steps past the corner of the entrance hallway, a cutscene will start that moves Tara to the central platform where Leod VIII is cowering. A Kendarie device was installed all around the level and it generates five electric barriers. Three of them surround Leod VIII as a shield to protect him, while two others behind him prevent Tara from opening the chests on the left and right sides of the platform.
Tara needs to reach the exit to clear the mission, but the doors to it won't open until Leod VIII has been defeated. She can't fight him until the three force fields forming a barrier around him are disabled by flipping at least three of the five switches.
Once the cutscene ends, turning back will allow Tara to explore Royal Tower, Middle and collect the level's first Red Fairy found near the entrance.
Additional Dialogue (optional)
If Tara approaches Leod VIII after the cutscene before any switches are pulled, he will talk to her. He will repeat this dialogue when she returns after pulling one switch, but he will say something different when she goes back after pulling a second switch. Approaching again right after Tara gets him to say something will make her walk into the electricity instead, causing her to get knocked back and take damage.
– Leod VIII (to Tara when she approaches him after the cutscene before disabling any barriers/after disabling one), Royal Tower, Middle
If I just had the True Runestone... Yes... If she won't give it to me, I'll just have to...
"
– Leod VIII (when Tara returns after disabling two of his barriers), Royal Tower, Middle
Barrier Switches
To disable a barrier, Tara has to interact with one of the switches to the device that generates them. Each switch can be found in a small room.
The barrier switches are not set to a specific barrier, so they can be pulled in any order. The first three switches that are pulled will always disable one of Leod VIII's three barriers (starting from the first layer and ending with the last), while the fourth will disable the barrier blocking the way to the chest on the left of the platform, and the fifth will do the same for the chest on the right.
When Tara enters a room with a switch, the doors will close behind her and a powerful enemy will appear. The doors to these rooms will open once their switches have been pulled, but switches can't be pulled until their guardian monsters are defeated.
Re-battling Switch Guardians (optional)
The monsters that guard the switches in Royal Tower, Middle will not return once the switches they guard have been pulled or the mission has ended. However, as long as the mission hasn't been cleared and their switches haven't been pulled, they can be fought again by exiting and reentering the level after defeating them.
As these powerful monsters will not appear as enemies again until the Proving Grounds, reentering the level to encounter them multiple times can be used to get multiple chances to capture them with Capture Cards.
First Switch
By going left after returning from the central platform, Tara can find the room with the first switch, a Magic Booster, and a breakable wall. The first switch is guarded by an enemy Ice Golem.
The Ice Golem has 160 Hit Points and 10 Defense. It has two attacks: Spinning Ice and Ice Balls. The Spinning Ice skill is a melee attack that makes it spin the gem it hops on all around it, ..., and can cause 37 base damage. The Ice Balls skill is both a melee and long range attack that makes it shoot out a shard of ice from the gem it hops on. It ... , and causes 42 base damage.
Since the latter skill's ice shard has a high hitbox, the projectile part of the attack will not hurt Tara or any friendly creatures at her height or lower, but they can still be harmed by the melee part of the attack if they are close enough to the Ice Golem when it lifts up its gem as it starts to fire a shard.
If the switch in this room is flipped first, it will disable the first barrier around Leod VIII.
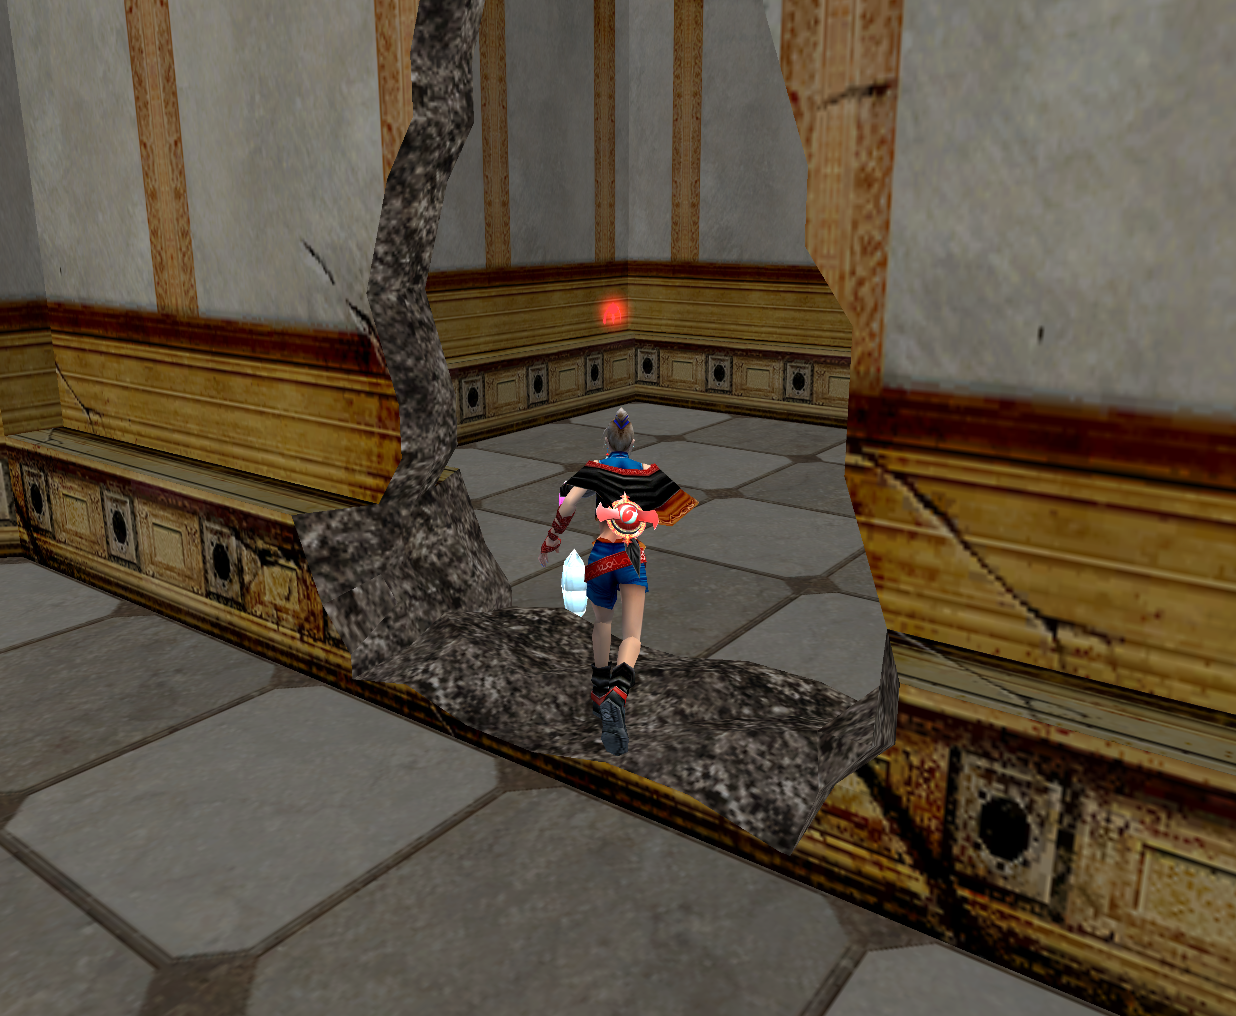
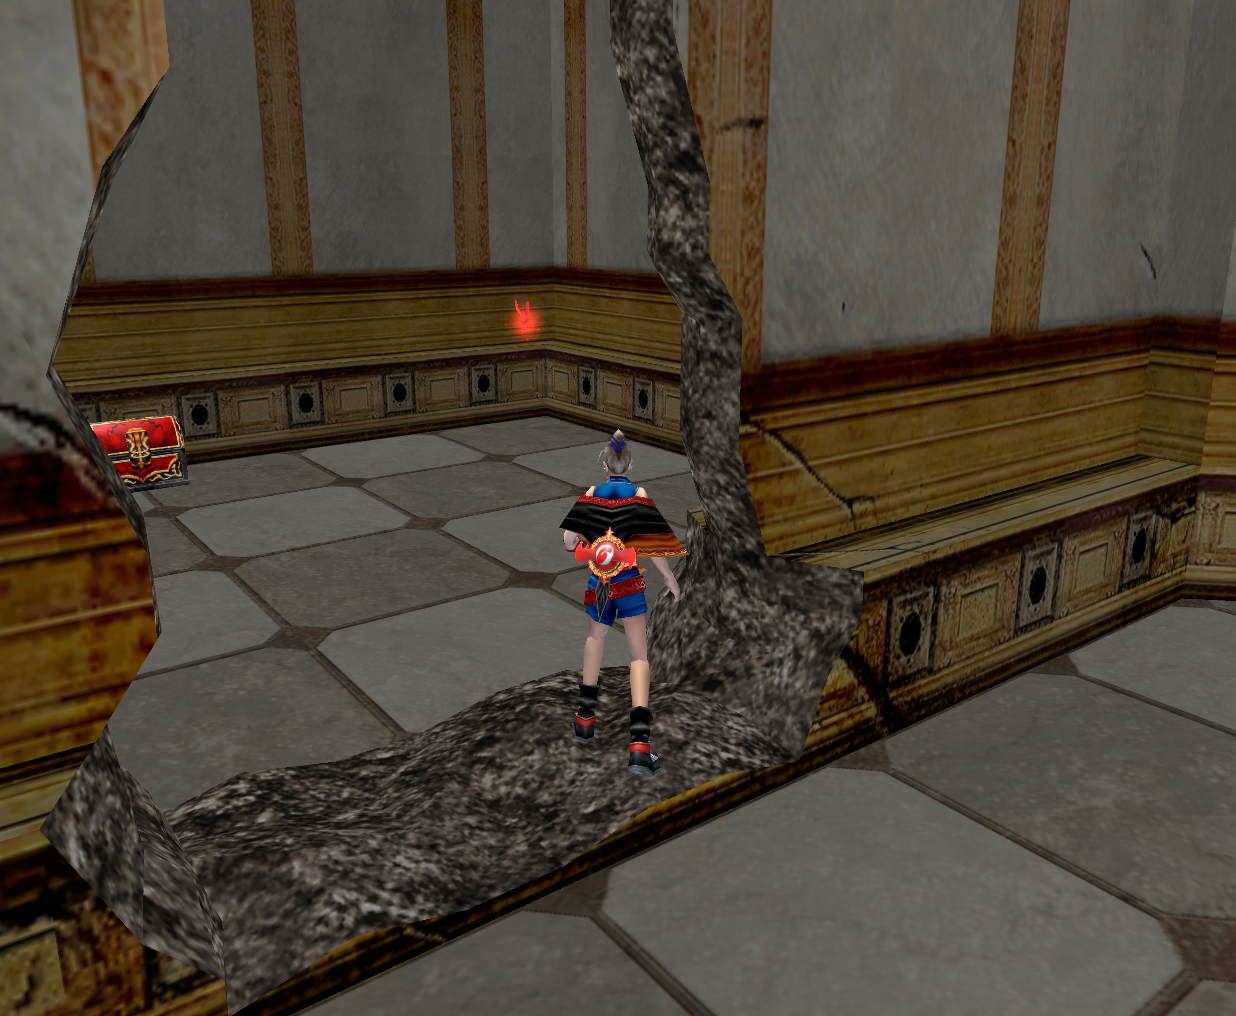
Tara can break down the wall by using a Power Transformer card with the Magic Booster. Behind the wall is the second Red Fairy and a chest holding a Hydra card.
Second Switch
By exiting the Ice Golem room and going to the room on the left, Tara can go through two more doorways. The room to the left is where she will find the second switch. If this switch is the second to be flipped, it will disable Leod VIII's second barrier.
This room is guarded by a Demon Fox. It is a slow moving enemy with only one attack, but it is still a deadly foe, as this attack creates many homing fireballs and it can hit multiple times.
The Demon Fox has has 250 Hit Points and 10 Defense. It's Nine Fireballs skill can cause 35 base damage per hit.
Deck Point Room
Going through the last set of doors will take Tara to an open room with a row of two chests, the level's Deck Point, three Aggressor DX5s, and another set of doors. The chest on the left side contains a Rheebus card, while the one on the right has 1000 Magic Stones.
Each time all of the Aggressor DX5s in this room are dismantled, they will quickly respawn.
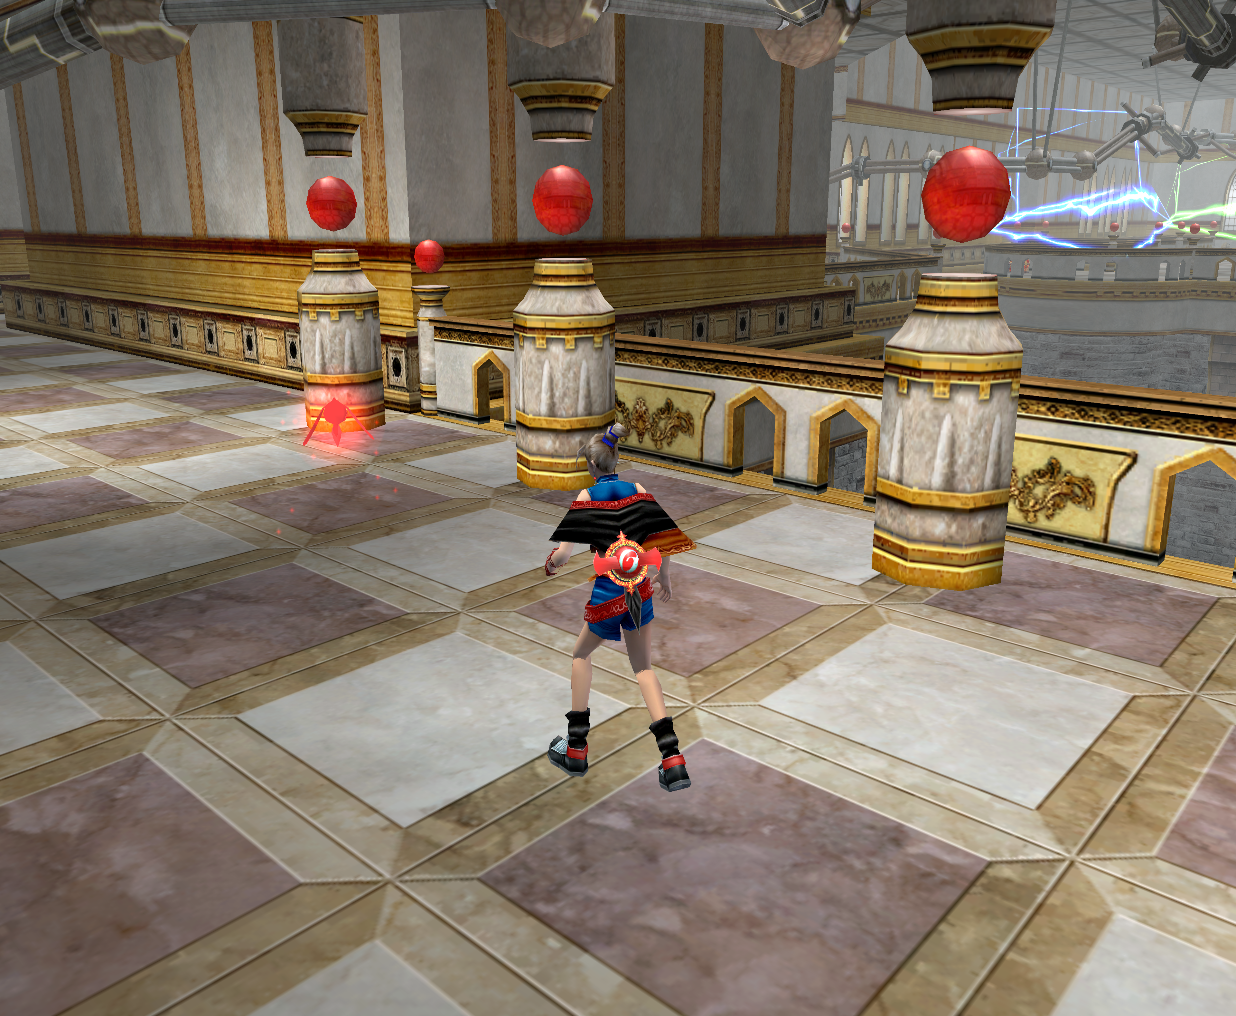
The set of doors in this room leads to a wide hallway with the third Red Fairy and three more sets of doors.
Third Switch
By going through the set of doors closest to the entrance of the hallway, Tara can find the room with the third switch. The switch in this room is guarded by a Beelzebub. It is a dangerous foe as it can cause a variety of status effects with both of its attacks. It's Unique Skill, Diablo's Force, will boost offensive power of all creatures.
The Beelzebub has 180 Hit Points and 14 Defense. It's Fly Cutter skill is a fast, long range attack that can cause 24 base damage. The Rain of Death skill causes 18 base damage, lands at a shorter distance but with a wider range, lasts longer, and can hit multiple times. The Beelzebub will use the Fly Cutter skill when its target is far away, and use the Rain of Death when its target is closer.
If the switch in this room is the third to be pulled, the last of Leod VIII's barriers will be deactivated and she can fight Leod VIII.
Fourth Switch
The fourth switch is in the room past the second-to-last set of doors. This room has a cracked wall, but it has no Magic Booster to break it with, so Tara will have to find another one close by.
The switch in this room is guarded by a Behemoth. It is a slow-moving, massive opponent that constantly shakes the earth with every step it takes. Coming into contact with it will cause damage as it moves, but being at a far distance away is also dangerous because of it's Hell's Flash skill, an attack that makes the Behemoth fire a wide, long range laser from its mouth.
The Behemoth has 180 Hit Points and 12 Defense. It's Hell's Flash skill ... and can cause 35 base damage. Its unnamed stomping attack ... and causes ? base damage.
If the switch in this room is the fourth to be flipped, the barrier blocking the left chest on the central platform will be disabled.
Fifth Switch
The last room contains the fifth switch and the last Magic Booster.
The switch in this room is guarded by a Fenril. It is a fast moving opponent that will constantly lunge at Tara and any friendly creatures with a powerful bite attack.
The Fenril has 160 Hit Points and 12 Defense. It's Demon Fang skill can cause 48 base damage, will knockback those it hits, and may induce Paralysis.
After both the Behemoth and the Fenril are defeated, Tara can safely power up either a Stone Golem card or a Chariobot card to reach and destroy the wall in the Behemoth's room. Once the wall is broken, she can collect the level's last Red Fairy and open either a red chest containing a Sphinx card in the US and PAL versions of Lost Kingdoms II, or a blue chest that has the MaCoy the 8th's Theme Music Card in RUNE II, the Japanese version.
If the switch in this room is pulled last, it will disable the barrier in front of the chest on right side of the central platform.
Boss Battle
Once Tara reaches the central platform after at least three switches have been pulled, Leod VIII will attack Tara.
Leod VIII has ? Hit Points and ? Defense. He can use AcidBot, Aggressor DX5, Archer Tree, Sacred Umpire, TriBlaster, and UberBomberBot cards. The most dangerous cards he has are the Sacred Umpire cards, as they will always use the blue orb's large explosion attack.
...
Exit
After the battle, if Tara has flipped all the switches before reaching the elevator, she can open the chests on the central platform. The one on the left side has a Unicorn card, while the other has a Red Dragon card.
Once Tara reaches the elevator, the mission will end and Leod VIII will be unlocked as a playable character in VS Mode. However, ending the mission will also make any switches that weren't interacted with quit working. This will cause the barriers still active to stay up permanently, so the chests that are behind them will become impossible to open.
Enemies Encountered
Monsters
- Aggressor DX5 - Will always appear in the room with the Deck Point. Several more take the place of each switch guardian after the mission is cleared.
- Beelzabub - Will not appear after its switch has been pulled or after the mission is cleared
- Behemoth - Will not appear after its switch has been pulled or after the mission is cleared
- Demon Fox - Will not appear after its switch has been pulled or after the mission is cleared
- Fenril - Will not appear after its switch has been pulled or after the mission is cleared
- Ice Golem - Will not appear after its switch has been pulled or after the mission is cleared
Other Opponents
- This level only has normal monsters as enemies outside of the boss battle.
Bosses
Collectibles
Cards
Cards in Chests
- Hydra - Found behind a breakable wall in the Ice Golem room. Requires a Power Transformer card to reach.
- Rheebus - Found in the left chest in the room with the Deck Point
- Sphinx LK2 / MaCoy the 8th's Theme RUNE II - Found behind the breakable wall in the Behemoth room. Requires a Power Transformer card to reach.
- Unicorn - Found close to where Leod is fought and behind a blue force field. Requires the switch in the Behemoth room to be pulled. This card cannot be collected if the switch is not pulled before clearing the mission.
- Red Dragon - Found close to where Leod is fought and behind a green force field. Requires the switch in the Fenril room to be pulled. This card cannot be collected if the switch is not pulled before clearing the mission.
Hidden Cards
- There are no cards hidden in this level.
Rewarded Cards
- There are no cards rewarded in this level.
Magic Stones
- 1000 Magic Stones - Found in the right chest in the room with the Deck Point
Items
- There are no items to obtain in this level.
Red Fairies
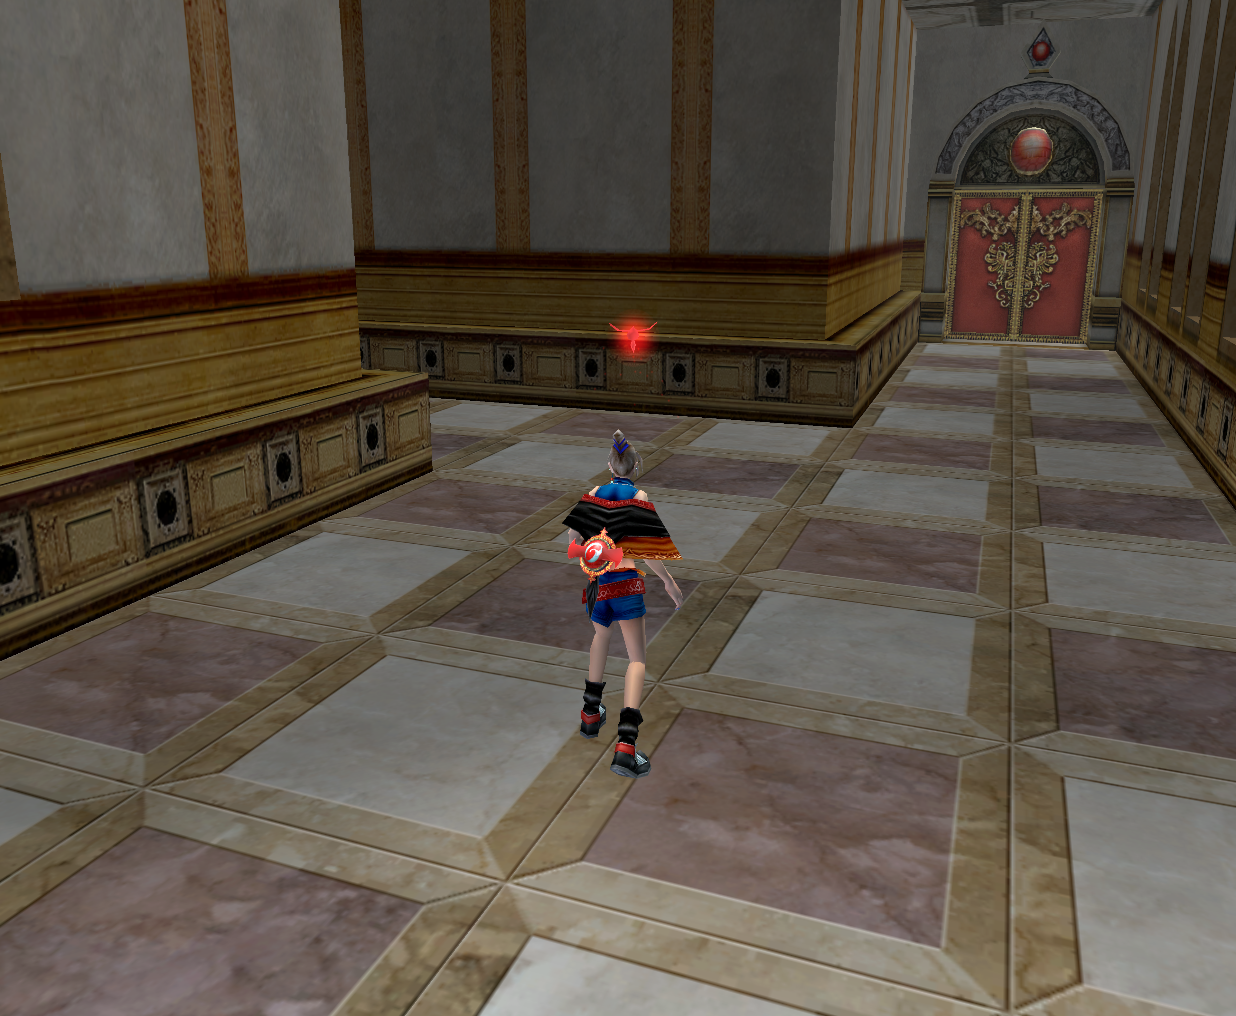
Royal Tower, Middle has four Red Fairies. The first is near the entrance and before the doors leading to the Demon Fox and the doors leading to the Deck Point, the second is behind the breakable wall in the room with the Ice Golem, the third is in the hallway with pillars and a rail, and the fourth is behind the breakable wall in the room with the Behemoth. Both the second and fourth Red Fairies require the use of a Power Transformer card to reach them.
Level Bonus
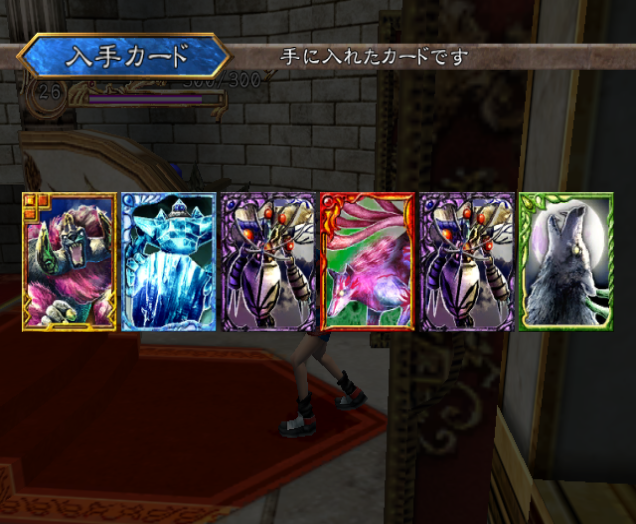
In Lost Kingdoms II
- x4 Aggressor DX5
- x2 Beelzebub
In RUNE II
Glitches
- ?
Trivia
- If Royal Tower, Middle is left after defeating Leod VIII but before clearing the mission, Leod VIII will reappear and can be fought again the next time the level is visited.
- After the mission for Royal, Tower Middle is cleared, the only enemies that can be encountered there will be Aggressor DX5s.
- With its electric barriers, Royal Tower, Middle is one of three levels in Lost Kingdoms II that has stage hazards. The other two levels are the Lower Chambers with its pink lights, and the Temple of Sharacia with its flame jets.
- When Tara approaches electrical barriers while using a Devata card, Tara won't take damage from them, but she still won't be able to go past them.
Cutscenes
?
Gallery