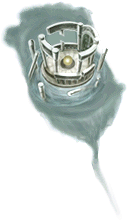
The translation of the Japanese name is unofficial, so it may contain errors.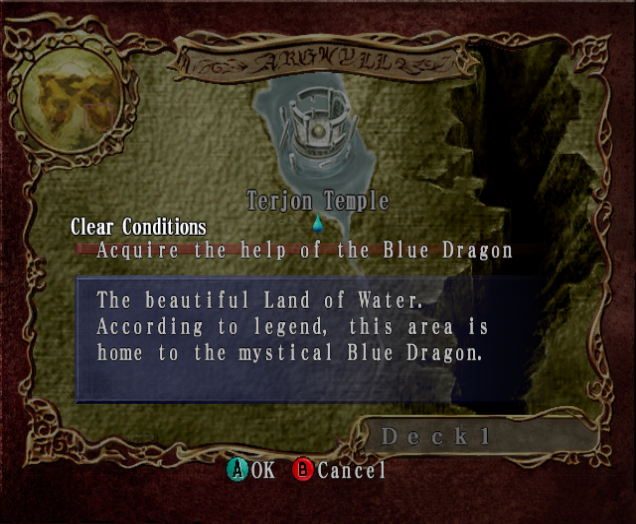 Terjon Temple (Japanese: ロートル神殿, ロートルしんでん, Routoru Shinden [lit. "Rotoru Shrine"]) is a level in Lost Kingdoms and is an area located in what was the Kingdom of Bhashea. This level is an optional Side Mission that is also the home of the Blue Dragon.
Though the Blue Dragon is the ruler of Terjon Temple, it uses a Kraken to test Katia to prove her worth.
Terjon Temple is accessed from Ruh-Arok Temple via the Water Door.
Appearance
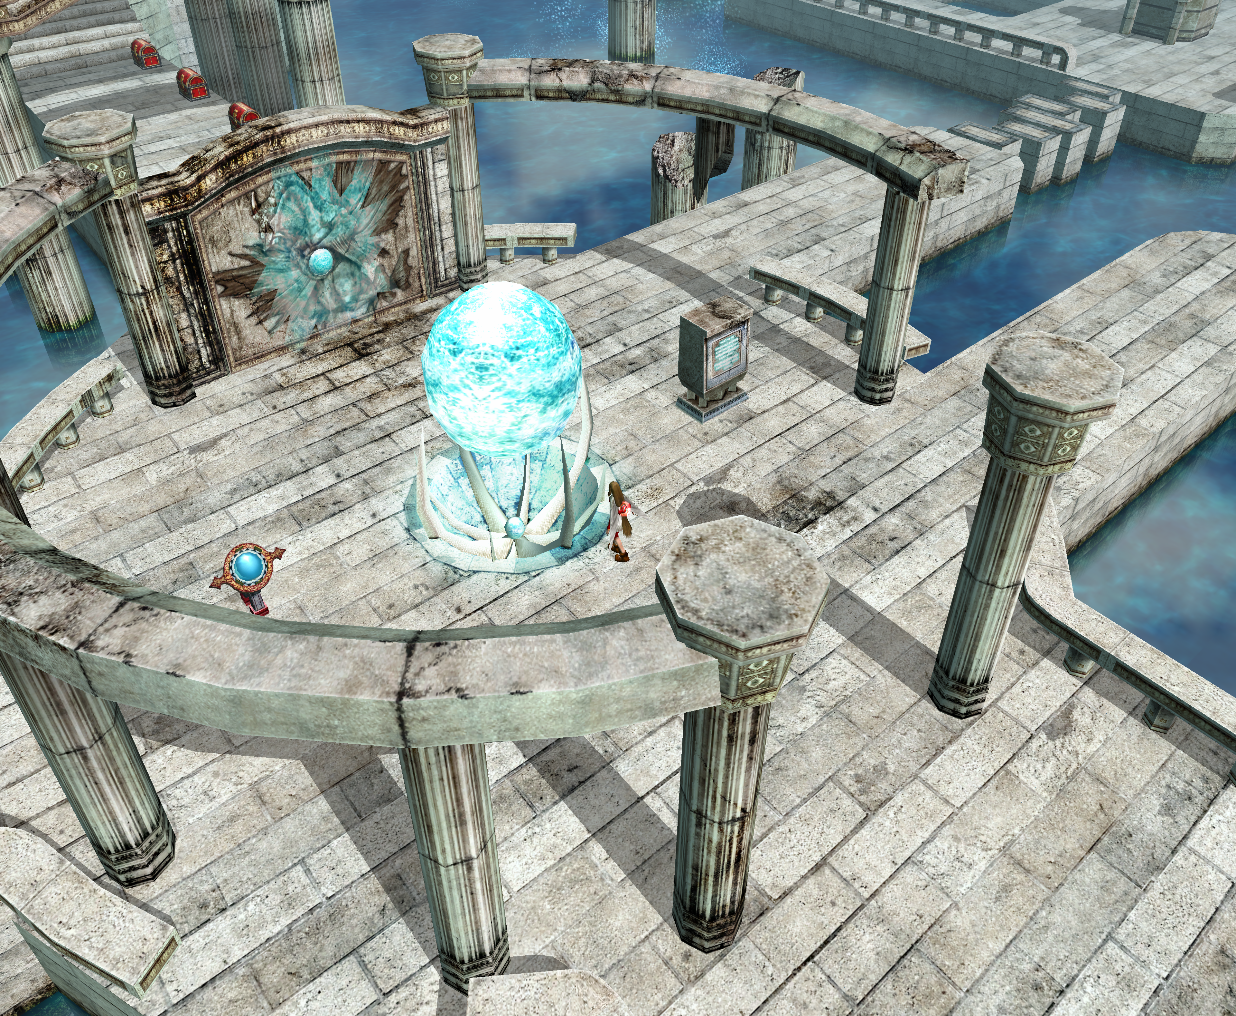
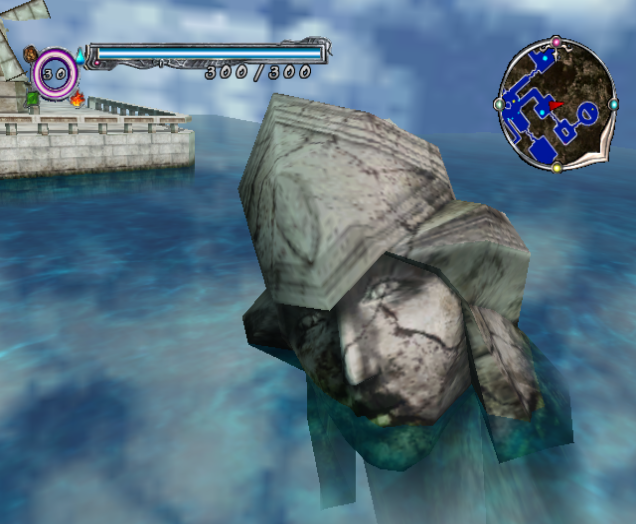
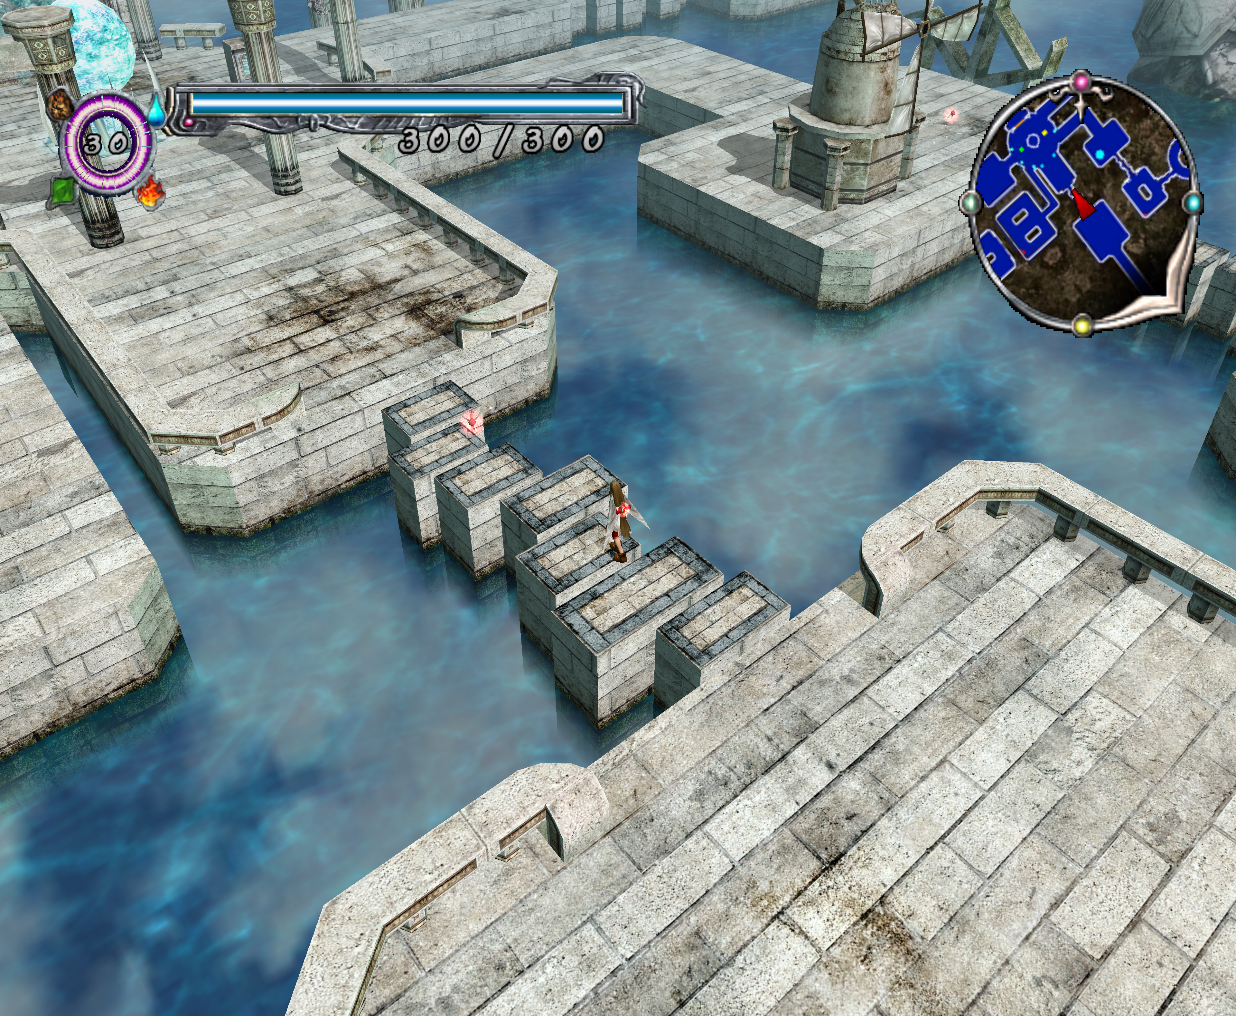
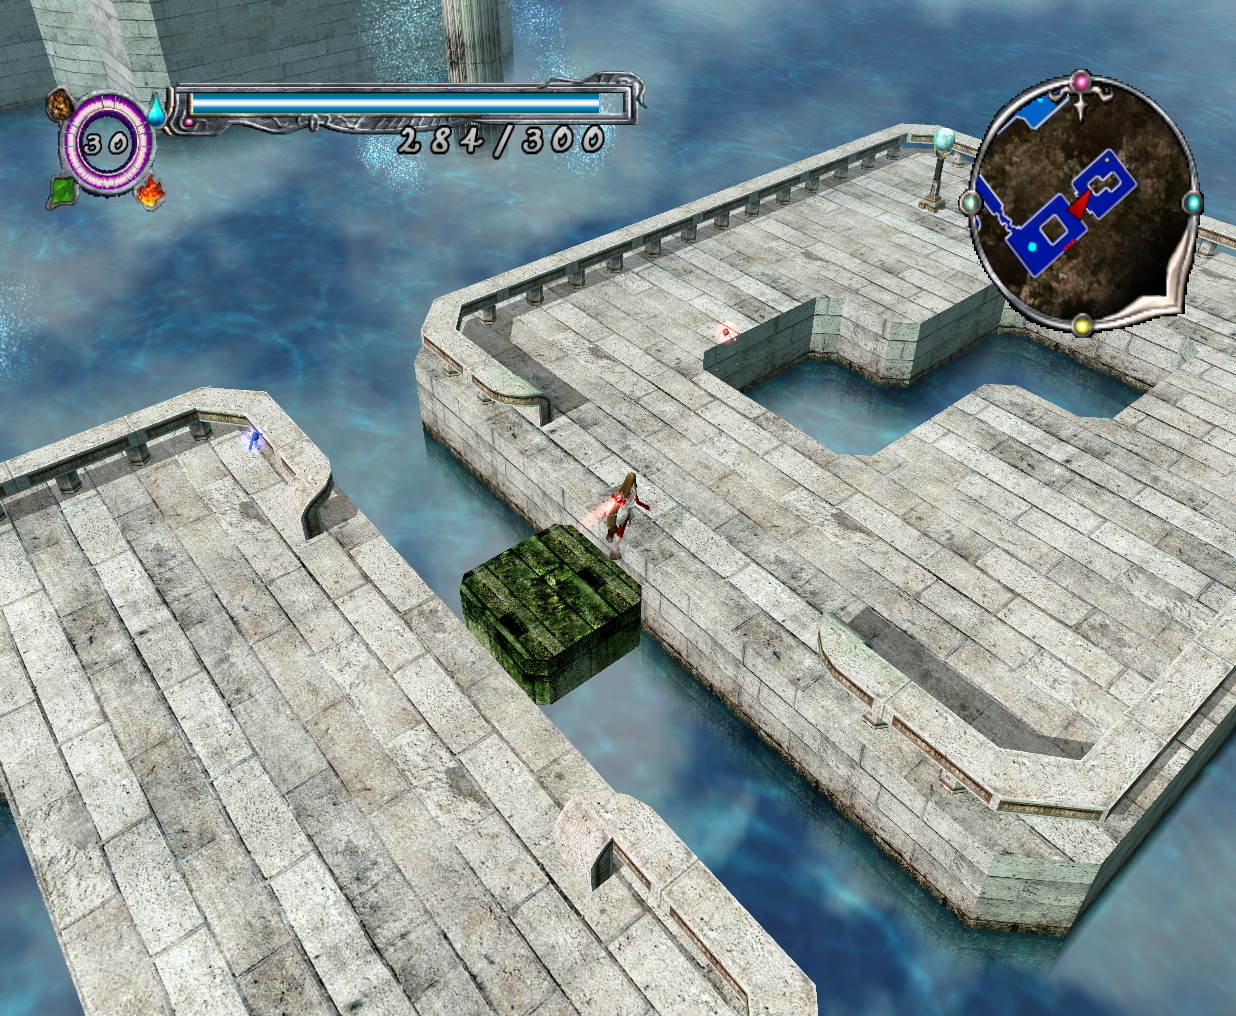
Terjon Temple is an area located in the middle of a pristine lake. The temple is composed of white stone and a giant, pale blue orb floats in its center. The heads of giant statues can be seen above the lake's surface. Green algae clings to what is submerged beneath the lake.
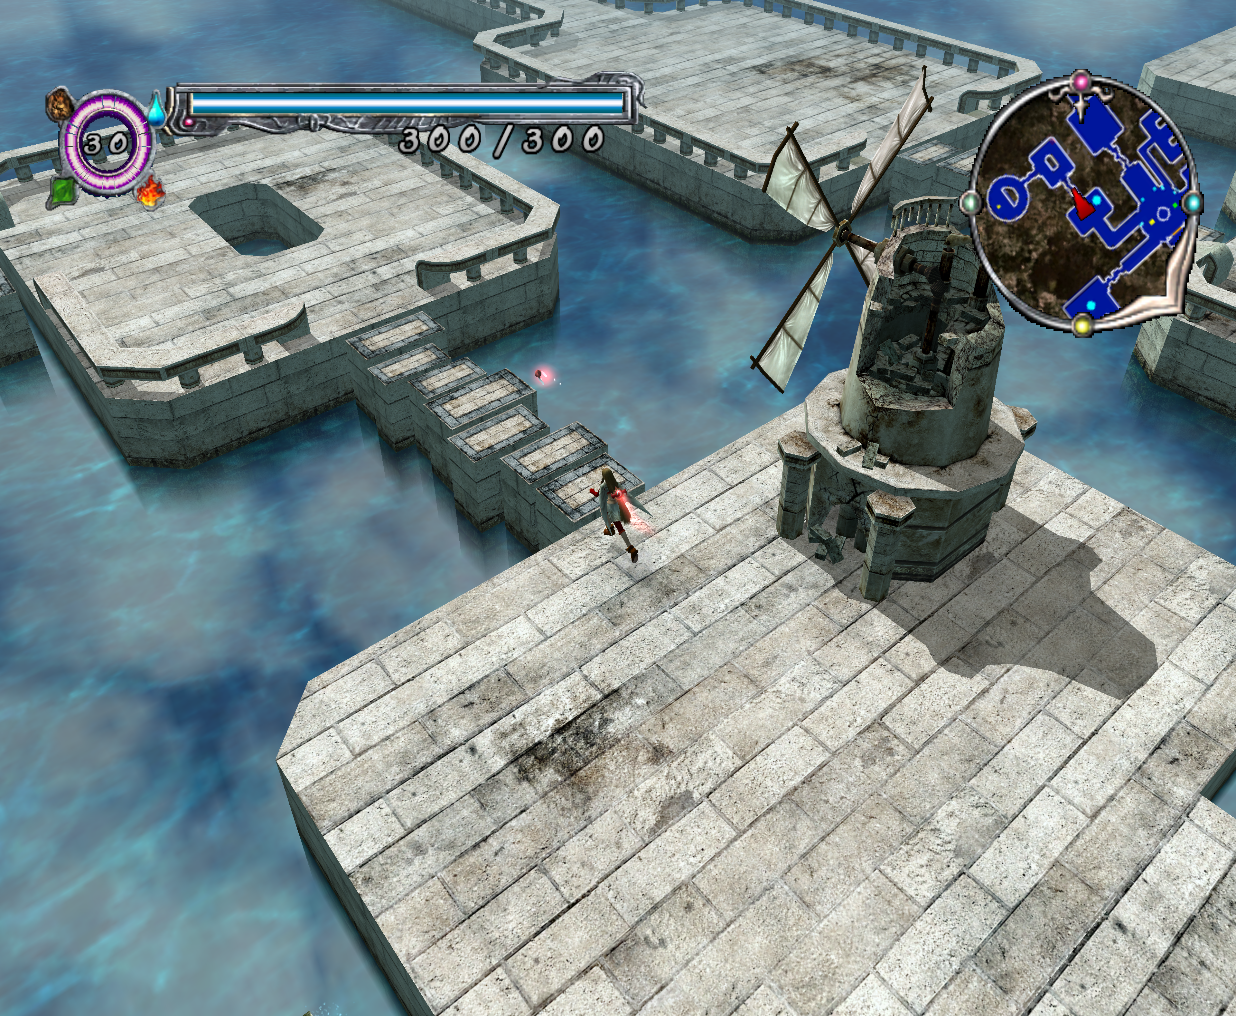
A few ancient and damaged, yet still functioning windmills and waterwheels are built onto the temple. The windmills pump water, possibly keeping the lake full.
Summary
Upon gathering enough Water attribute cards, Katia opens the Water Door in Ruh-Arok Temple, which took her to Terjon Temple, the home of the Blue Dragon and the Lord of all Water creatures. Here she approached the center of the temple where there was a sealed set of doors, a giant floating orb, and a stone tablet. Unable to open the doors, Katia read the stone tablet. It told the second part of a story on the origins of the world.
– A lore tablet, Terjon Temple
After reading the tablet, Katia went down a path that led her to a smaller orb. She touched the orb, and it made a noise. She discovered it was a type of switch and that touching it had triggered something. She returned to the center of the temple and discovered that the central orb started glowing another color.
Checking to see if anything else had changed, Katia looked around other places and found that a small stone platform had risen out of the water along another path she couldn't explore before. This allowed her to find and activate another switch, which caused the same thing to occur when the first switch was interacted with. She found and activated two more switches. Touching the last one raised no platforms, but when she approached the center of the temple, the giant orb shattered and seal of the doors was broken in the process.
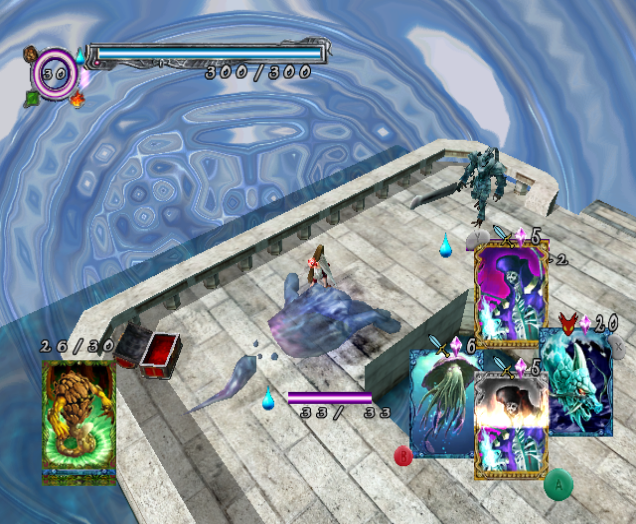
Katia finally found and spoke with the Blue Dragon. It said that it would only help her if she passed its test, which was to defeat the Kraken. She battled with the Kraken and won, acquiring the help of the Blue Dragon in the form of a card.
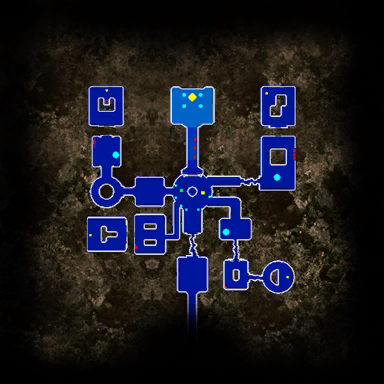
Layout
?
Area Progression
?
Enemies Encountered
Monsters
Boss
Collectibles
Cards
Cards in Chests
- Vampire Bush - In a corner of the area before the first switch.
- Maelstrom - In a row of three chests in the area with a windmill on the way to the second switch. This card is in the right chest.
- Siren - In a row of three chests in the area with a windmill on the way to the second switch. This card is in the middle chest.
- Hand of Pain - In a row of three chests in the area with a windmill on the way to the second switch. This card is in the left chest.
- Hydra - In a row of two chests next to a water wheel in the area before the third switch. This card is in the left chest.
- Mind Flayer - In a row of two chests next to a water wheel in the area before the third switch. This card is in the right chest.
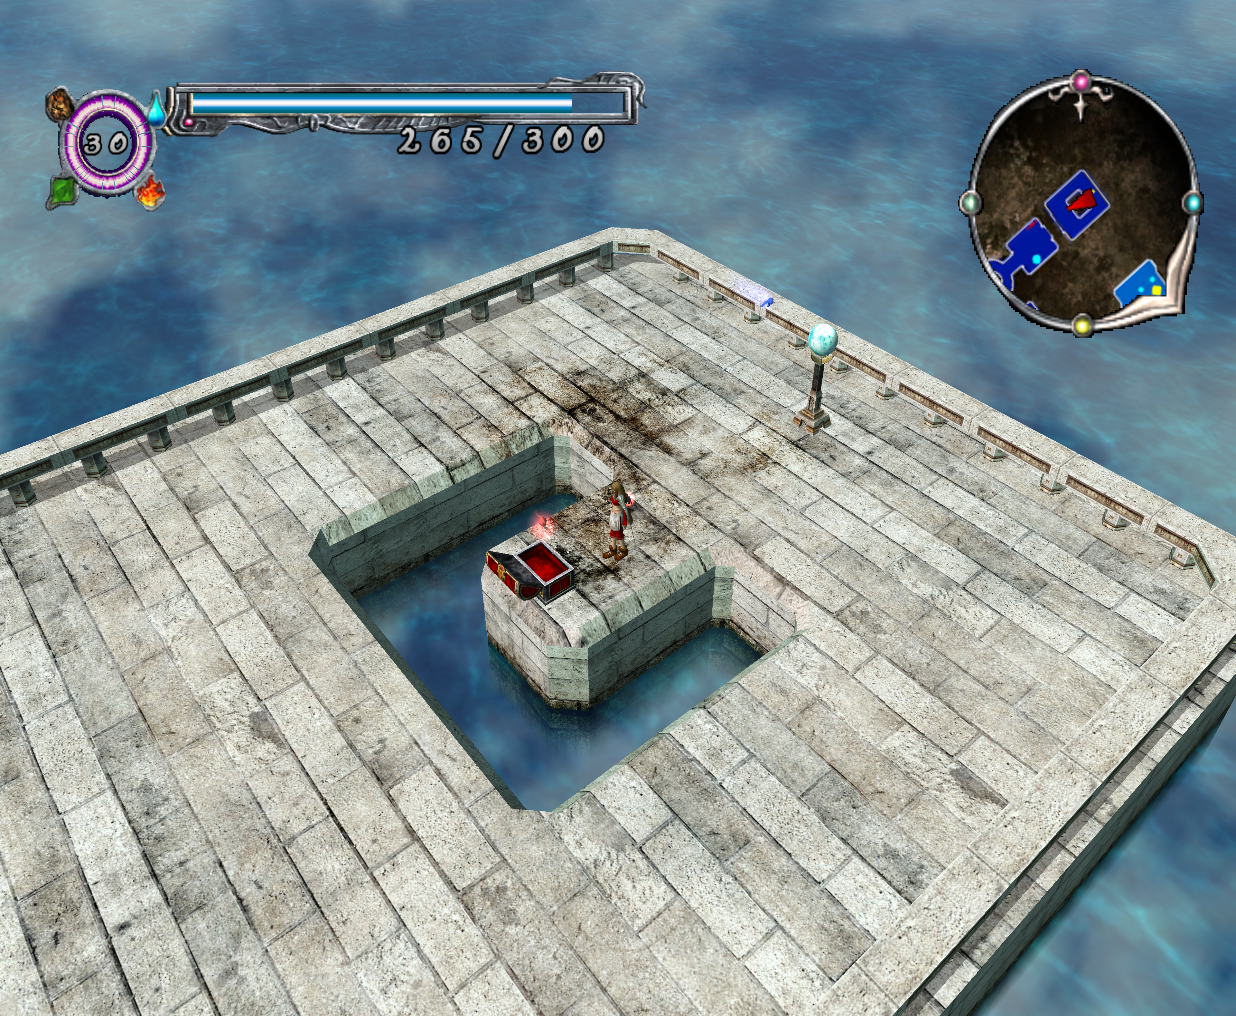
- Water Bird - In a corner of the area before the fourth switch.
- Demon Skeleton - In the first chest on the path to the Blue Dragon.
- Ice Golem - In the second chest on the path to the Blue Dragon.
- Sasquatch - In the third chest on the path to the Blue Dragon.
Hidden Cards
- ?
Rewarded Cards
- Blue Dragon - Gift on first-time clear.
Items
- There are no items to obtain in this level.
Red Fairies
Terjon Temple has four Red Fairies. The first is near the level's entrance, the second is on the steps next to a windmill on the way to the first switch, the third is near the second switch, and the fourth is in the chest by the third switch.
Level Bonus
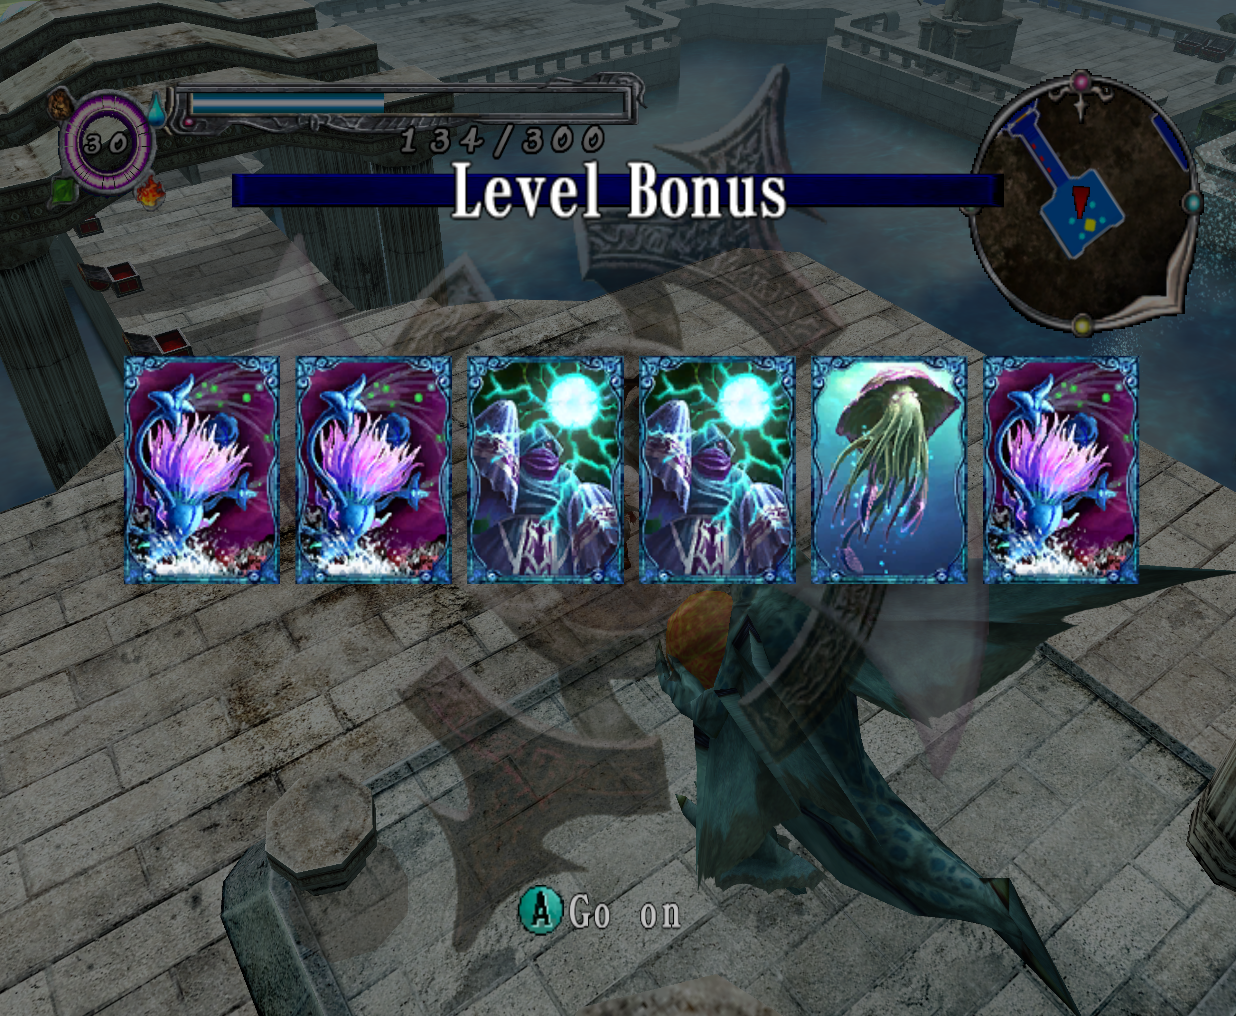
- x3 Vampire Bush
- x2 Wraith
- Kraken
Glitches
- ?
Trivia
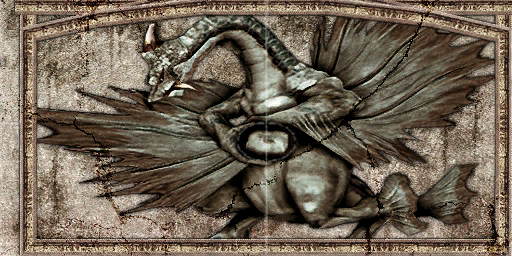
- The texture for the doors leading to the Blue Dragon were reused in a slightly edited form for Lost Kingdoms II. This texture is used in the Emperor's room in Level 20 of the Proving Grounds, where it and three others depicting the rest of the Sacred Beasts are displayed as wall decorations.
Gallery